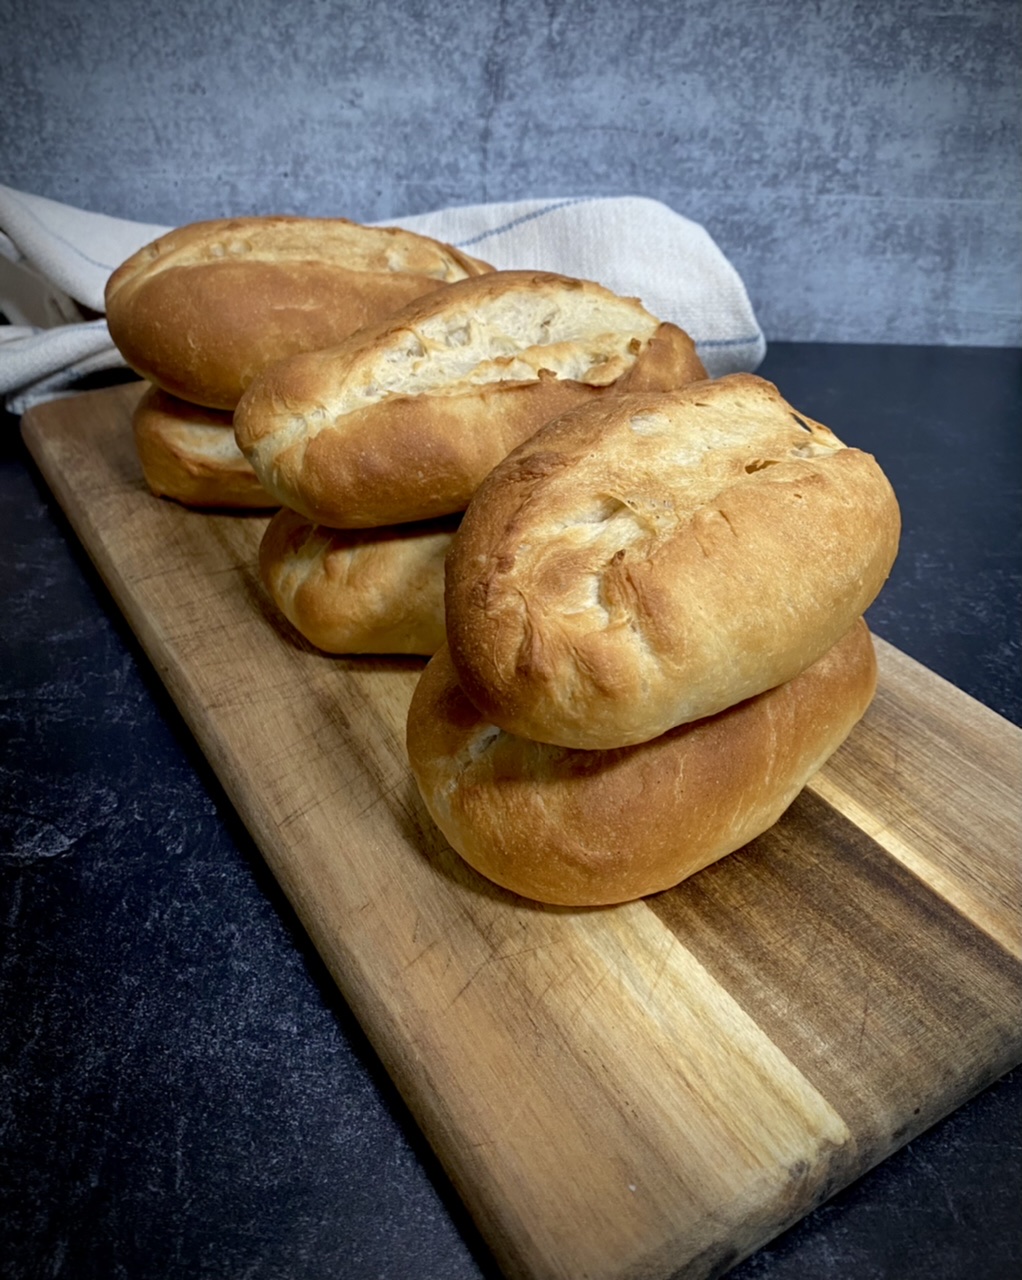
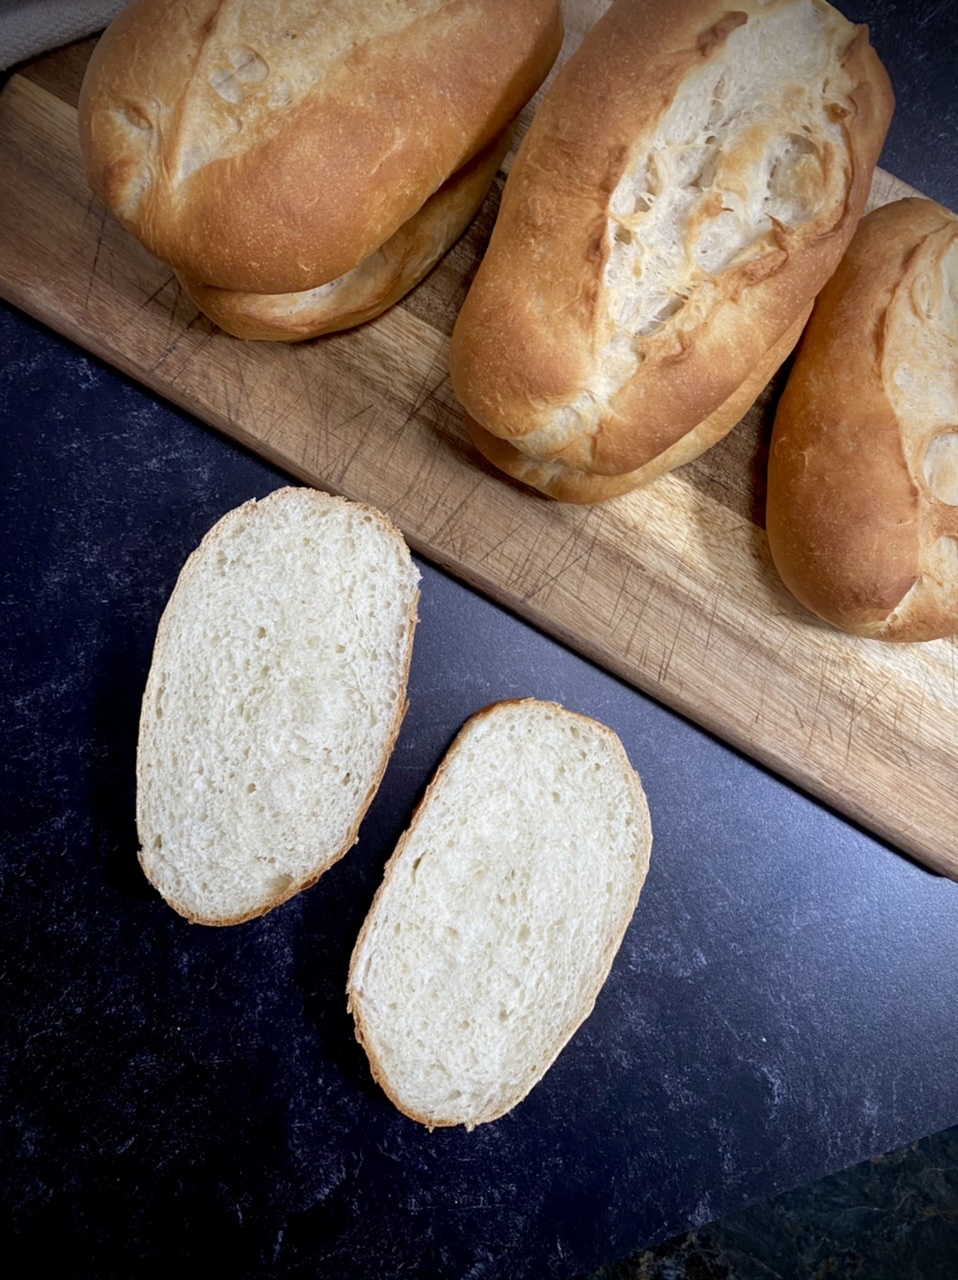
Before I can post a Banh mi sandwich recipe, I need to first post a recipe explaining how to make Banh mi baguettes. In many ways the Banh mi baguette is the heart of the Banh mi sandwich. It should have a very thin, very crispy crust with a flavorful and light filling.
Banh mi baguettes are very similar to a French baguette, which isn’t really that surprising. Since the French colonized Vietnam for six decades, their culture had a heavy influence on Vietnam, making Vietnam’s current culture very unique in Asia. Vietnam, frankly, has a fascinating history that make them a particularly unique country. From a history of Hindus settling in central Vietnam over a thousand years ago to the Chinese communist influence that led to their current government and replacement of religion with ancestor worship.

Hoi An, Vietnam ~ 2019
Although the French only had sixty years of influence over the vast richness of Vietnam history, they made a significant impact to Vietnamese cuisine, particularly in the form of Banh mi baguettes.
The most crucial element to making this bread is forming enough gluten. I use bread flour to make these baguettes. If you can’t find bread flour, I recommend adding vital wheat gluten to your all-purpose flour mix. Gluten is what gives the bread its texture and what allows it to hold its structure. I add vitamin C to the flour mix, which helps with forming the gluten and giving the dough its rise.
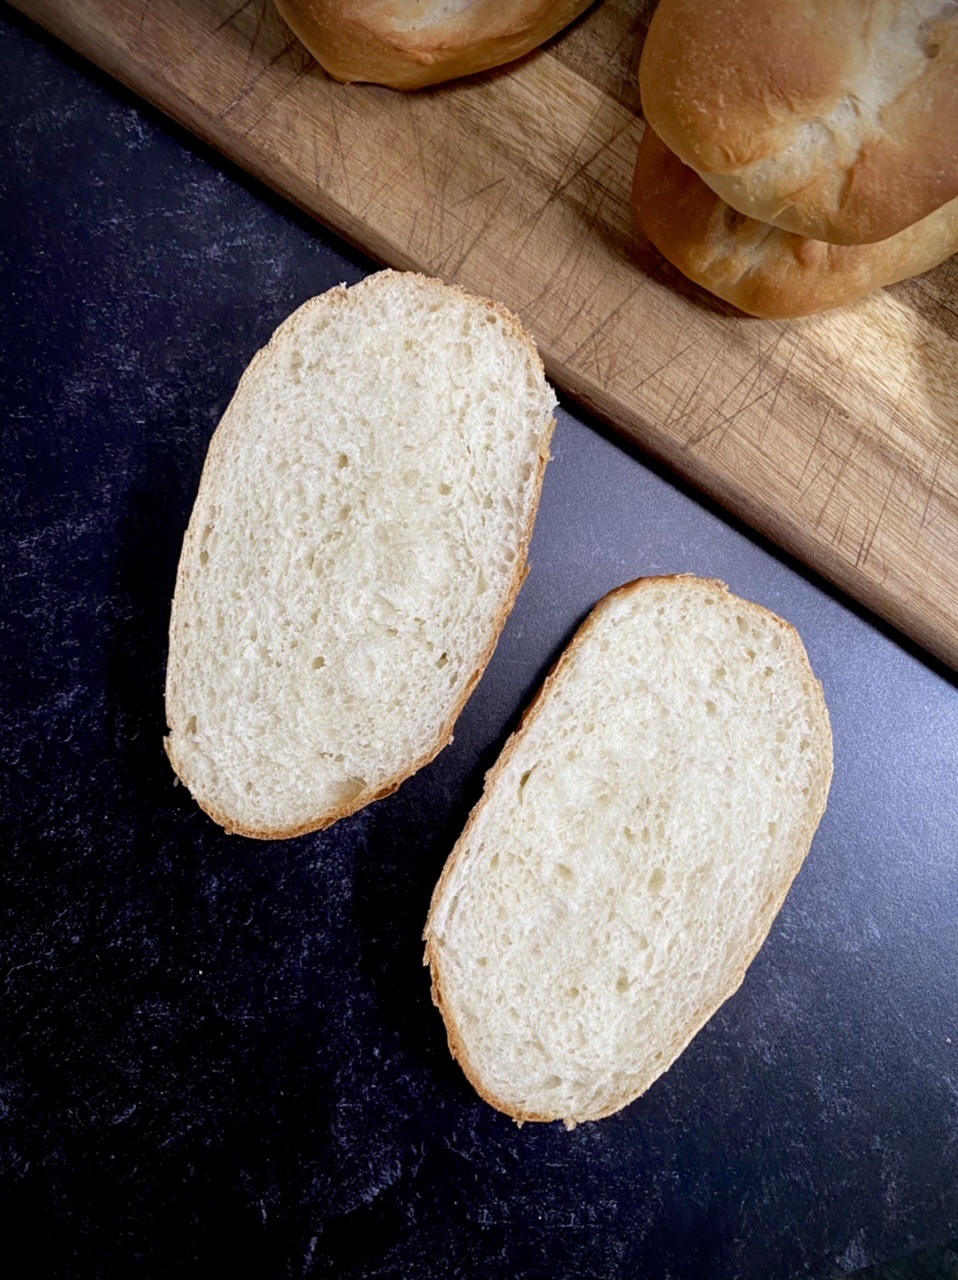
Gluten can take some time to form, so I let my stand mixer do most of the work. Once the ball has formed, I place the stand mixer on its highest speed and let it slap the dough against the sides for five or ten minutes. I then roll it out onto a bread board or wooden cutting board to knead by hand. I prefer to never roll my dough out onto a floured surface because I am very precise with the amount of flour I use.
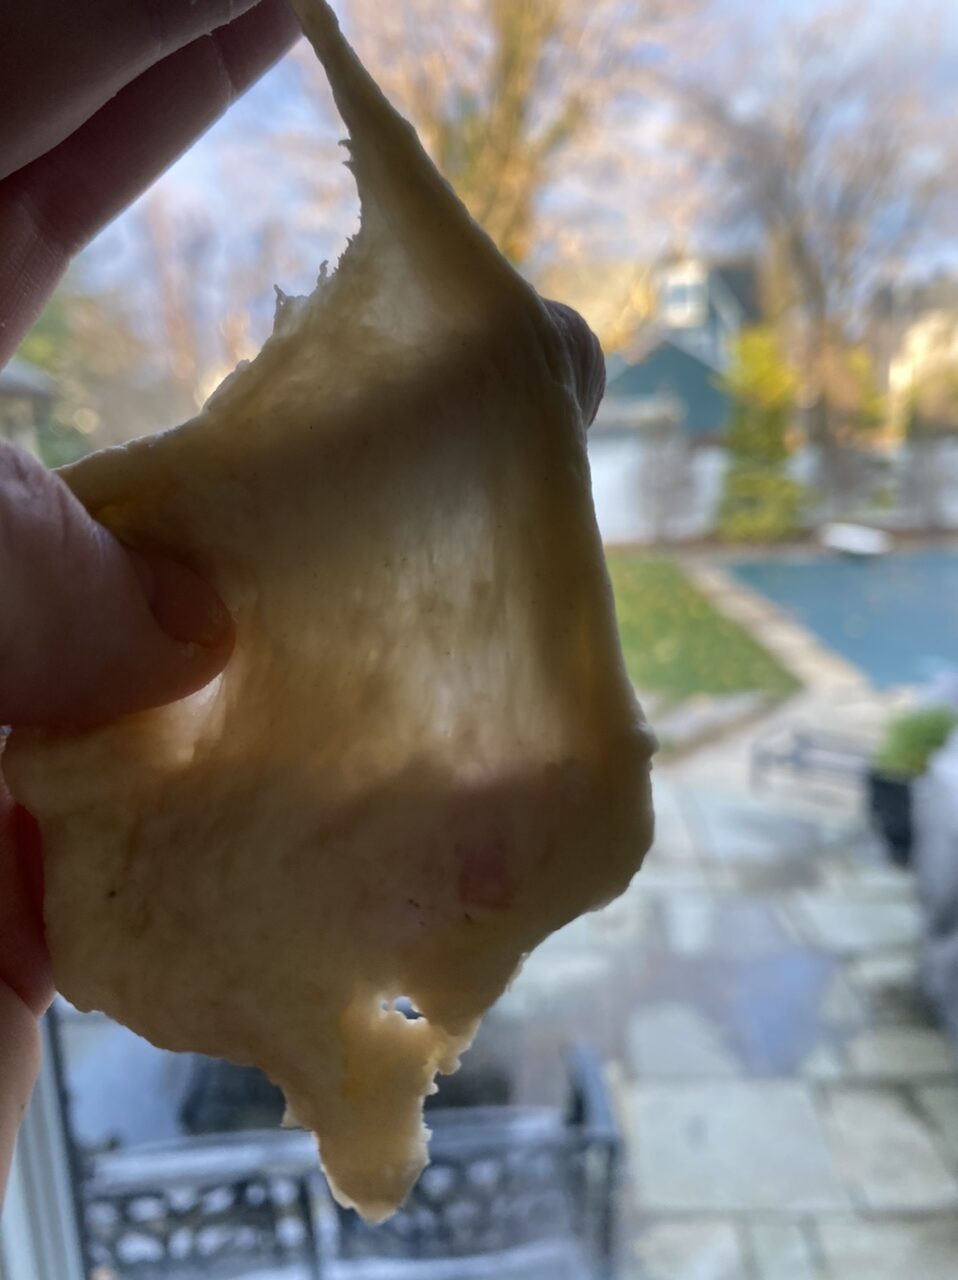
You can determine if enough gluten has been formed by performing the windowpane test. Take a small piece of dough and stretch it out. If you can stretch it out to where you can see your fingers through the dough without the dough breaking, it’s ready to go. If it breaks before you can see your fingers, keep kneading. Trust me, it is worth the time to keep kneading until the gluten is formed. You will be rewarded with perfectly textured bread!
Besides forming the gluten, the next most important thing for giving this bread flavor is adding leaf lard. I get fatworks leaf lard from Amazon, but I know my friend gets leaf lard from her butcher. Adding leaf lard to bread has transformed my life! The flavor it adds is amazing but it also helps give the bread the beautifully soft and chewy filling.
I’ve mentioned this trick before, but I’ll repeat it here. I turn my oven on for three to four minutes while I finish kneading, then turn it off. The temperature rises just enough to create a proofing box. I place the kneaded dough back in the stand mixer bowl and cover it with a towel. This creates a more controlled environment for the dough to rise in then with the fickleness weather and HVAC can have on your dough.
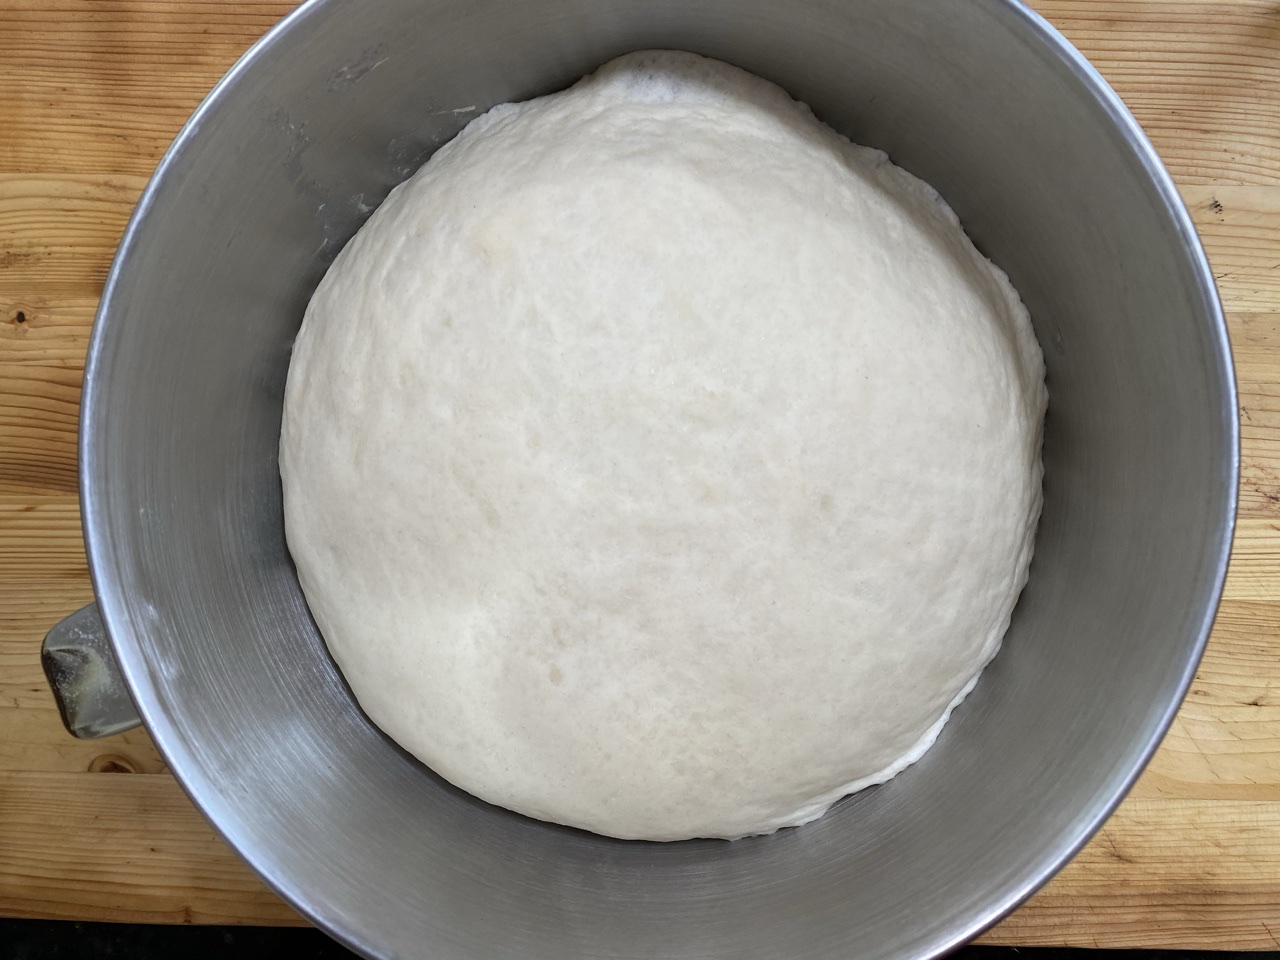
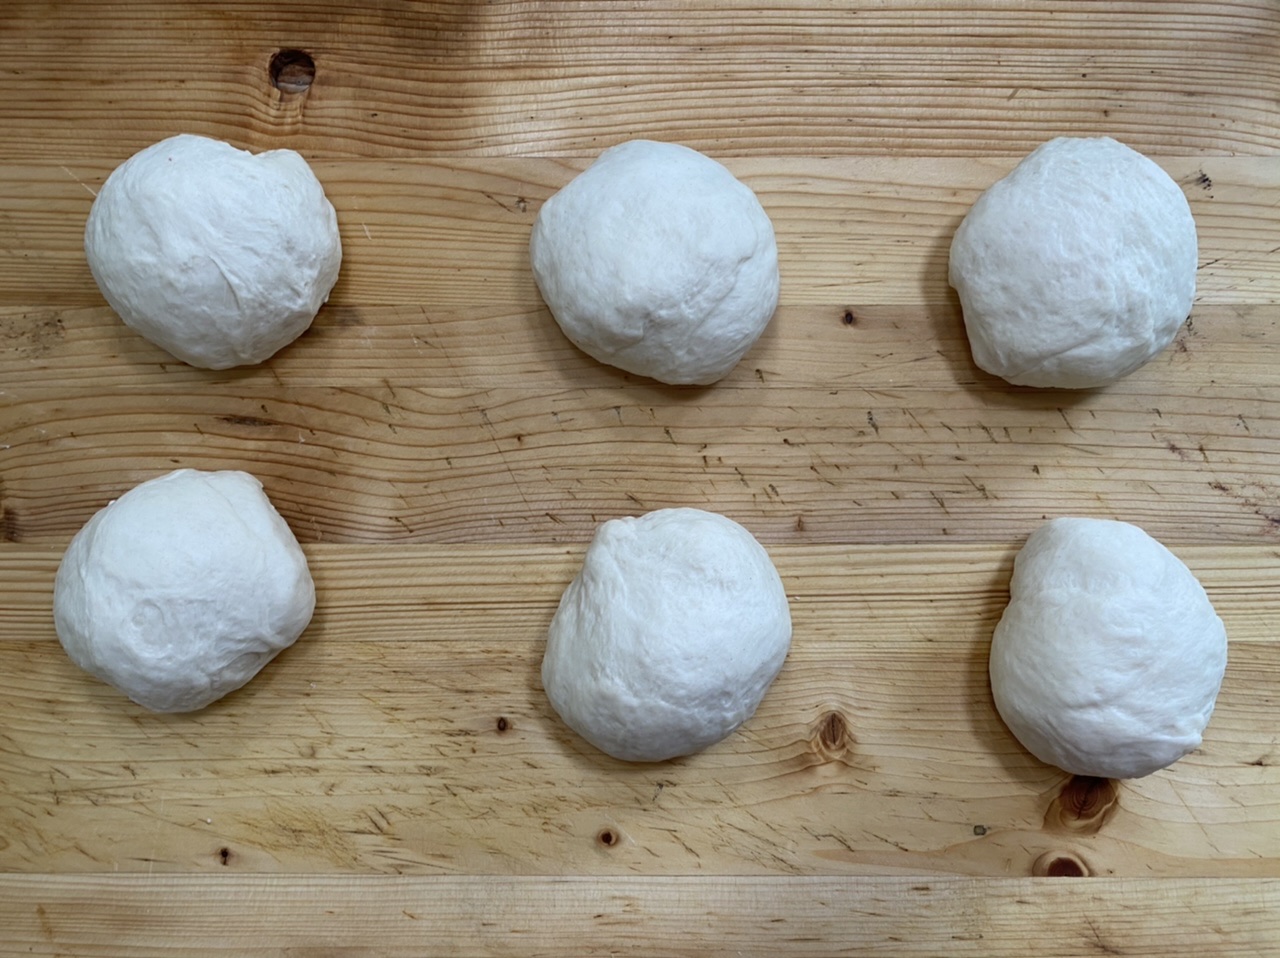
Once the dough has risen, I knead it down, pushing all the air bubbles out. I form it back into a ball and then weigh it. I calculate out the weight for six rolls and then I cut and weight each individual roll so they are even in size. I know that seems a little fanatical, but it really helps in providing evenly sized rolls.
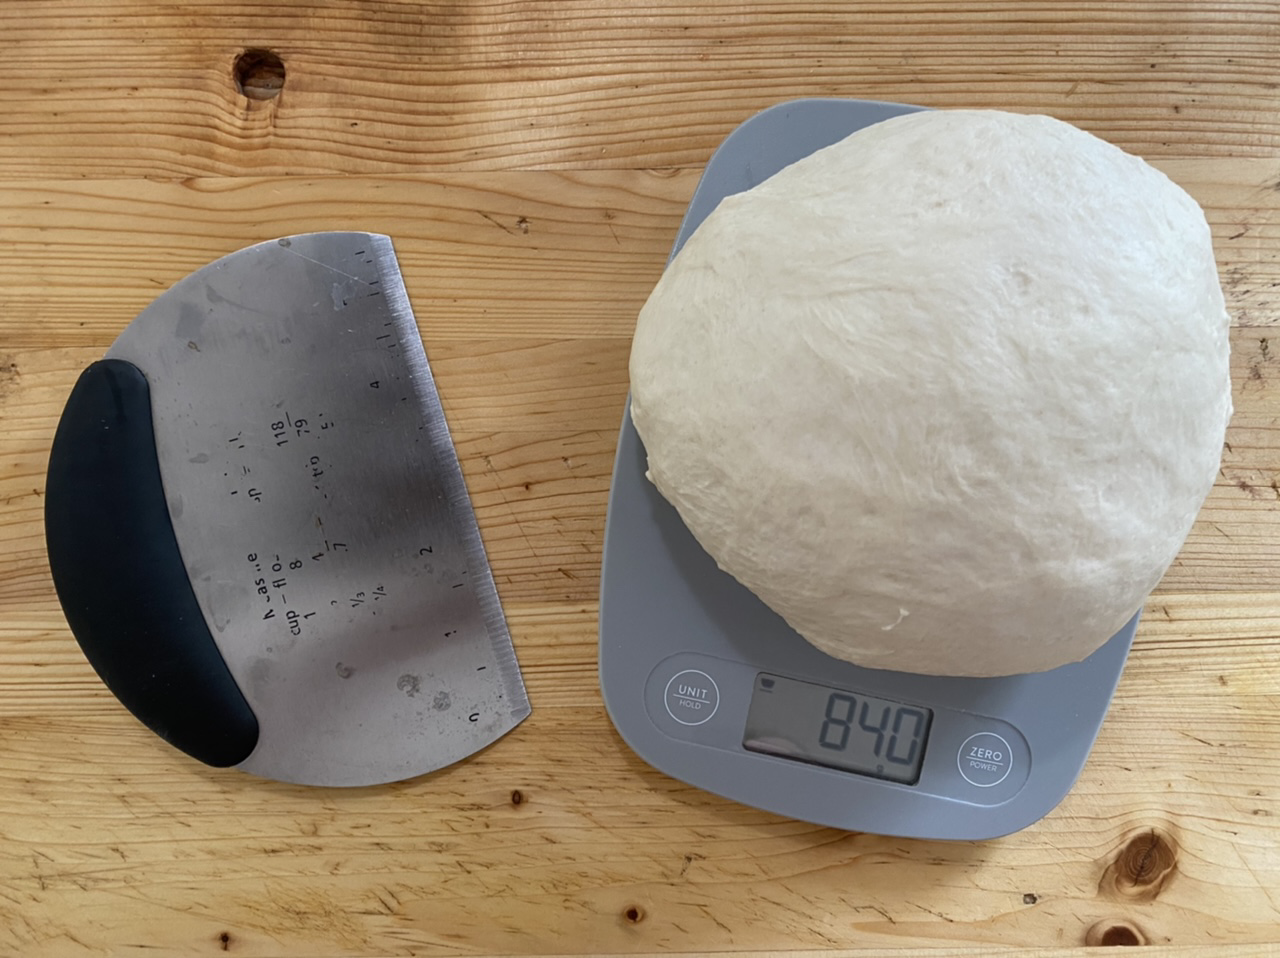
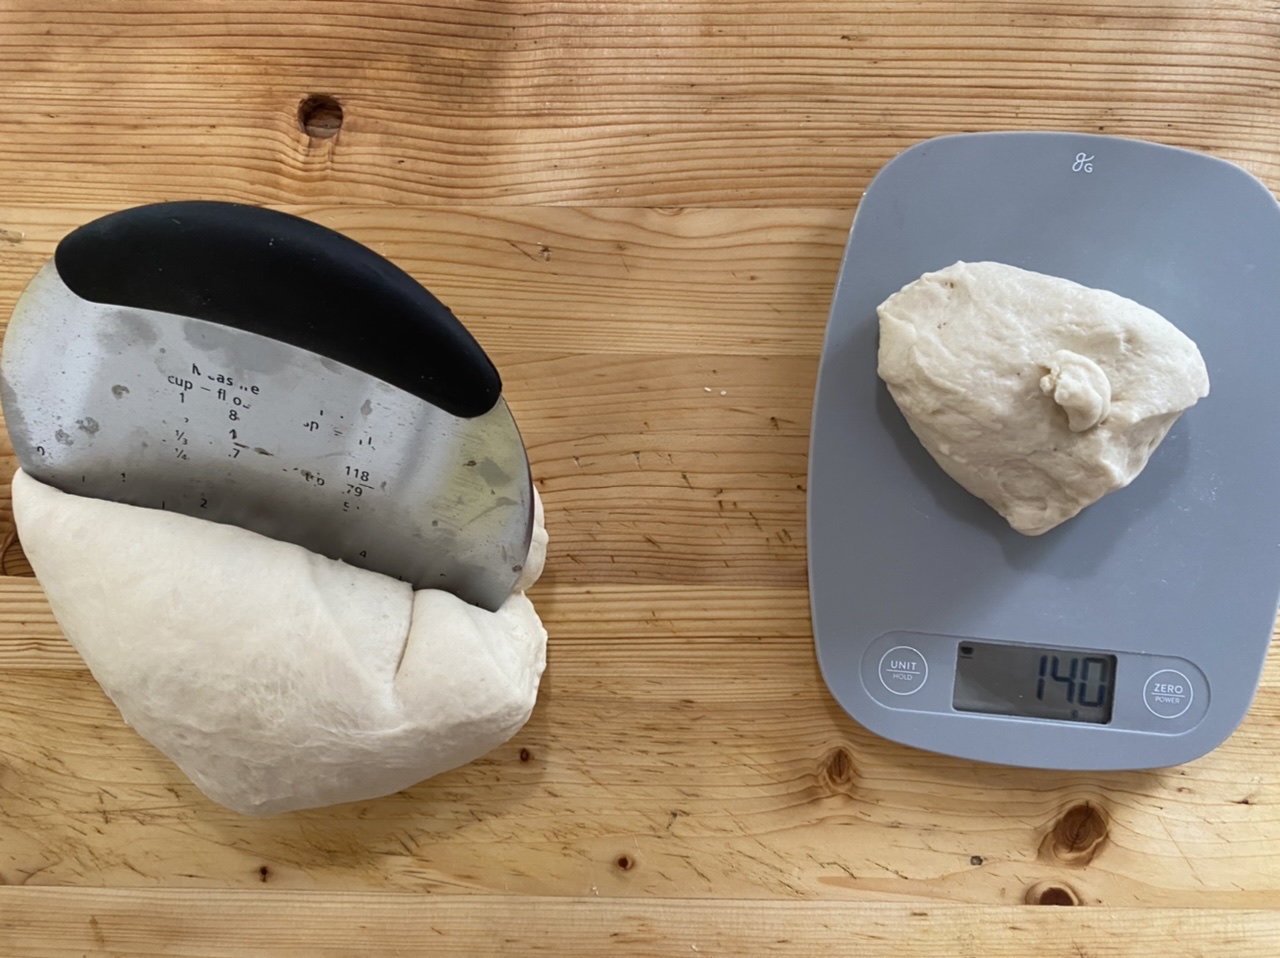
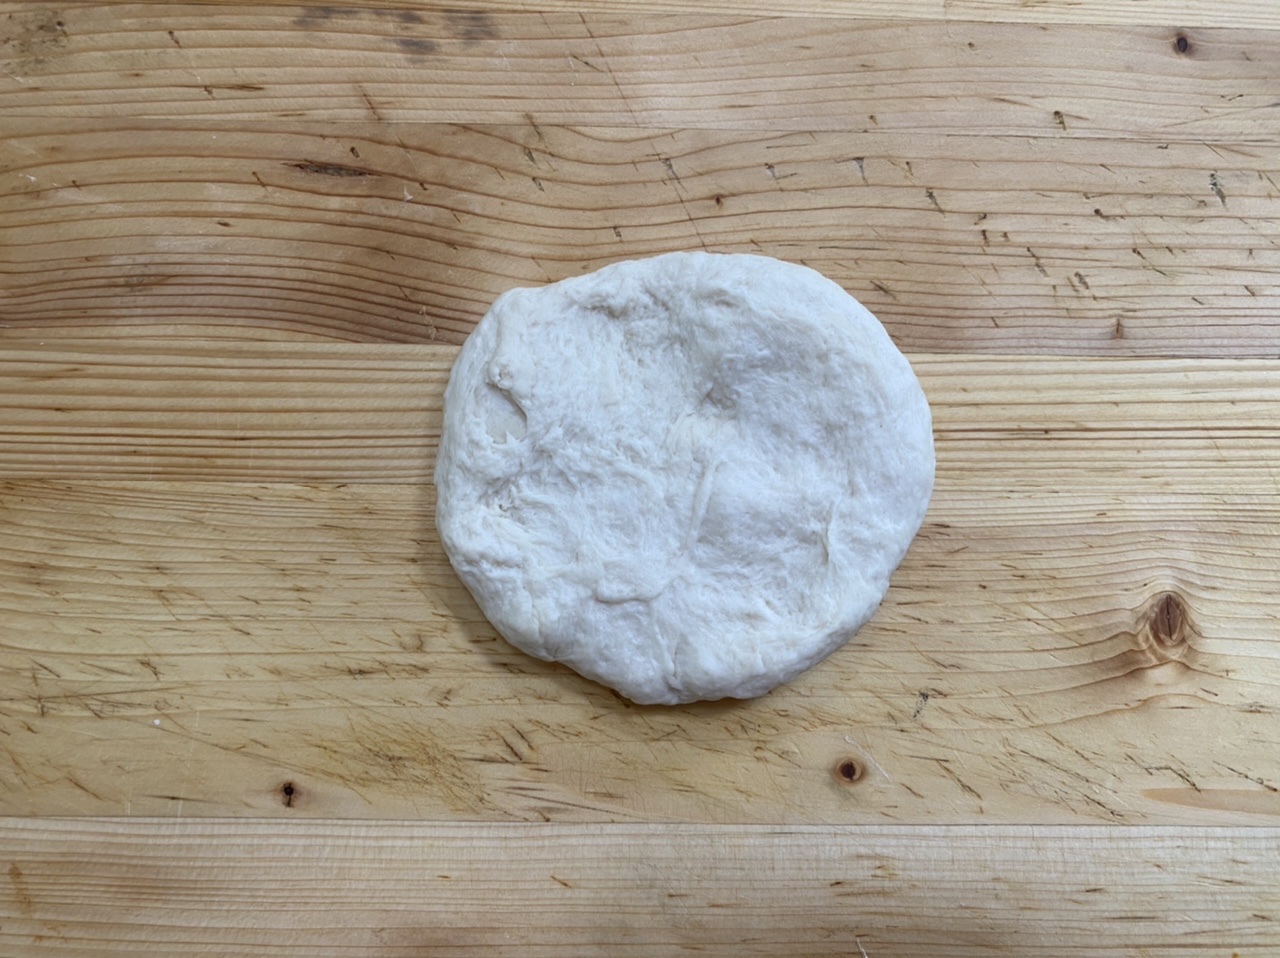
I roll each piece into a ball and then flatten it into a circle puck.
Then I roll it like a scroll ~ top rolled down into the middle and then the bottom rolled up to the middle.
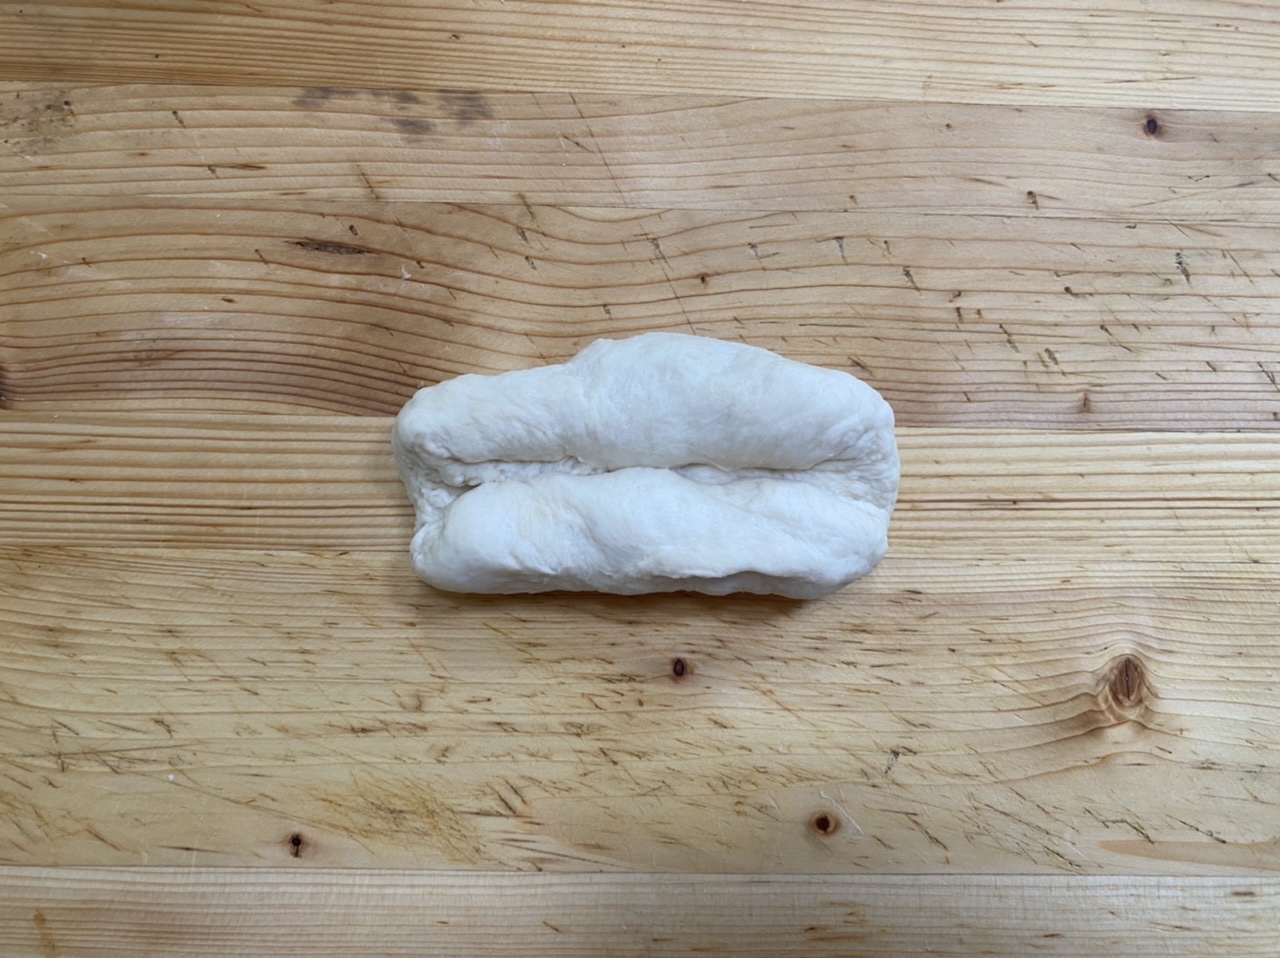
Where the two ends meet in the middle, pinch them together to form a seam.
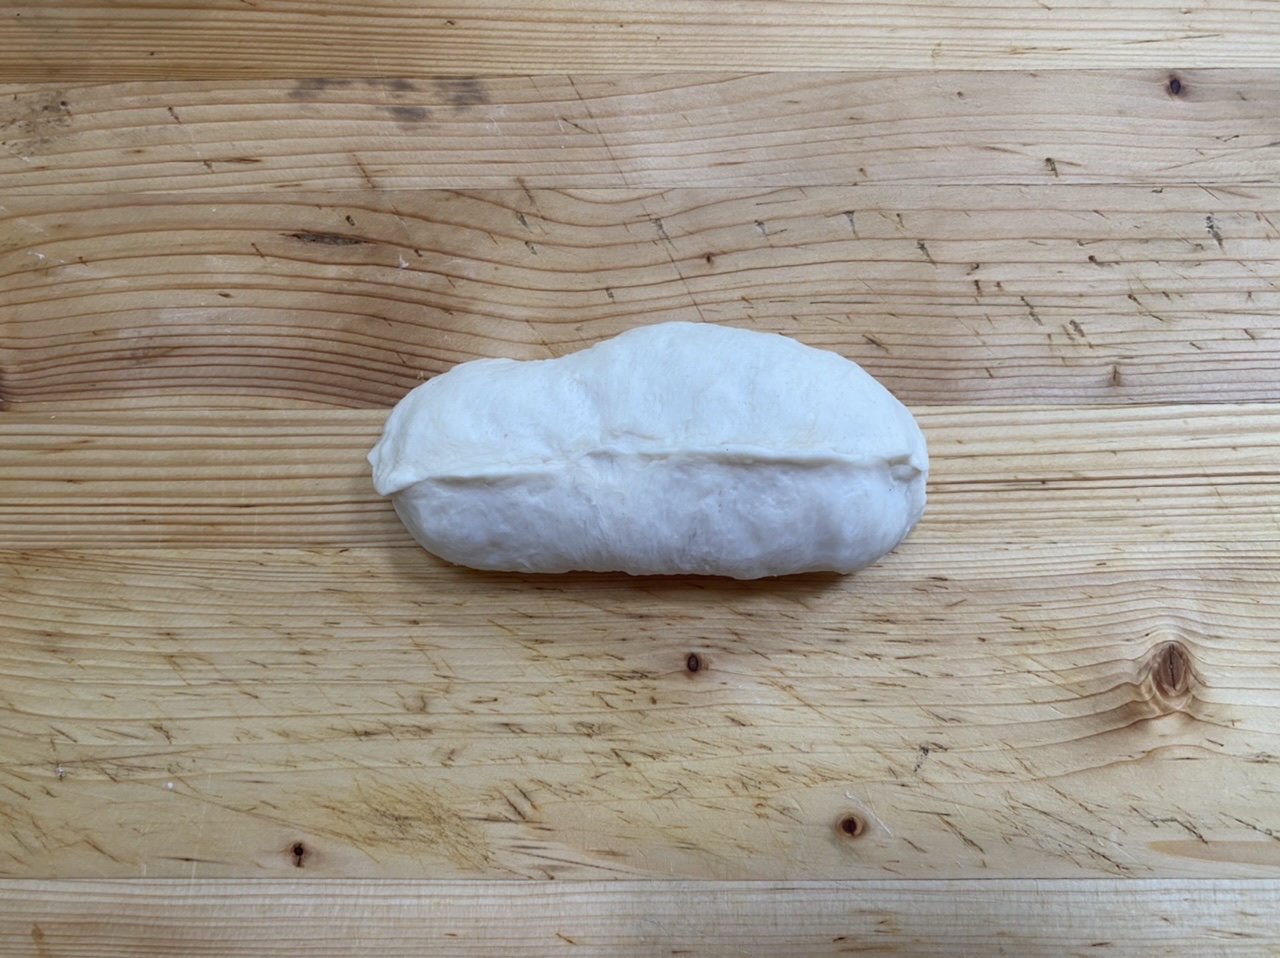
Gently roll back and forth and gently pull to lengthen the dough until it’s about six inches long and 2 inches thick.
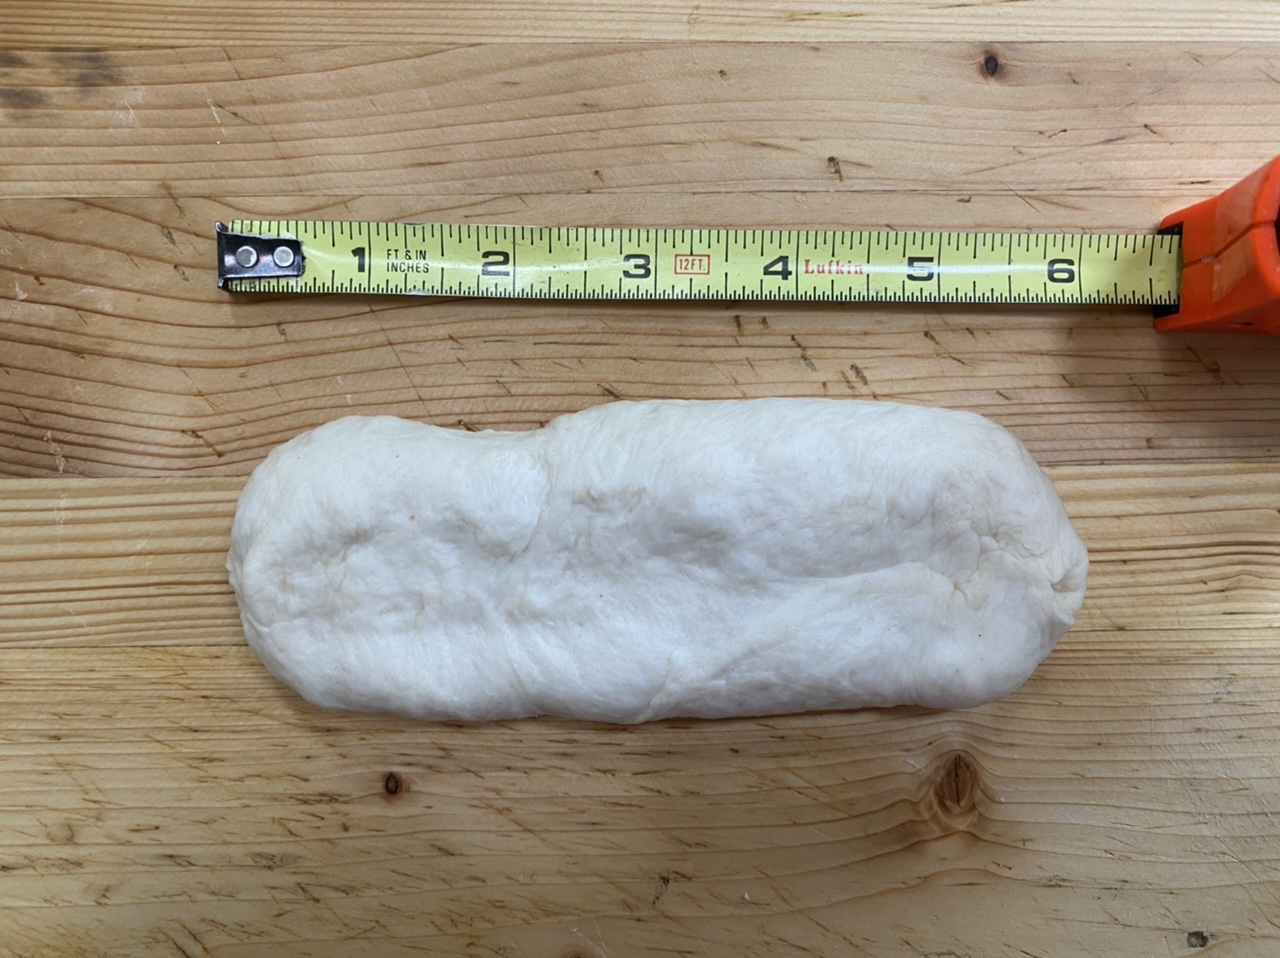
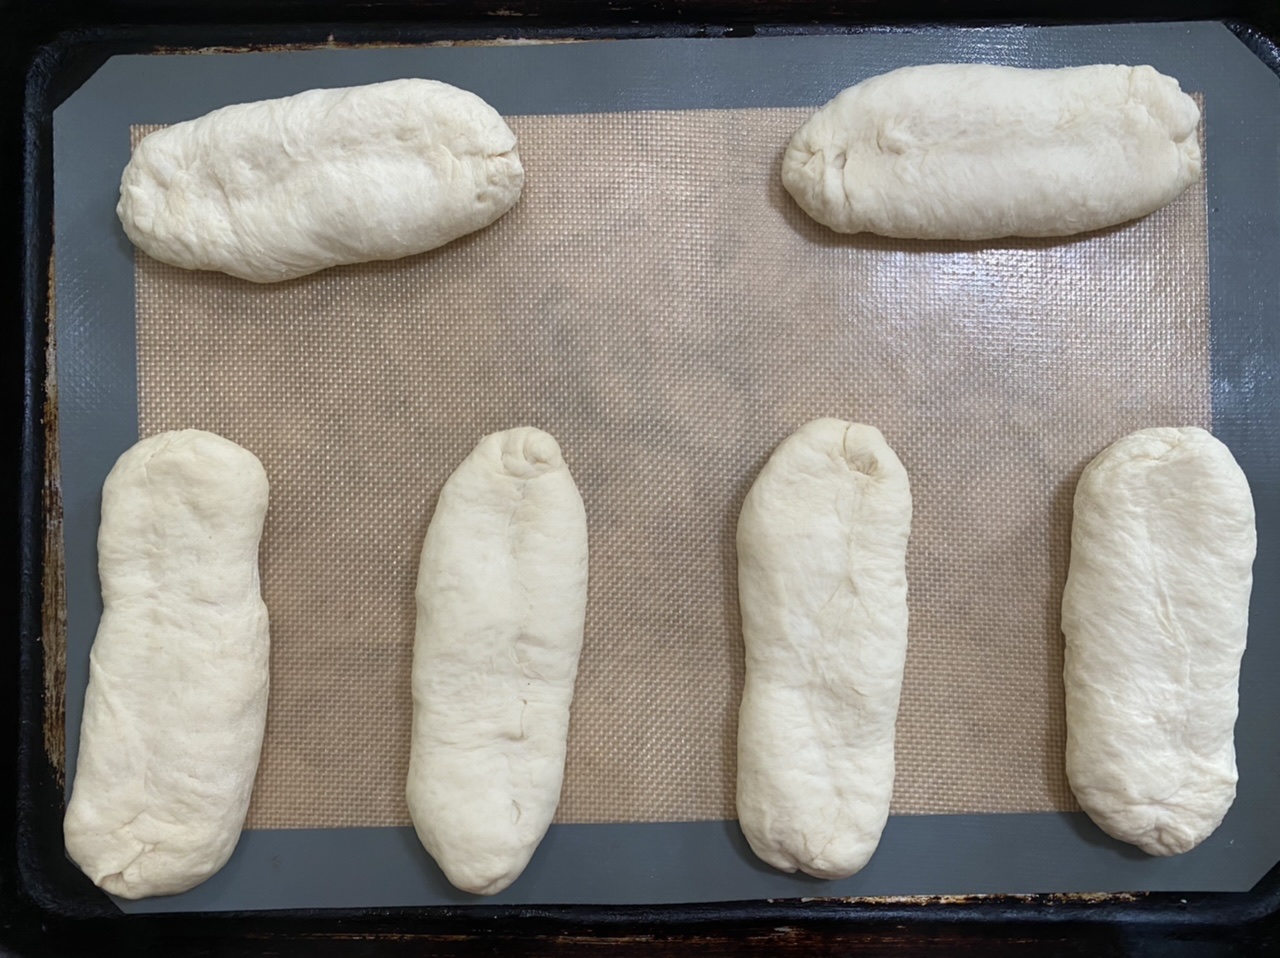
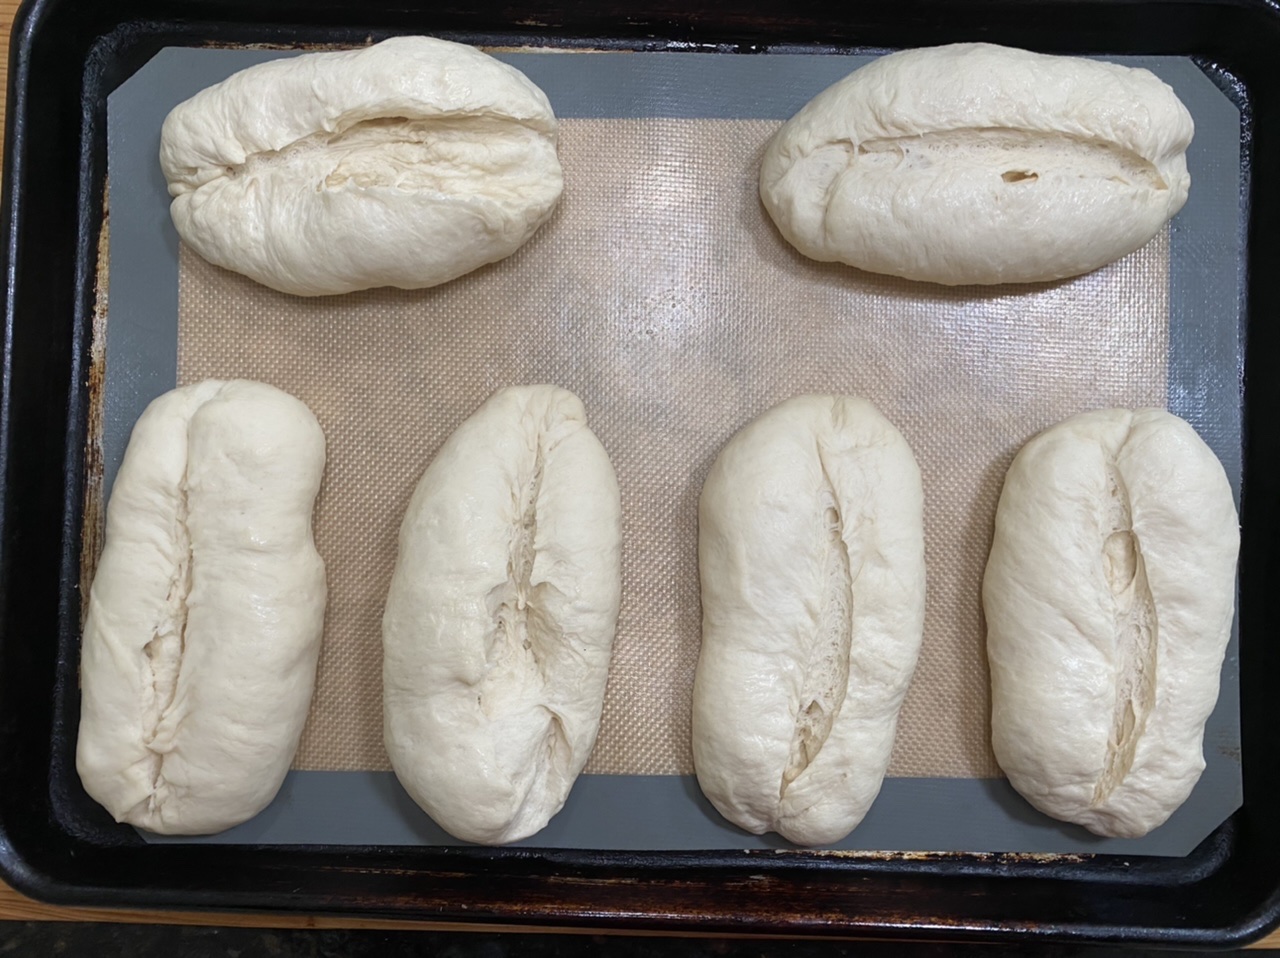
Line the dough up on a baking sheet lined with a silicone mat. If you line them all up on one sheet, they’ll rise and meet on their sides. This is fine… it’ll give it the appearance of a store bought roll. You can get creative on the way you lay them down, however, that will prevent them from meeting up. Either way is perfectly fine.
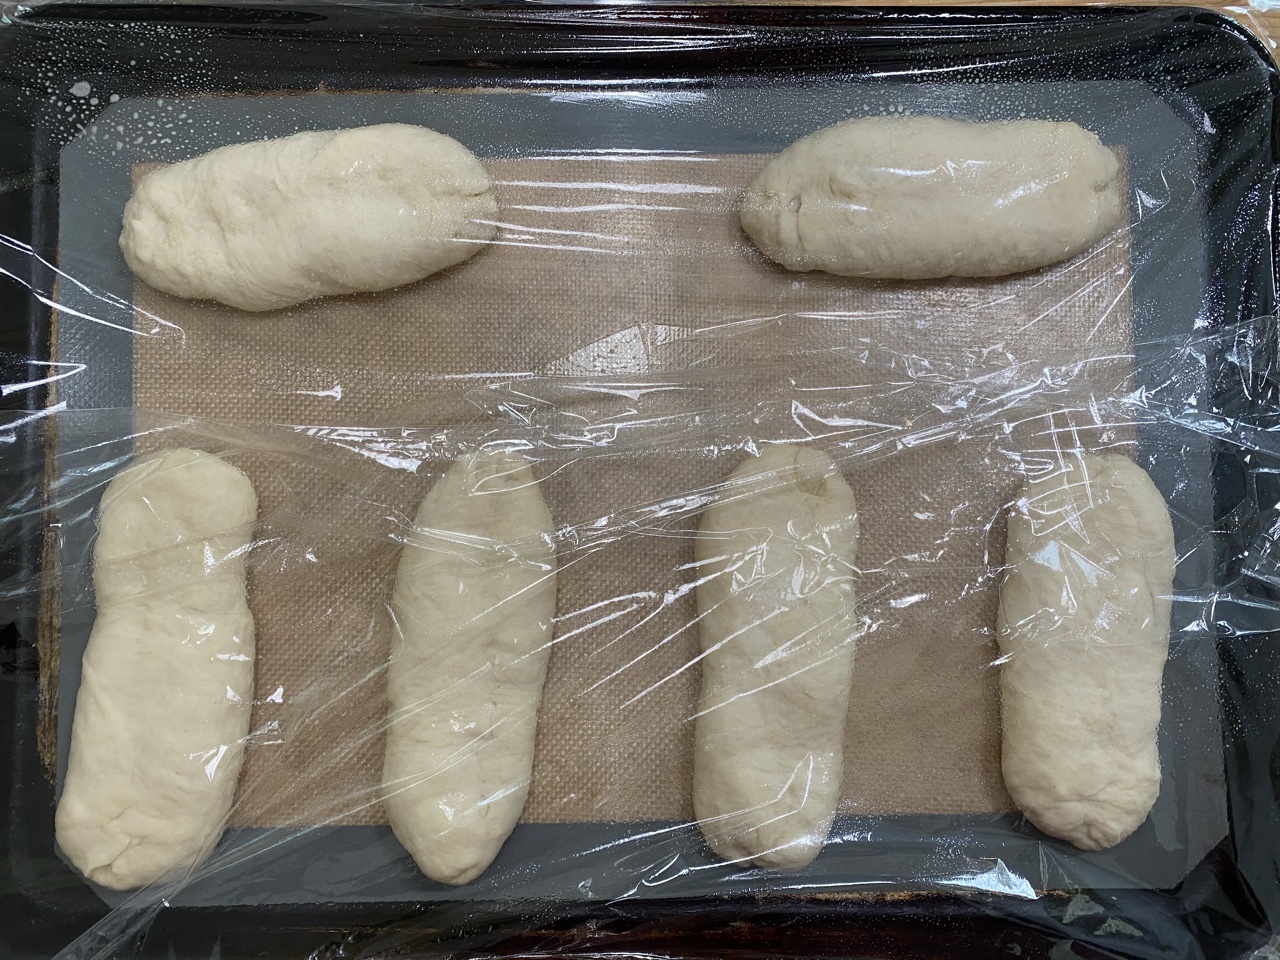
I lightly spray two sheets of plastic wrap with cooking spray and gently lay them over the rolls. I like using the plastic wrap because I can watch the rolls grow. You want to be careful not to overproof the dough! If you overproof it, it can collapse when cooked or you’ll get large holes that you don’t want in this bread.
When the dough has almost doubled in size, usually at the 45 minute mark, I start preheating the oven. Place an empty baking sheet at the bottom of the oven and start heating up a cup or two of water on the stove top. Once the water is boiling, turn the heat to low and let it simmer until the dough has finished rising.
Once the dough has finished rising and the oven has finished preheating, score the dough. Then I give the dough several good sprays of water. Then, working carefully, place the baking sheet on the middle rack and take the hot water and pour it into the pan sitting on the bottom of the oven. It is going to instantly create steam, but finish pouring in the water and quickly shut the oven door. The steam is what will form that perfect crust. Then let it bake!
Besides Banh mi, I’ve used these baguettes for making sandwiches or even po’ boys! These are guaranteed to become your next favorite baguette! Also, feel free to play with shapes! You can make these round and use them as hamburger buns! Or make them into one giant loaf! So many options!
Enjoy!
How to Make the Best Banh Mi Rolls | the Best Vietnamese Baguette
- Prep Time: 25 minutes
- Cook Time: 20 minutes
- Total Time: 45 minutes
- Yield: 6 rolls 1x
- Category: Baking, Asian
Ingredients
500 g bread flour
2 tsps salt ~ I use pink Himalayan salt
500 to 1000 mg Vitamin C capsule
2 TBs leaf lard
1¼ cup warm water ~ about 110°F
1 TB active dry yeast
2 TBs granulated sugar
Instructions
In a small bowl or measuring cup, whisk together the water, yeast, and sugar. Let sit until foamy ~ about 5 minutes. Whisk to absorb the froth.
Meanwhile, in the bowl of a stand mixer with the dough hook attached, mix together the bread flour, salt, and Vitamin C (removed from the capsule). With the mixer on low, slowly pour the water around the edges of the bowl, pushing the flour down. As the dough starts coming together, slowly increase the speed. As it forms a ball, drop the leaf lard into the bowl. If necessary, stop the mixer to push the dough down and scrape any dough or lard off of the sides.
Bring the mixer to its highest speed and let the machine work the dough for five to ten minutes. Turn the dough out onto preferably a bread board or wooden cutting board, otherwise a very lightly floured surface. Knead the dough until it passes the windowpane test (see above for clarification, if needed). Form the dough into a ball and place back in the bowl. Cover with a towel and leave in a warm area until doubled in size ~ about 1 hour.
Punch the dough down and roll it onto your work surface. Knead for about 30 seconds, removing all of the air bubbles. Weigh the dough and evenly divide into six pieces. Roll each piece into a ball. One at a time, flatten the dough into a puck and lightly pull it apart into about a 4” circle. Roll the dough like a scroll ~ about two rolls down and two rolls up (photos above if needed). Where the two edges meet, pinch and form a seam. Make sure the seam is well pinched so it doesn’t separate during the second rise. Roll the dough back and forth gently, and gently pull, slowly lengthening the dough until it is about 6” long and 2” in the center.
Arrange the rolls on a baking sheet lined with a silicone mat or parchment paper. Spray two pieces of plastic wrap with cooking spray and gently cover the dough. Let the dough rise again. After about 45 minutes, or when the dough has almost double in size, heat a cup or two of water on the stovetop. Place an empty baking sheet on the very bottom of your oven, and start to preheat the oven to 475°F. Once the water is boiling, reduce the heat to low and let it simmer.
Once the dough has finished rising (about 15 minutes more), remove the plastic wrap and score the dough with a sharp knife. Quickly spray the rolls with a spray bottle 5 to 10 times. Place the baking sheet on the middle rack of the oven and carefully pour the hot water into the empty baking sheet on the bottom of the oven. Close the door and immediately reduce the heat to 400°F.
Bake for 18 to 20 minutes or until an internal reading of 190°F. Rotate the sheet 180° halfway through for even baking. Remove from the oven and either cut and use immediately, or let cool before storing them in airtight bags.
The cooked rolls will last about four or five days at room temperature and 1 to 2 weeks refrigerated. They can also be frozen and defrosted. Reheat an oven set at 325°F for a few minutes.
Enjoy!
Keywords: Banh mi rolls, Banh mi baguette, how to make Banh mi, how to make Banh mi baguettes, Banh mi, Banh mi sandwich, Vietnamese rolls, Vietnamese sandwich rolls

you say vitamin c in description, but calcium in list.
?
Oh dear, silly mistake. Let me correct that. You are right, it should be vitamin c in the list. Thanks for bringing that to my attention!