Half-Batch Hawaiian Rolls for a Small Thanksgiving Dinner
- Prep Time: 10 minutes
- Cook Time: 20 minutes
- Total Time: 30 minutes + 2 hours proofing time
- Yield: 9 rolls 1x
Description
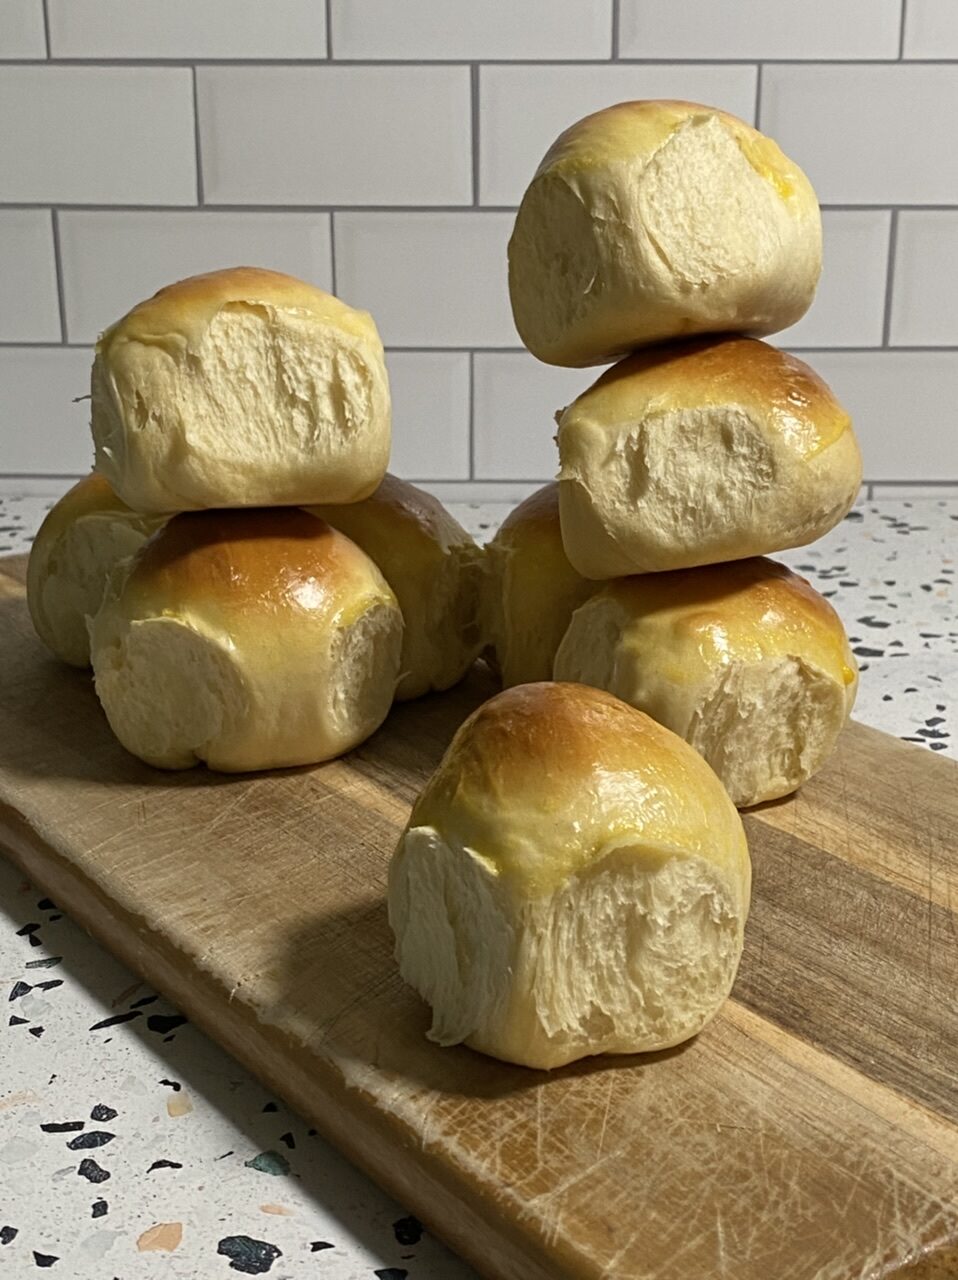
Growing up, Thanksgiving and Christmas dinners always had Hawaiian rolls. They were a must. Those and my grandma’s homemade sweet pickles were the staples to accompany the typical midwestern jello dish (I always favored my grandma’s orange sherbet jello!), Turkey, green bean casserole, mashed potatoes, and all the other accoutrements.
Not only do I love Hawaiian rolls for Thanksgiving dinner to mop up the gravy, but I love making leftover sandwiches on it! Whether it’s turkey and mayo at Thanksgiving or ham and mustard at Christmas, Hawaiian rolls made leftovers delicious.
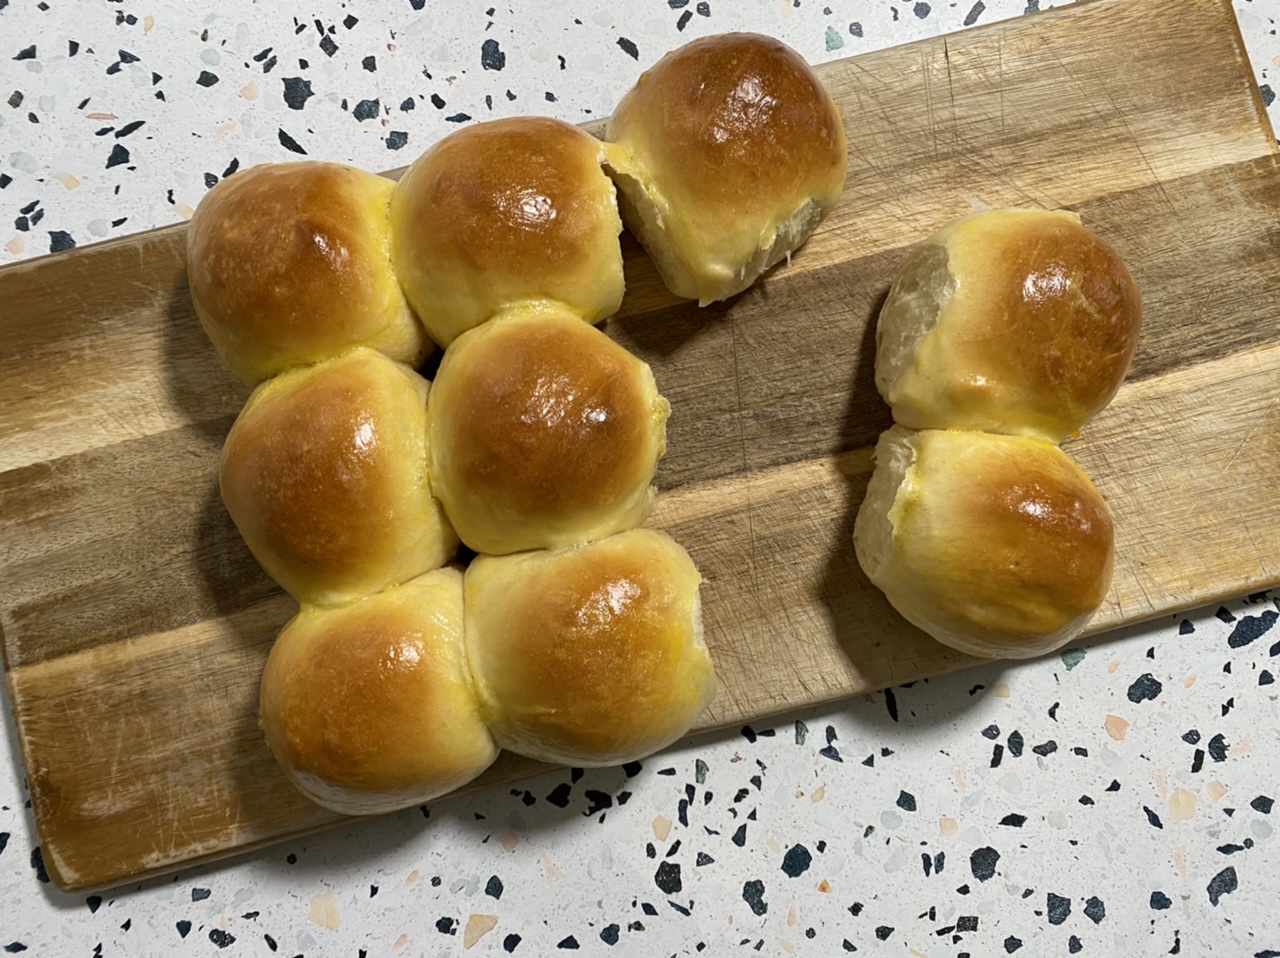
With Thanksgiving being a small affair this year, I decided to to tone down how many rolls I made. This half-batch recipe makes 9 rolls, which is the perfect amount for your quartan-team!
Like brioche, this is a high protein bread. I like to let my standing mixer do most of the work rather than me having to knead a very sticky bread for 20+ minutes. Instead, I mix everything together in the standing mixer and then turn it to high and let the dough hook work its magic. Most times, letting the machine work the dough, I then have little to no kneading time by hand.
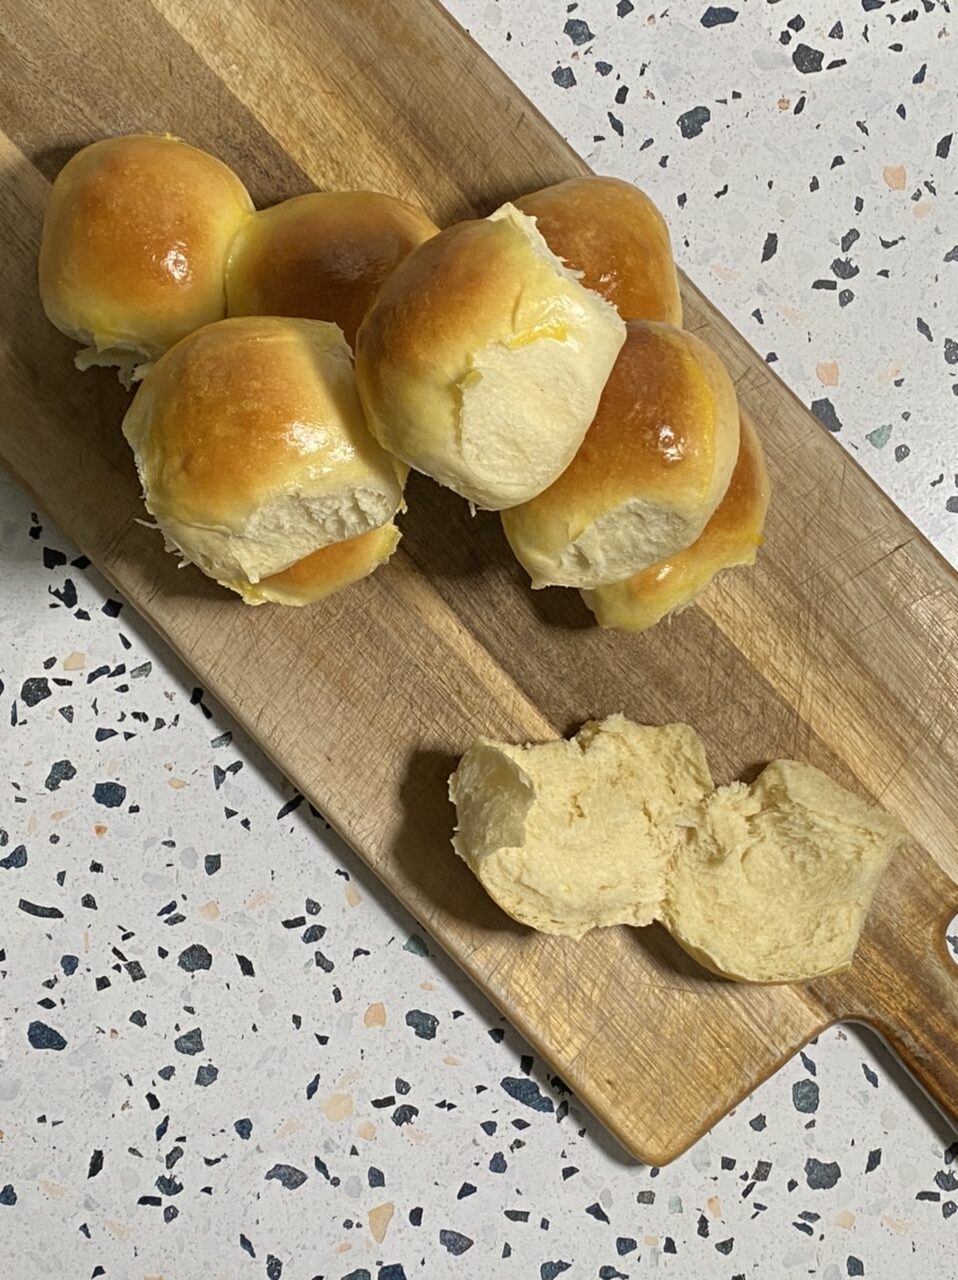
Don’t let the stickiness of the dough scare you. That’s the consistency you want it to be. Avoid the urge to add more flour. As long as the dough passes the windowpane test (see note 2), the dough is good to go. The windowpane test ensures the gluten has fully formed and gives you that nice texture you want from Hawaiian rolls! It takes time to make the gluten, which is why I let the standing mixer do most of the work for me 😉.
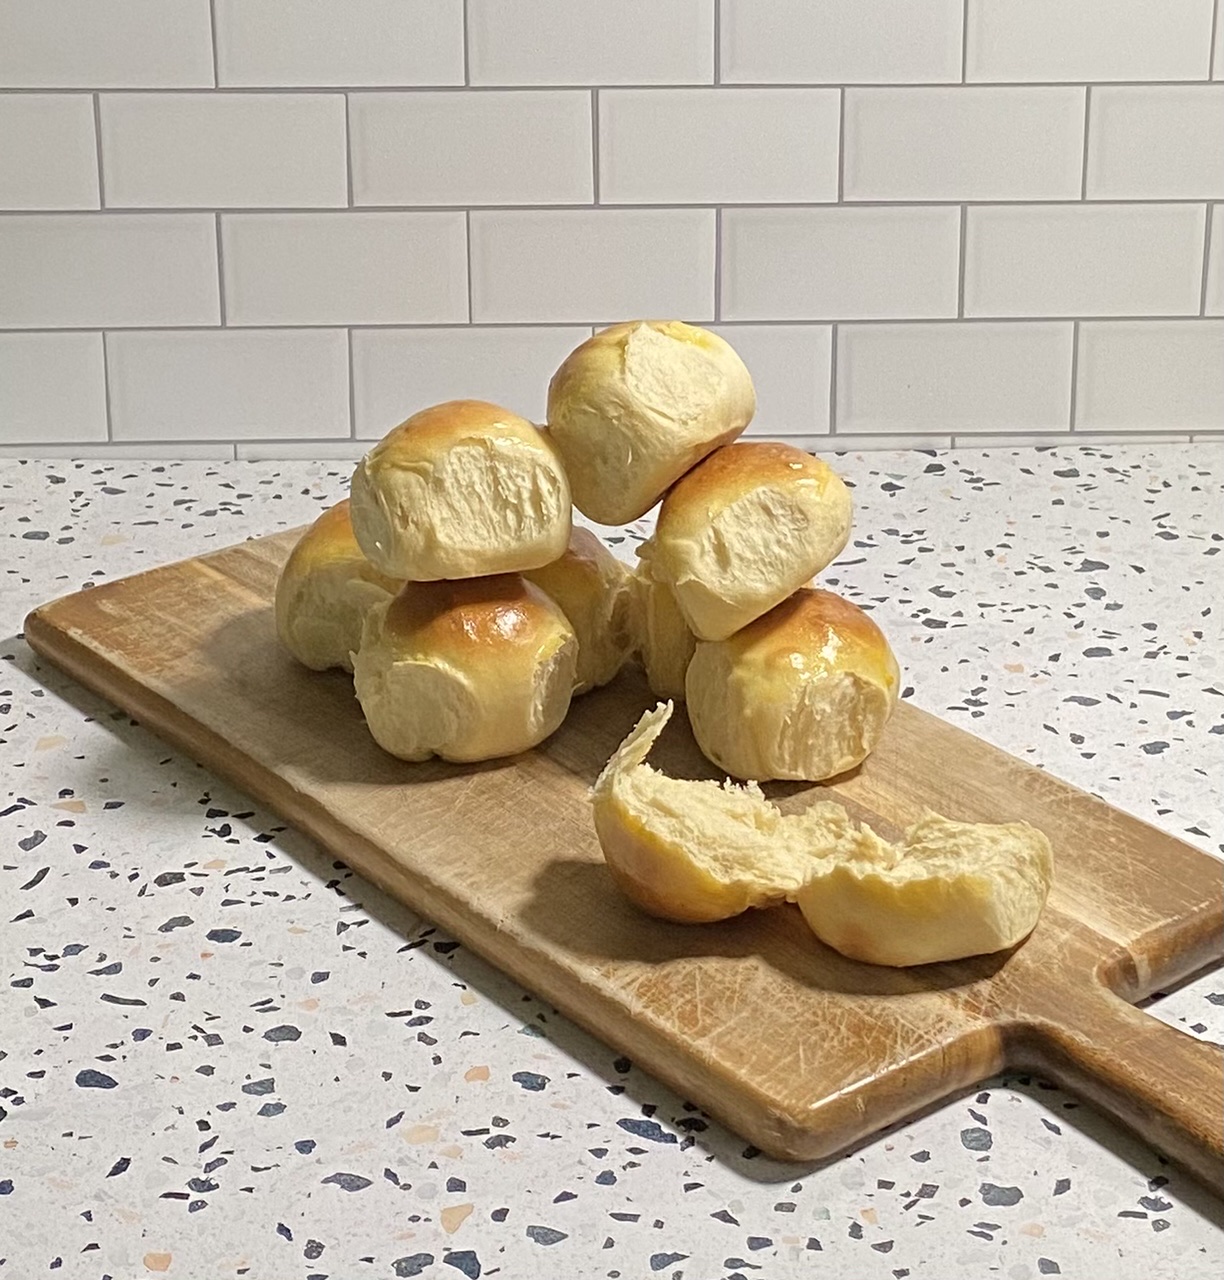
Skip buying the store bought rolls this year and make a half-batch of Hawaiian rolls. They’re surprisingly easy to make and taste so yummy!
Enjoy!
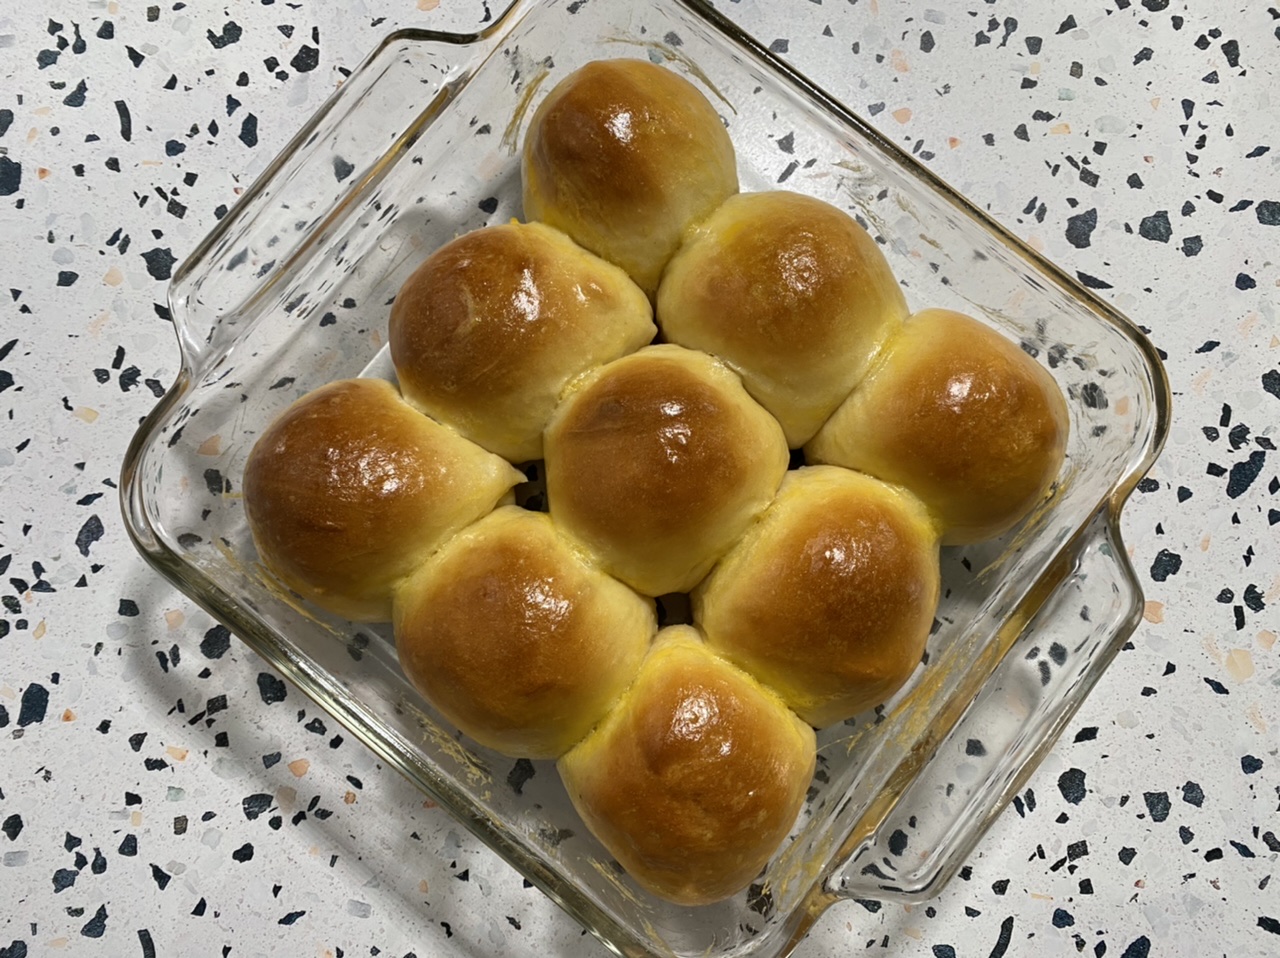
Ingredients
300 g flour
1 tsp salt
½ TB active dry yeast
¼ cup milk
¼ cup pineapple juice
2 TB butter, cubed
3 TB honey
1 large egg + 1 egg whisked for an egg wash
Instructions
Measure the milk and pineapple juice in a microwave-safe measuring cup. Add in the cubed butter. Microwave for 30 seconds and take the temperature of the liquid. Continue to microwave by 10 second increments until you reach a temperature of 105° to 115°. If you go over that temperature, wait for the temperature to cool to within that range.
Whisk in the honey (see note 1) and yeast and let sit until frothy ~ about 5 minutes. Whisk to absorb the froth. In the bowl of a standing mixer with the dough hook attached, mix together the flour and salt on low speed. Slowly add in the liquid. As the flour comes together, add in the egg. Raise the speed to medium. Once a ball starts to form, raise the speed to high and let the machine work the dough for 5 minutes. (Note: my dough formed into a ball and then fell kind of into a puddle ~ don’t worry if this happens)
Perform a windowpane test on the dough (see note 2). If the dough passes the windowpane test, form it into a ball and place into a lightly greased bowl. If it does not pass the test, scoop the dough onto a bread board or lightly floured surface and knead until it successfully passes the windowpane test ~ recheck every minute or so. Once it passes, form the dough into a ball and place into a lightly greased bowl. Cover with a towel and place in a warm spot to double in size ~ about 1 hour (see note 3).
Turn the dough out onto a bread board or lightly floured surface. Punch the air out of it. Divide into 9 equal pieces (mine weighed 57 grams each). Form each piece into a ball and place in a lightly greased 8” by 8” baking dish, evenly spacing them apart in 3 rows. Cover with a towel and let them double in size again ~ 30 to 45 minutes.
Preheat the oven to 350°. Brush the tops with the egg wash and bake for 20 minutes, or until golden brown and an internal temperature reads 190° to 200°.
Enjoy!

Notes
NOTE 1: A tip for measuring honey. I pour olive oil into my tablespoon and pour it out, scooping out any that may pool at the bottom. Then I measure the honey. This way, the honey slips right out and you get an accurate 3 tablespoons of honey.
NOTE 2: The windowpane test: perform a windowpane test by separating out a small amount of dough; if you can spread it into a small, thin pane without it breaking, the dough is ready to proof.
NOTE 3: Create a proofing drawer for your dough by turning your oven on for a minute or 2. Turn off, place your covered bowl in the oven and let proof for about an hour.
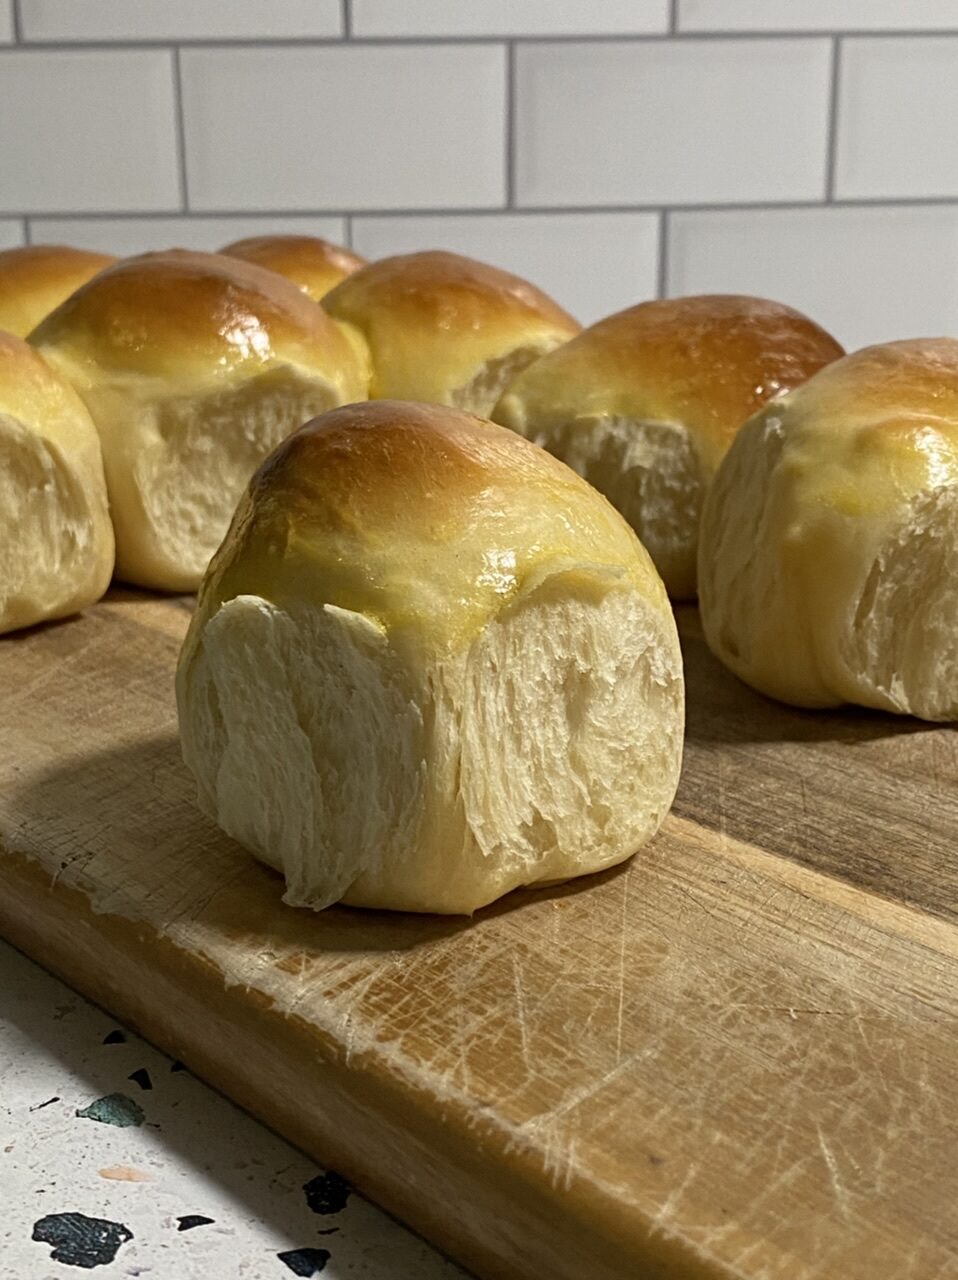
Keywords: Hawaiian Rolls, Thanksgiving Rolls, Thanksgiving Recipes
Made these rolls for Christmas Eve dinner and they were phenomenal! I’m not a baker, but the recipe was easy to follow and they turned out great. It was a little bit of effort, but the flavor & texture were so much better than store bought.
What kind of flour do you use? Bread or all purpose flour? Thank you!
Hi Crystal! For this, I’ve actually used both! But I do prefer bread flour for breads like this because of the gluten content!