
Description
Make an easy terrarium from scratch that will sustain itself! Very little upkeep is required once you’re finished. Easiest houseplants to maintain!
Materials
Terrarium
Medium to large glass pebbles, stones, or marbles
Small glass pebbles
Colored sand (optional)
Horticultural charcoal
Reindeer moss (optional)
Potting soil
Live moss
Terrarium plants
Decorations (optional)
Wood stain, if required
Instructions
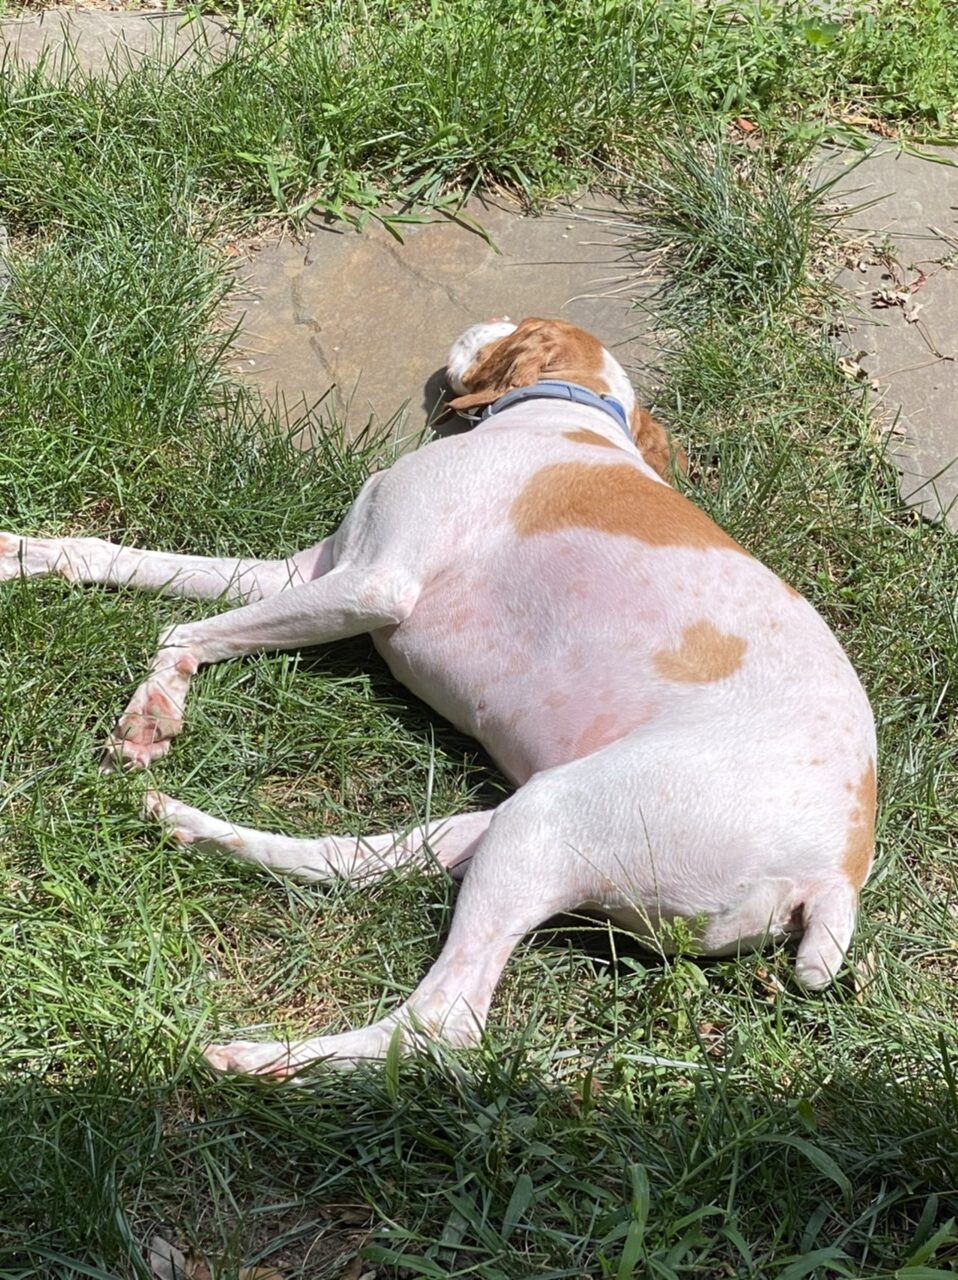
So, I shaved my dingbat dog today. One last shave for the remaining hot days of the year.
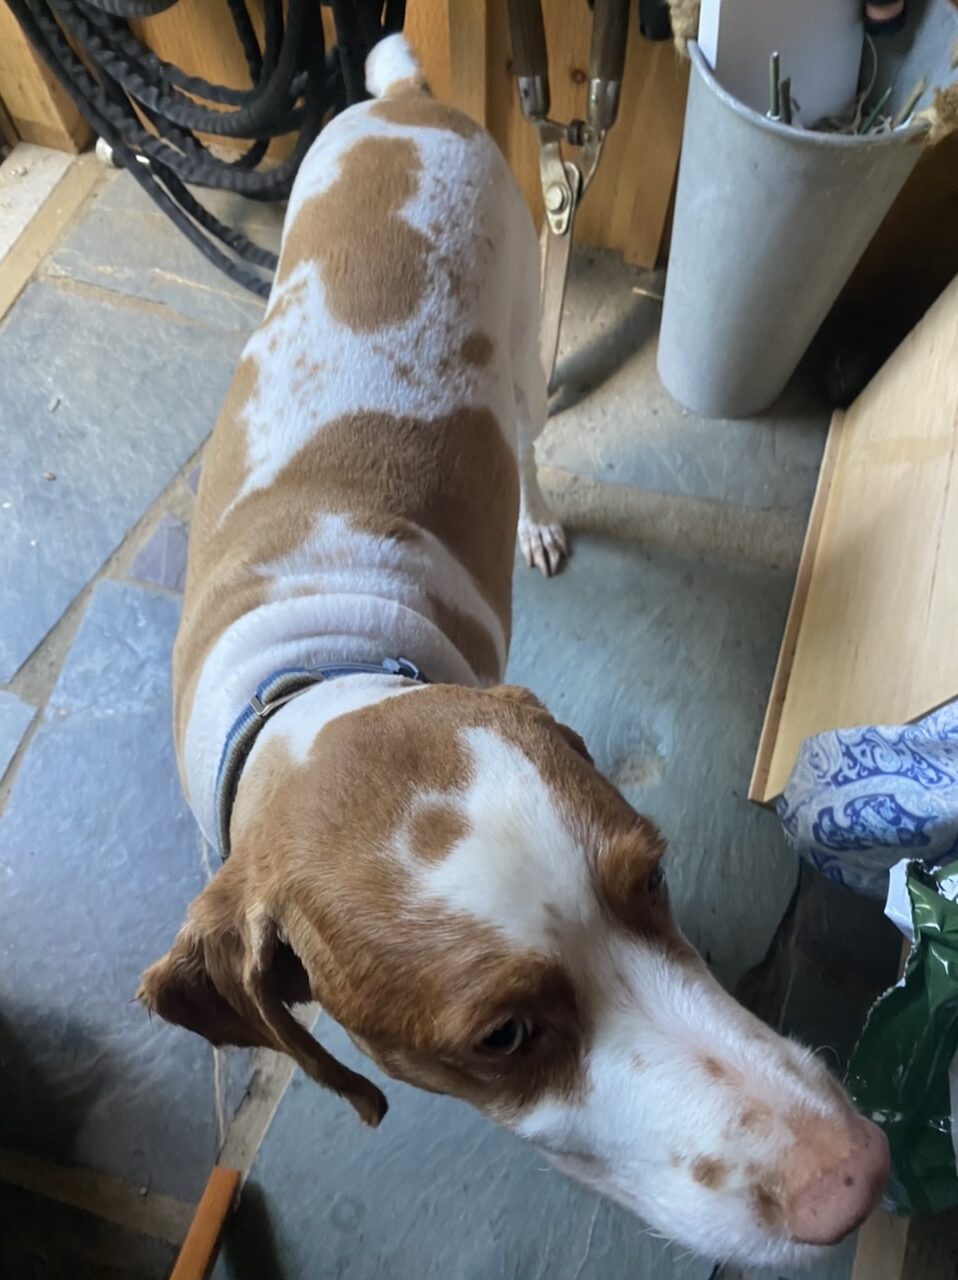
He looks almost like a beagle now (he’s a Brittney). Anywho, he decided to hang out with me while I made my terrarium. He’s so dopey without hair! 
My shed! Let me introduce you to my shed…
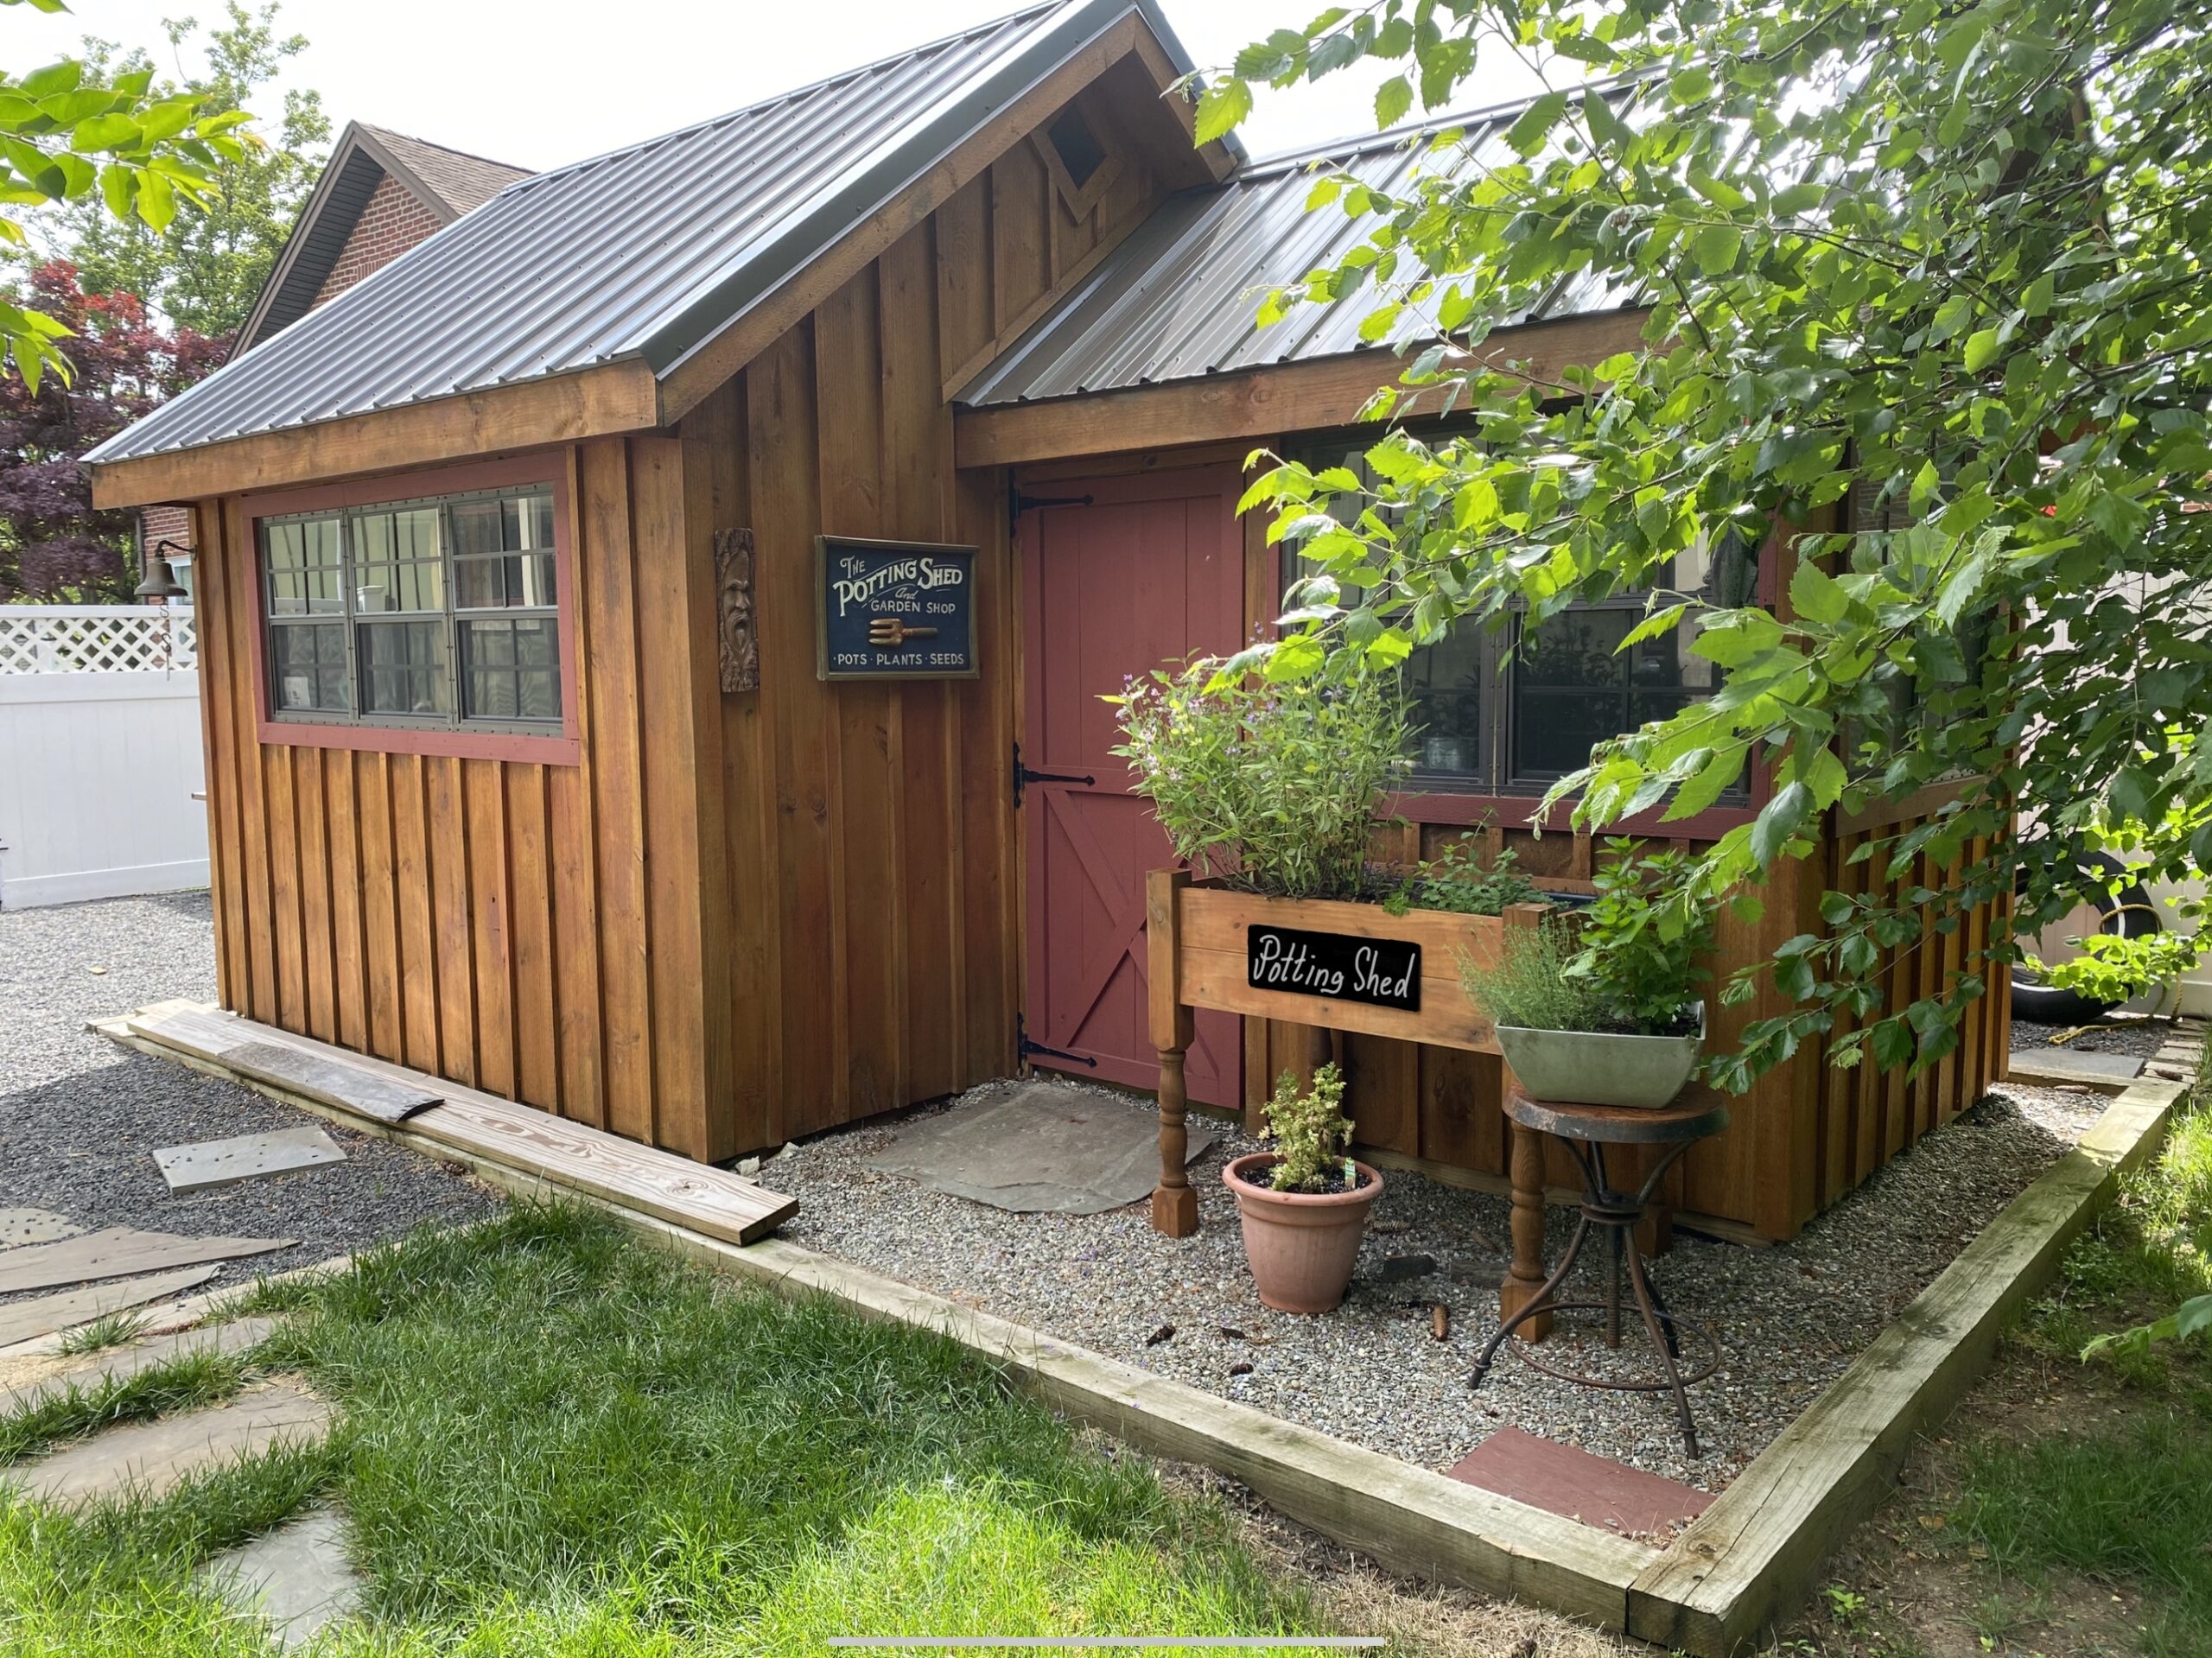
So this has been a project in and of itself, and I’ll provide detail in a future post on all the things we did to customize this shed, each a project in itself. We ordered this shed from the Amish in Lancaster County, PA back in 2014. We took a long drive out, design sketches in hand, and they were so willing to accommodate our very specific design! Basically, we wanted one side to house all the yard equipment and general storage, while the other side would be dedicated for me as a potting shed.
After six long years, we have FINALLY completed my side of the shed. It is so comfy out there to read, paint, write, or use it as an actual potting shed!
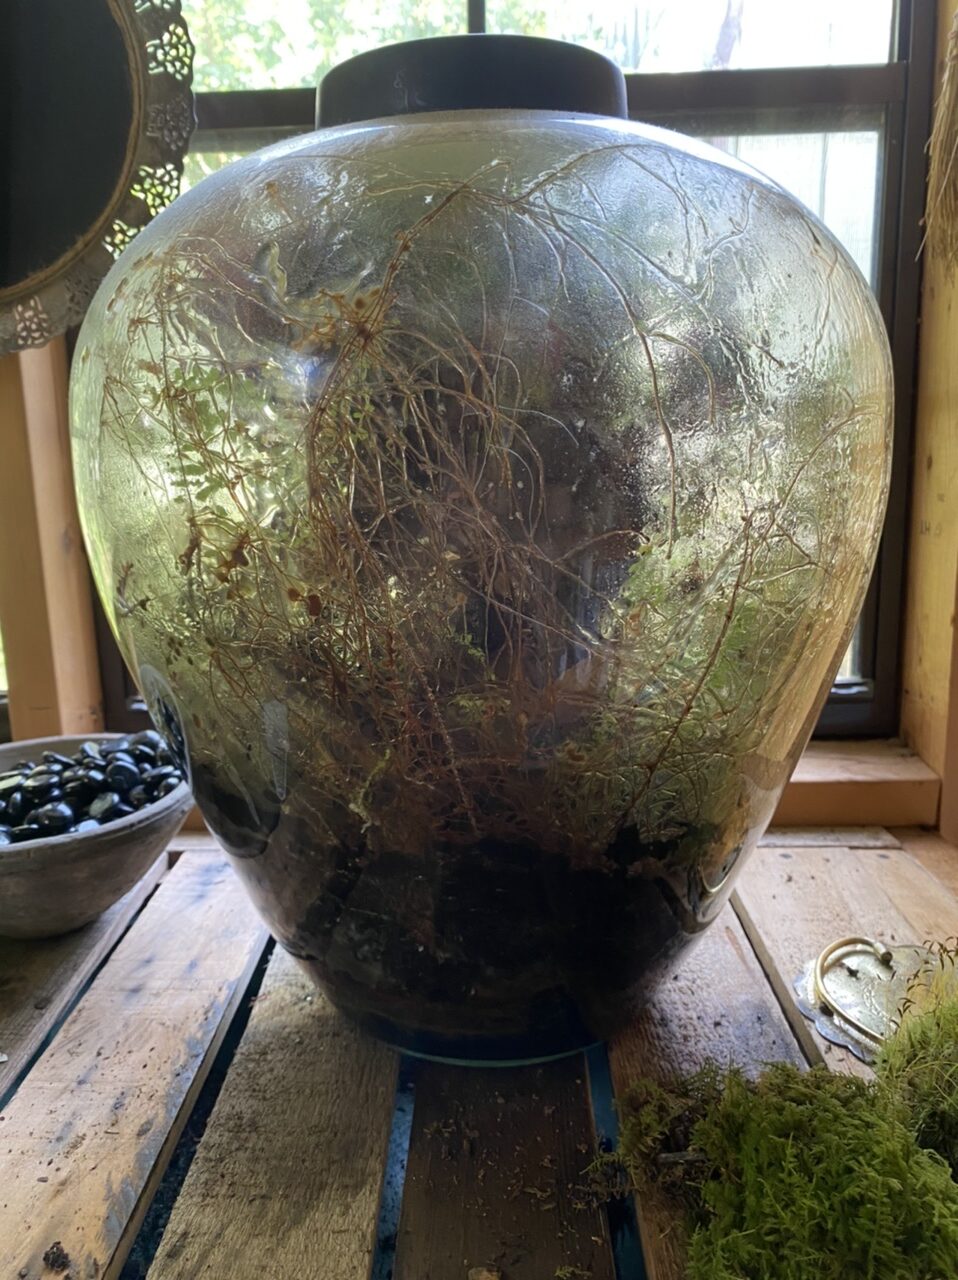
So, building a terrarium… it really is one of the easiest gardening projects you can take on, and the plus, if you buy the right terrarium, your little ecosystem will be self-sufficient, requiring very few to no waterings. I had one terrarium that went 6 or 7 years without me needing to water it! It ended up getting so overgrown that I decided to redo it… which will be a future blog on how to restart a terrarium!
For this terrarium, I chose one that has been sitting in my basement for years because it was going to take a bit more effort than a straightforward terrarium. Why? Because it needed to be stained and shellacked.
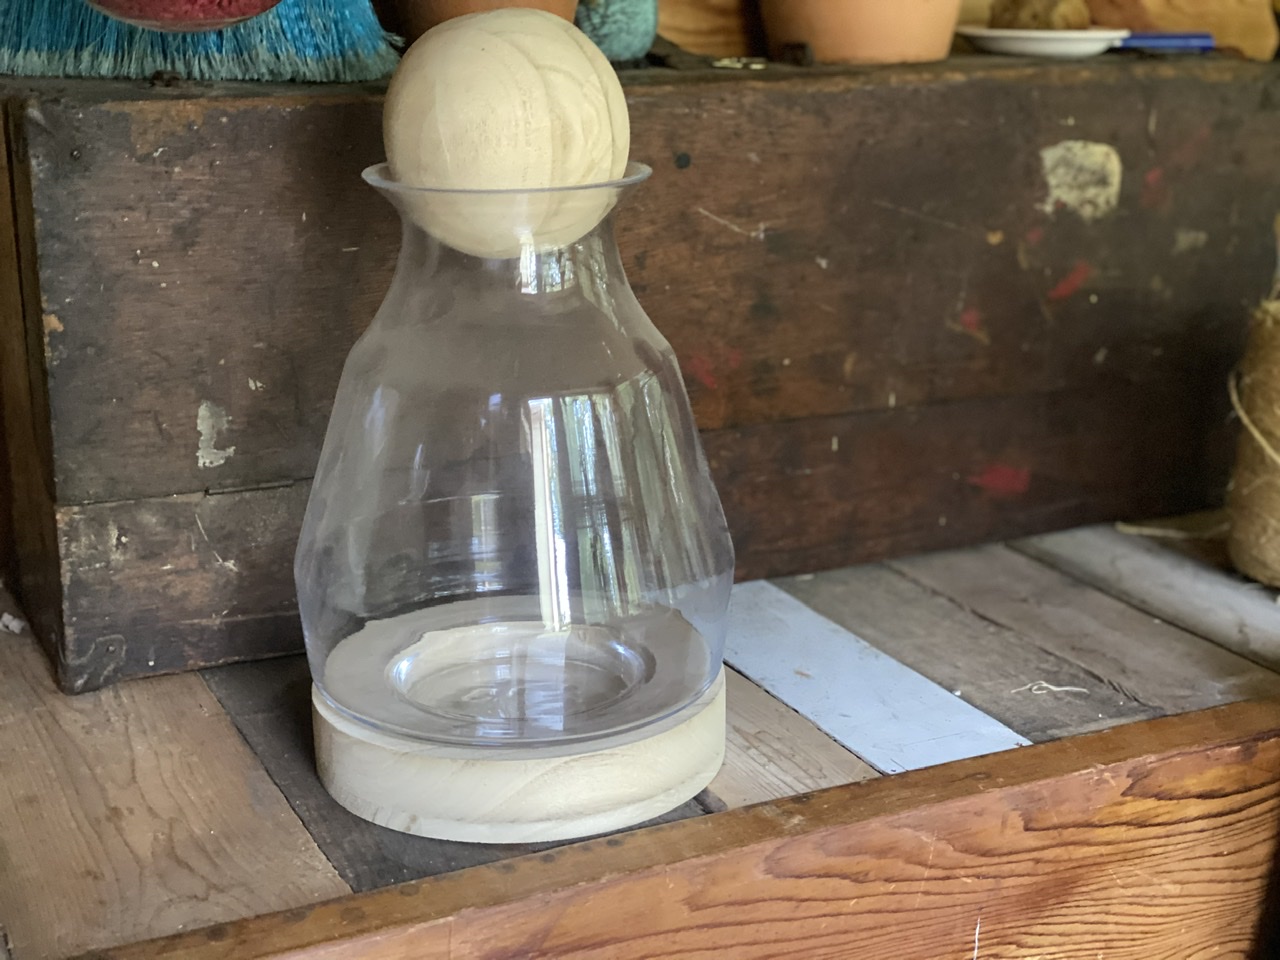
So the first step was determining what color to stain it. My husband said I should go dark, but first I test stained it where it wouldn’t be seen once the terrarium was built.
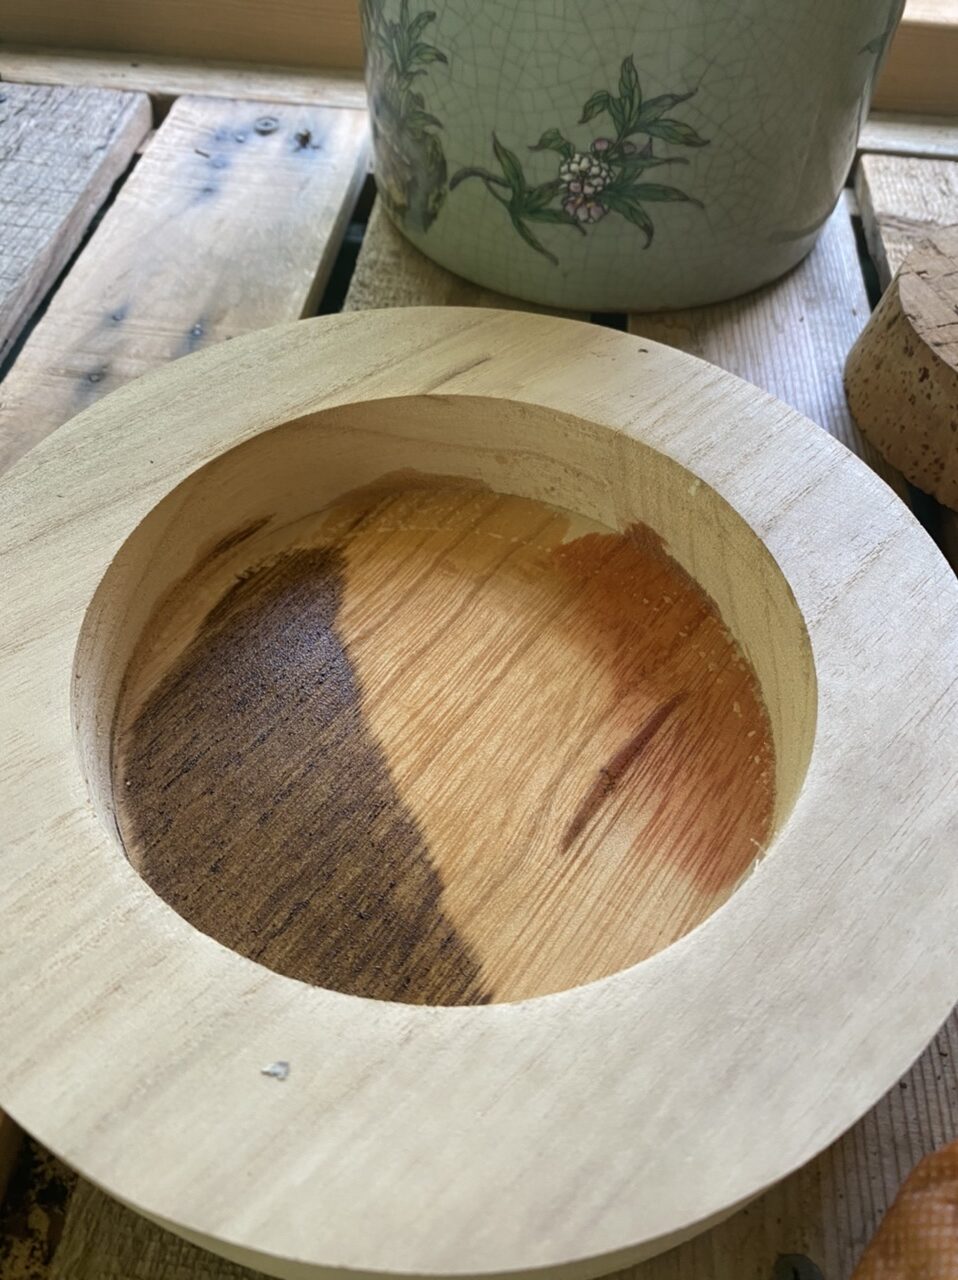
Honestly, I wasn’t a HUGE fan of any of them. The one on the right was a bit too reddish orange. I made a toolbox in this color a couple of years ago, and I had to figure out a way to tone down the intensity. The one in the middle could be nice, but I worried it was still too light. So, although it was a bit darker than I wanted, I went with the dark walnut on the left.
I did two coats, which dried very quickly in the summer sun!
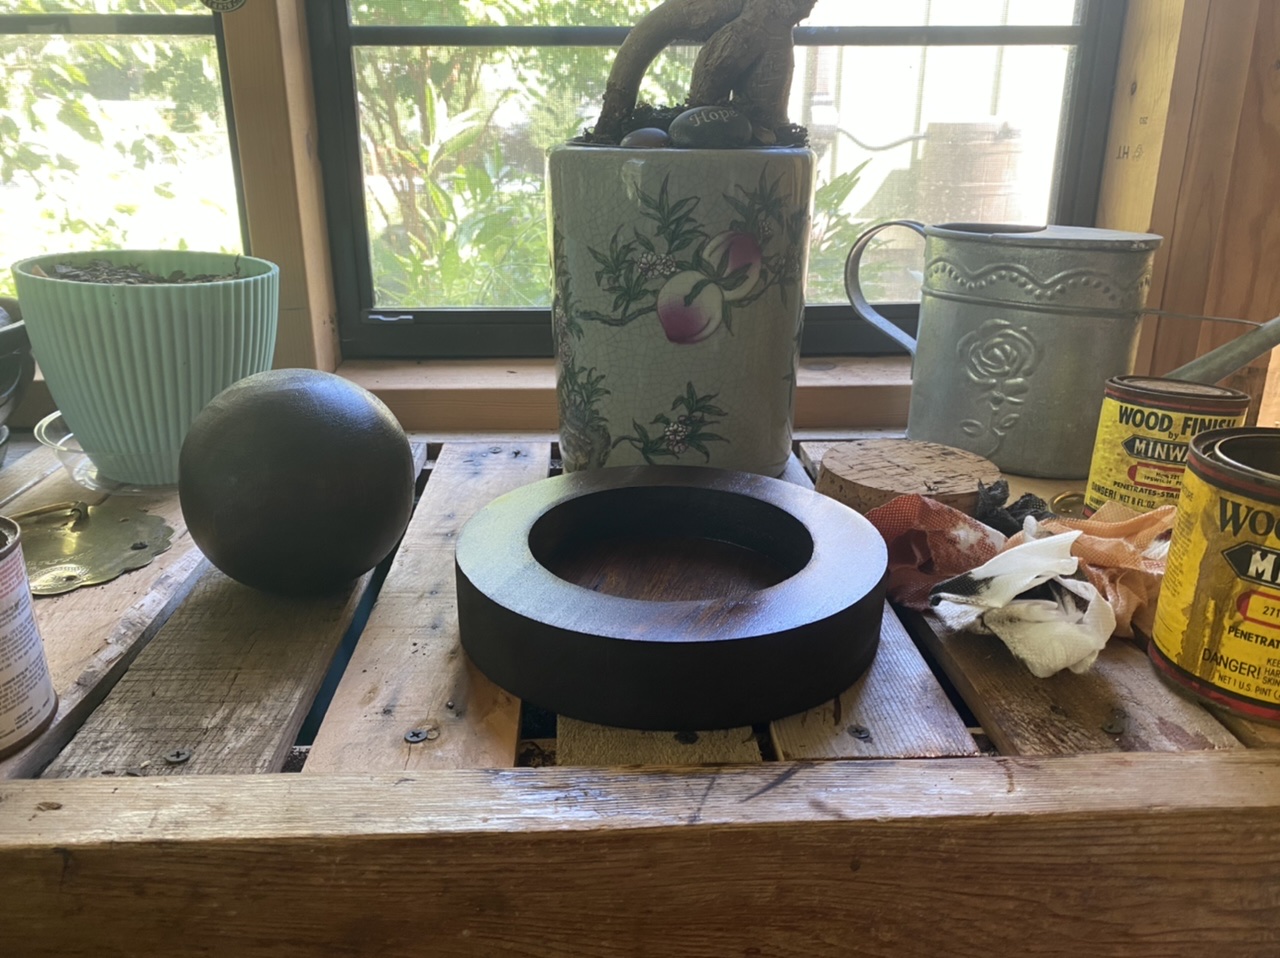
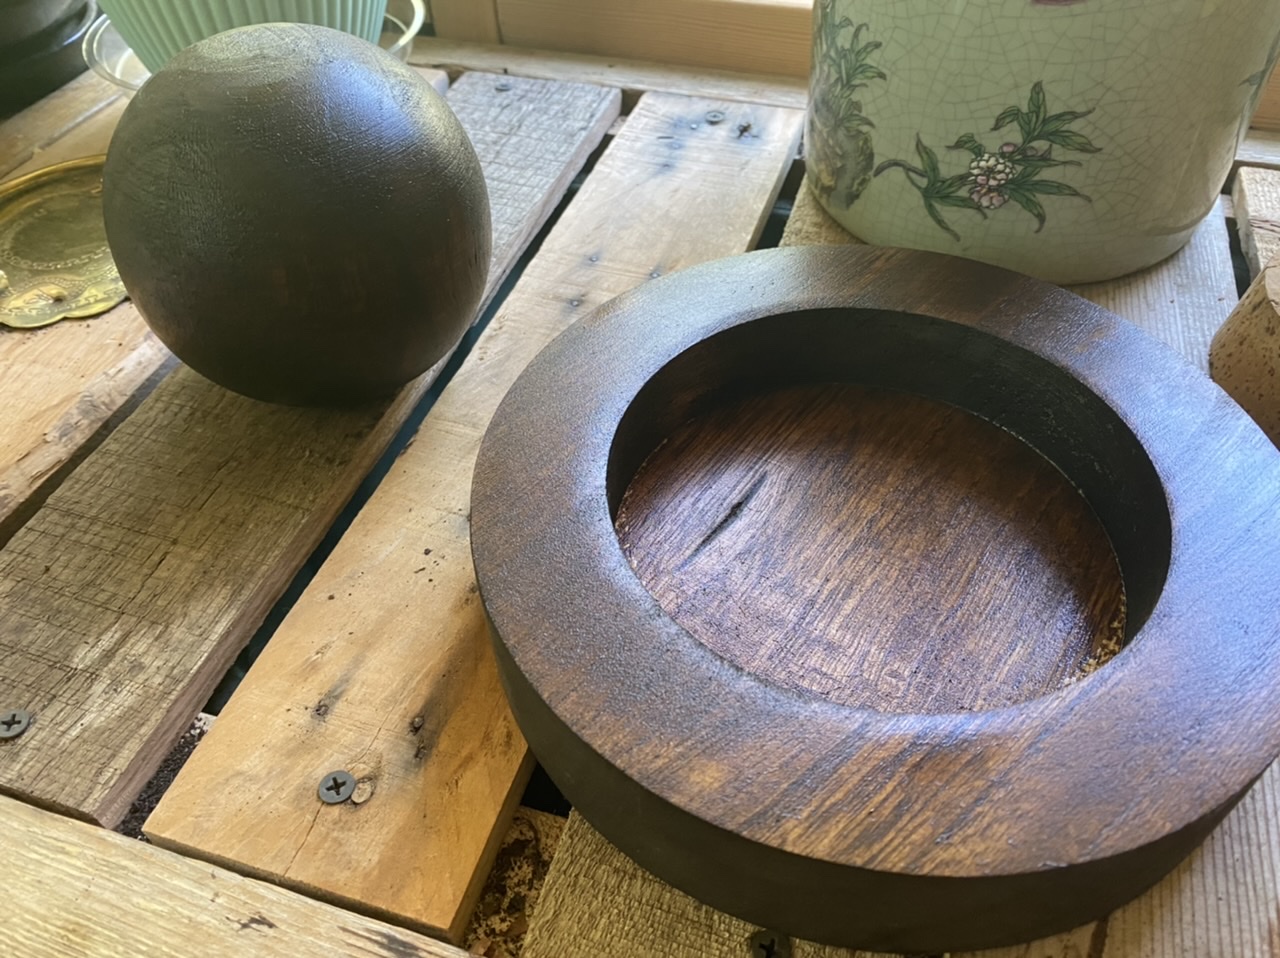
Next, it needed to be shellacked to protect the ball from the moisture that would circulate through the ecosystem. Again, this dried very quickly in the summer sun.
While the base and ball were drying, I built the terrarium. Okay, so the key to a healthy and successful terrarium is charcoal. Not the charcoal you get for the grill, but charcoal meant for terrariums.
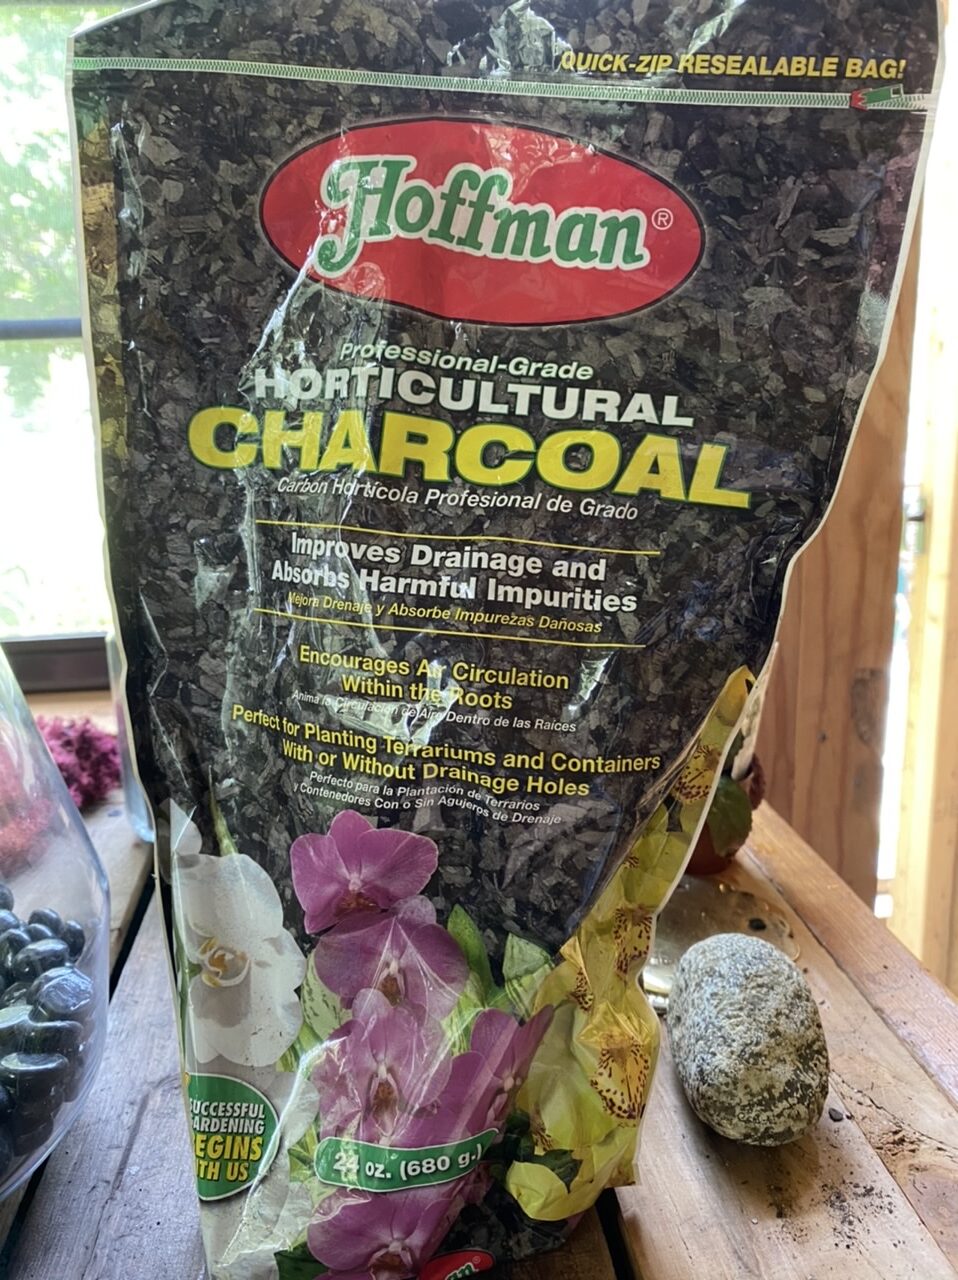
The charcoal purifies the water as it cycles. So, the water evaporates, creates droplets of water on the upper glass, which falls back down onto the plants, drains through the soil, is filtered through the charcoal, evaporates, and starts the cycle again.
My best friend was super sketch about terrariums not stinking. I took a terrarium that is massively overgrown…
…and took a BIG whiff. It smelt like the clean earth of a forest floor. No moldy smell, no pungency, just good, clean air.
So charcoal, A MUST!
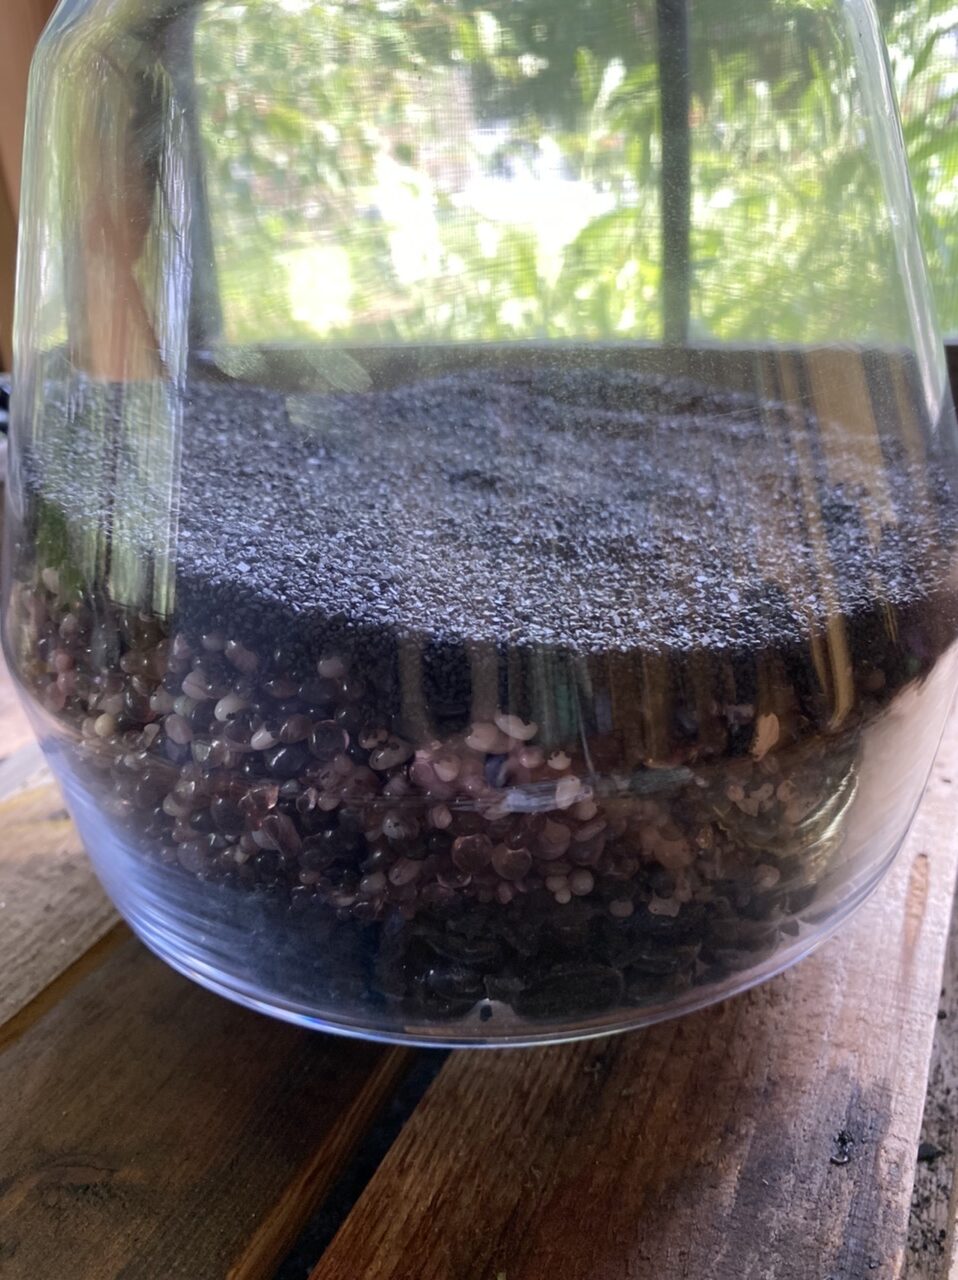
Now that I’ve drilled that home, the next step is the layers of a terrarium. I place medium to large stones, glass pebbles, or large marbles on the bottom of the terrarium.
You can use any color choices you want! I’ve gone from bright and funky, to subtle and sophisticated. It’s all on how you want it to look! For my base layer, I chose medium sized black, glass pebbles. On top of this, you sprinkle the charcoal. You want it to fully cover the stones, but you don’t need it an inch thick. Just a full covering of the base stones.
On top of the charcoal, I place small stones, or pea gravel. Again, choose the color that works for you!
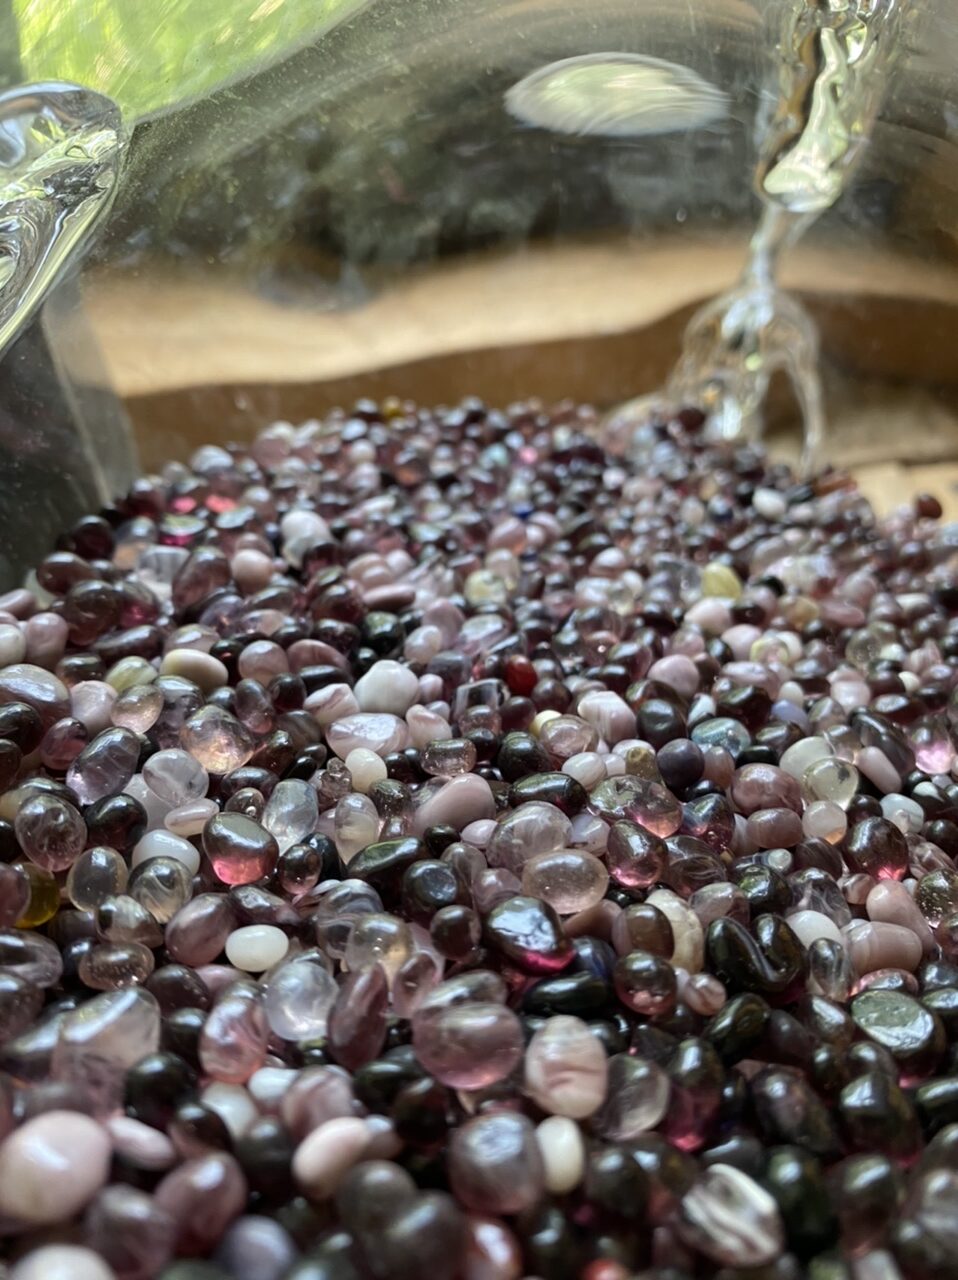
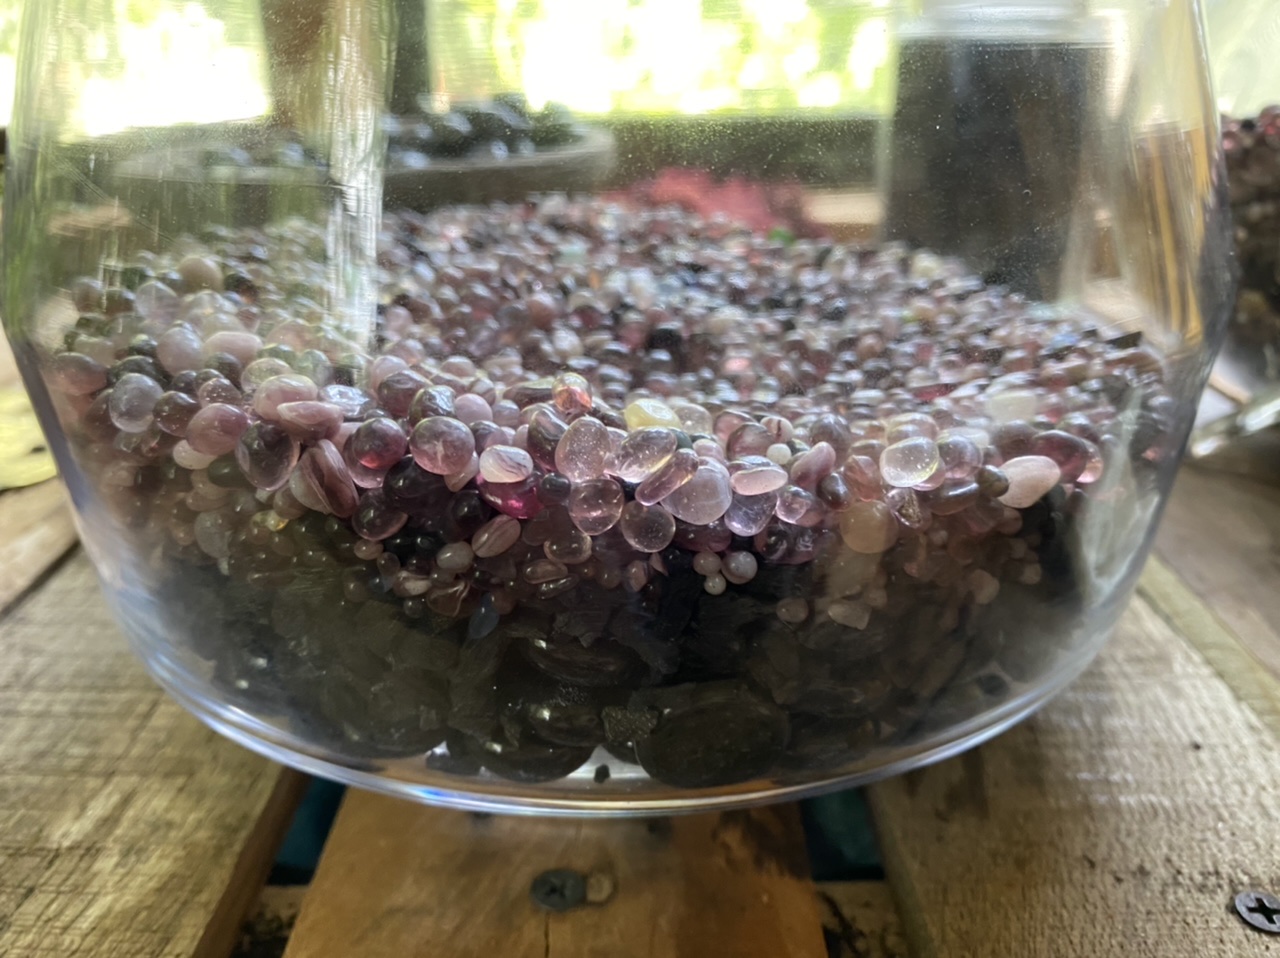
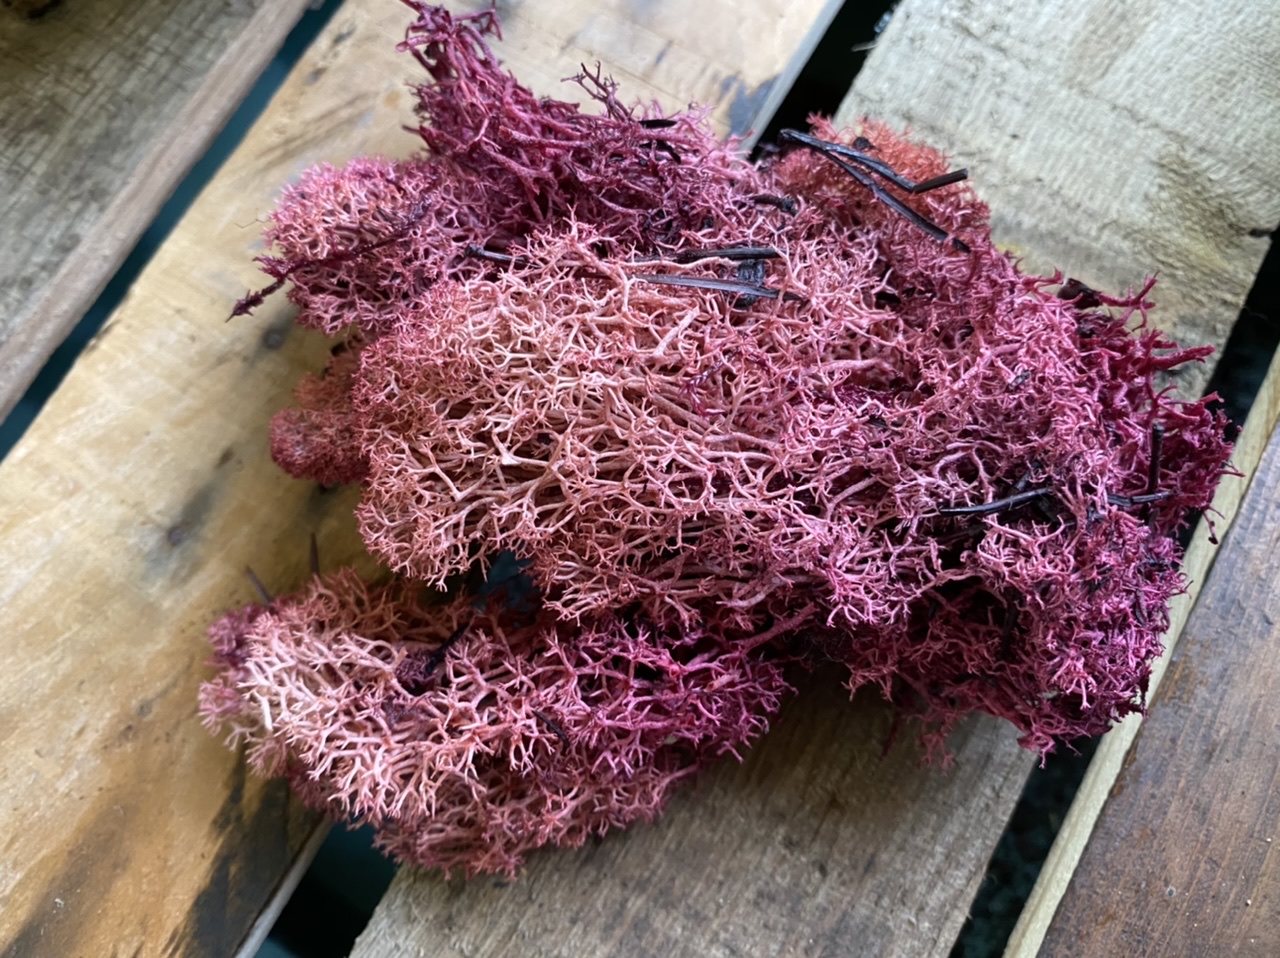
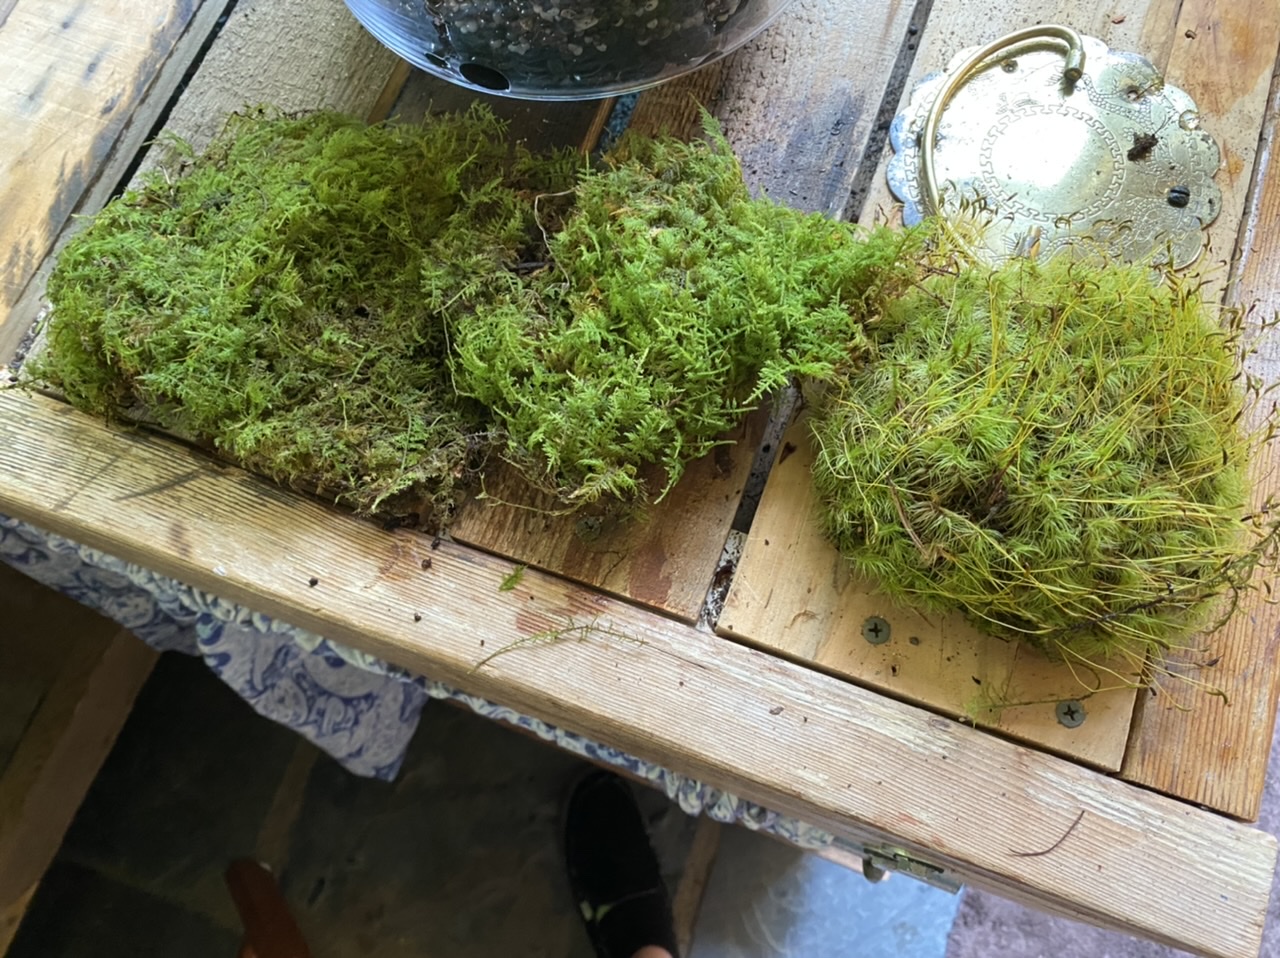
I chose this blend of soft purples and pinks to contrast the black of the glass pebbles. I found this mix so pretty. It has so many colors, but it’s still subtle (unlike the neon green I’ve used in the past!). The next couple of layers, you have some flexibility to play. You can put textural reindeer moss, which comes in a ton of different colors. You can use this to add a pop of color. Sometimes I put it at this level, but, as you will soon see, I chose to put some reindeer moss at the top.
Not a required layer, but I have always put a layer of sand next. Again, think of the layers we’re laying down as the whole filtering system of your ecosystem. I chose black sand, so the purple glass pebbles weren’t detracted by something else.
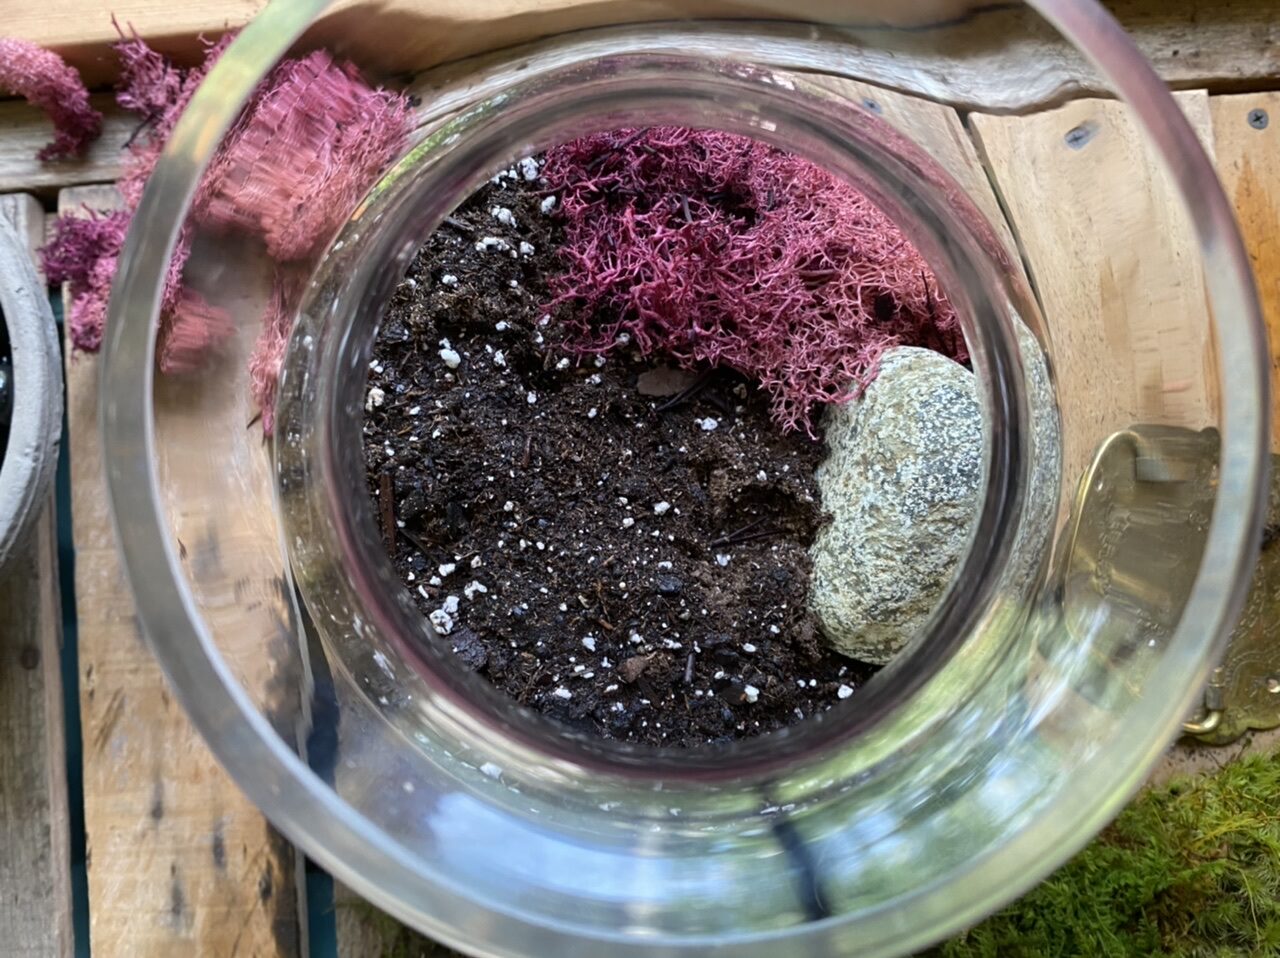
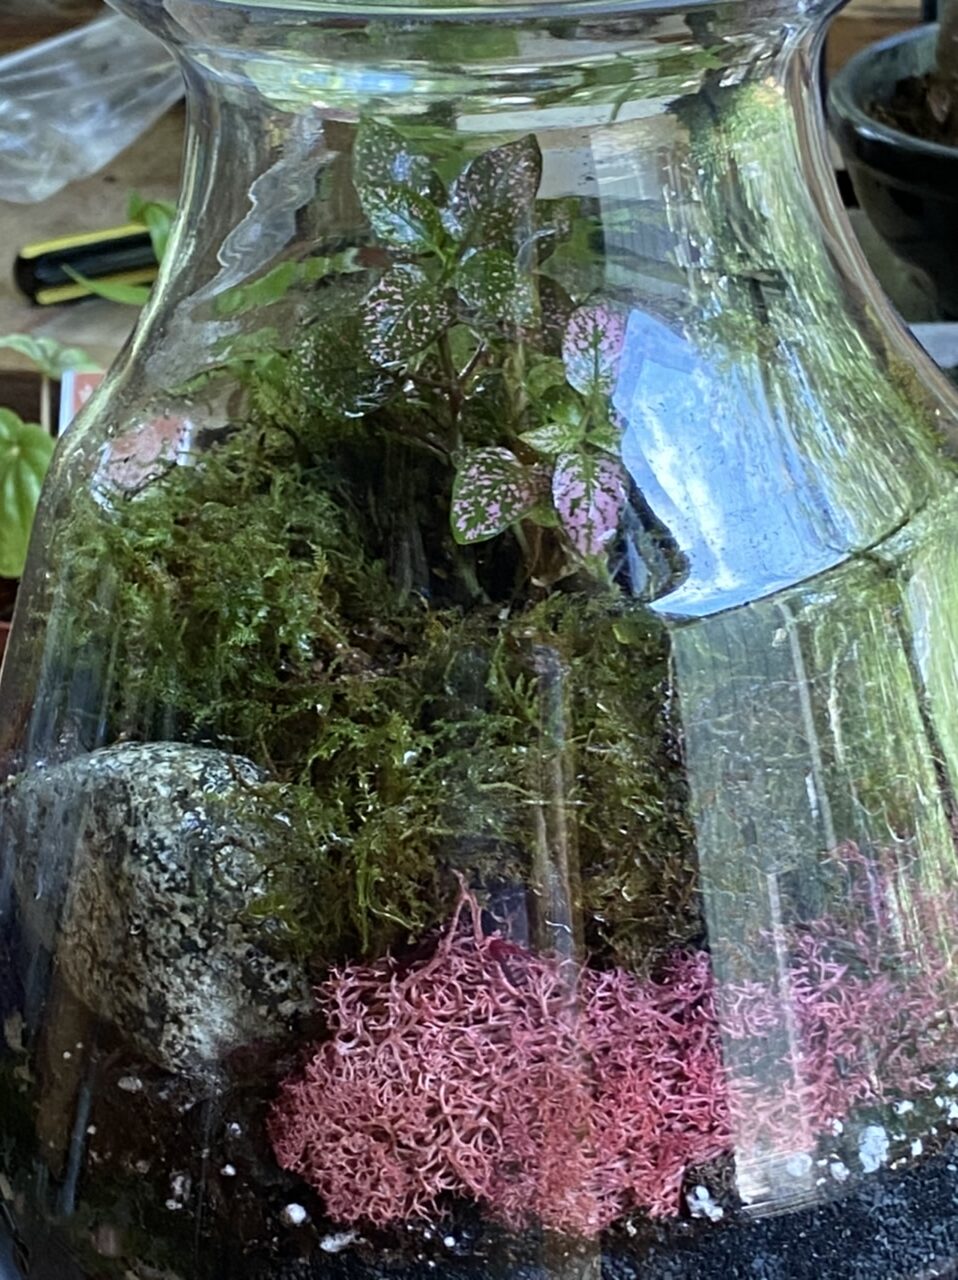
On top of this goes the soil. I like to add “things” to my terrariums. Sometimes I add a rock that I gathered from one of our vacations. I’ve collected rocks from Maine, from Ireland, from each coast of England when we walked the coast to coast. Let me be clear, though, I have never taken a rock from a protected or endangered area! Othertimes, I’ve added weird metal items we’ve found on the local beach. Our favorite beach area has a bay side and an ocean side ~~ some really neat things wash up on the bay side! Sometimes we have no idea what it is, but it’s just neat looking. So, I use it.
This is all about your creativity, even if you don’t think you’re creative! For this piece, as I said, I decided to put some reindeer moss on top to add a pop of color and to complement the purple pebbles I used.
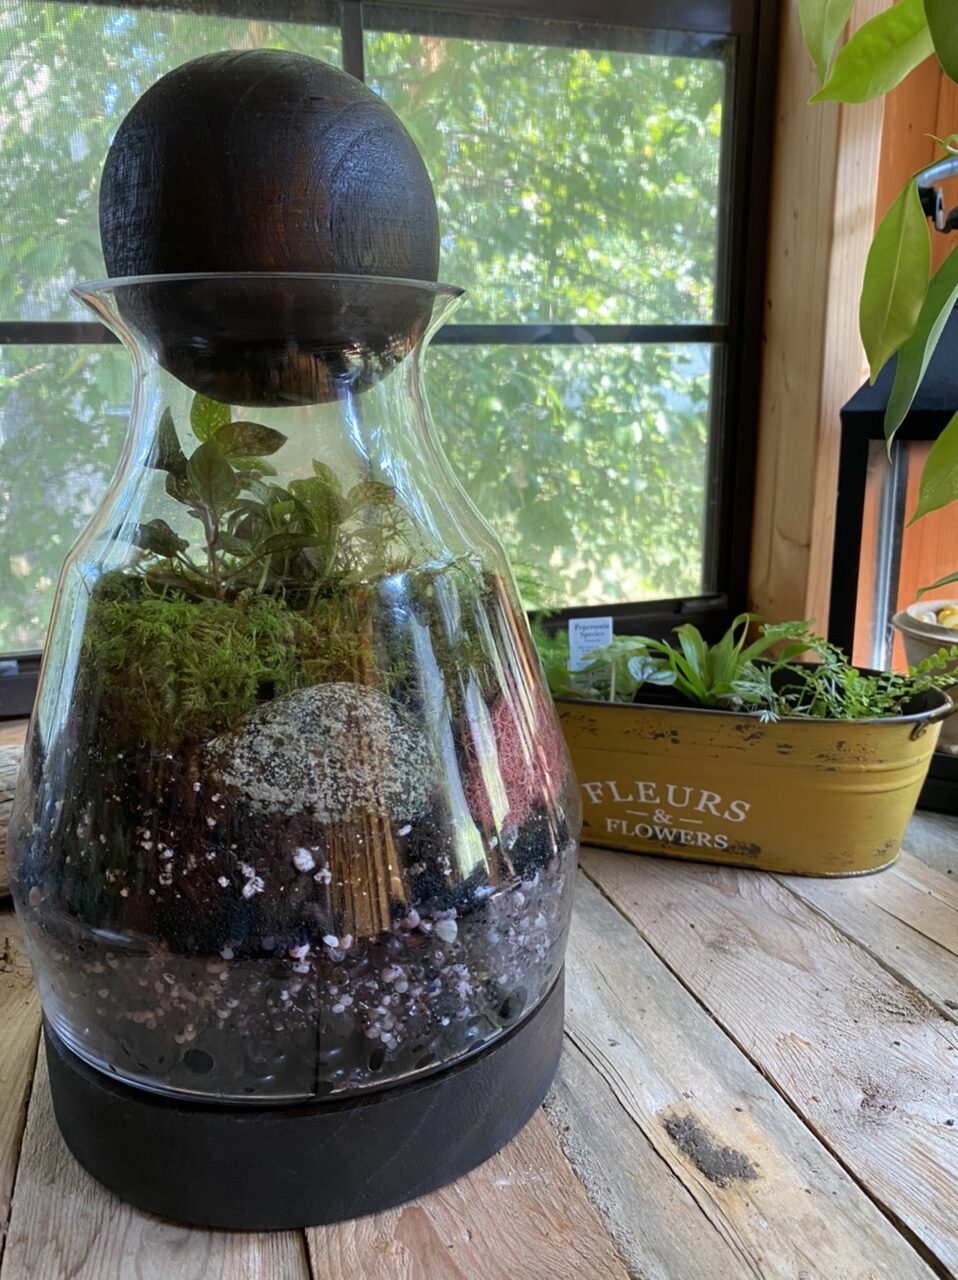
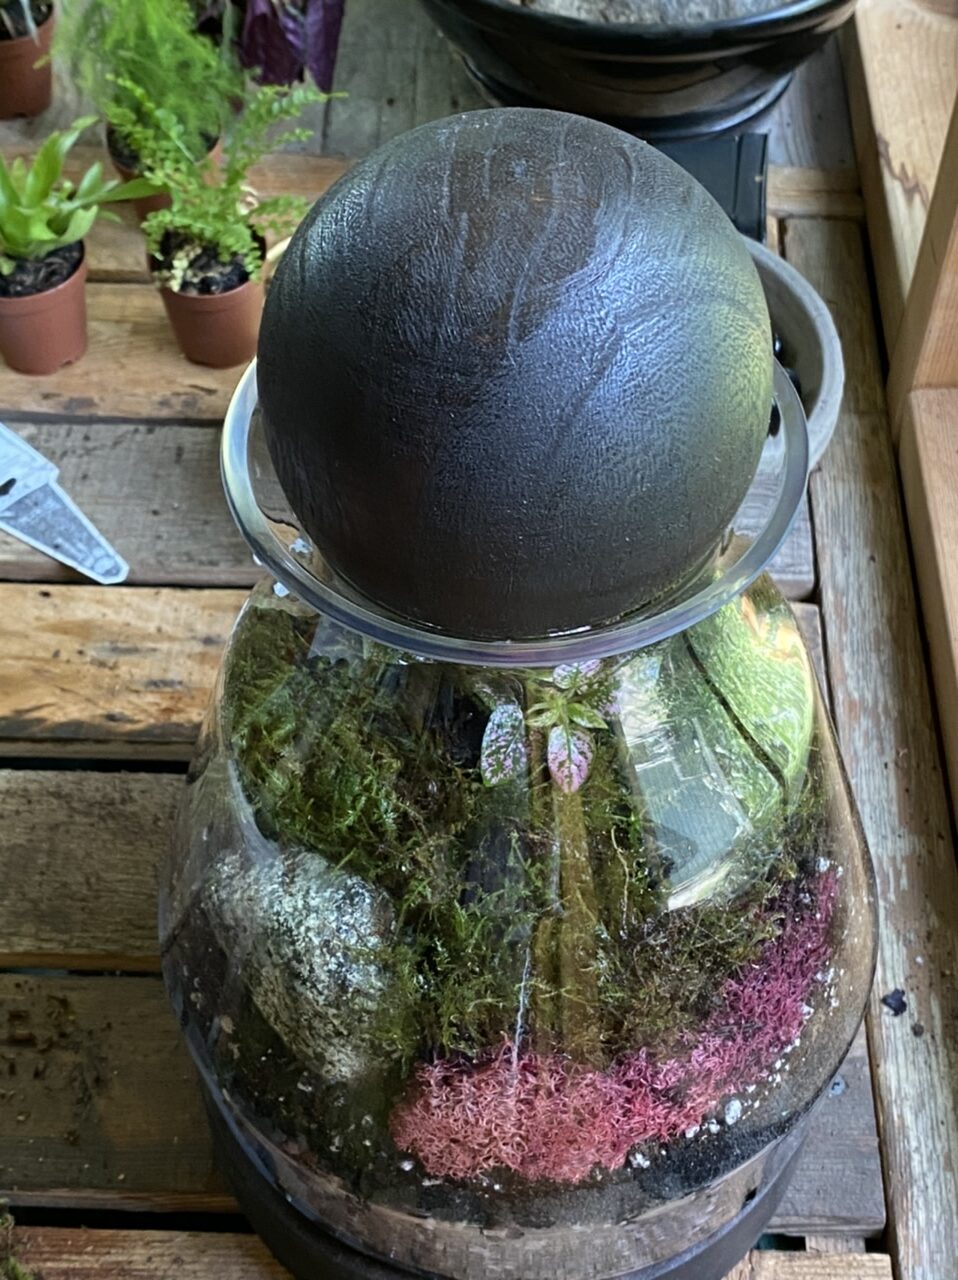
So here is my base terrarium before any plants are added…

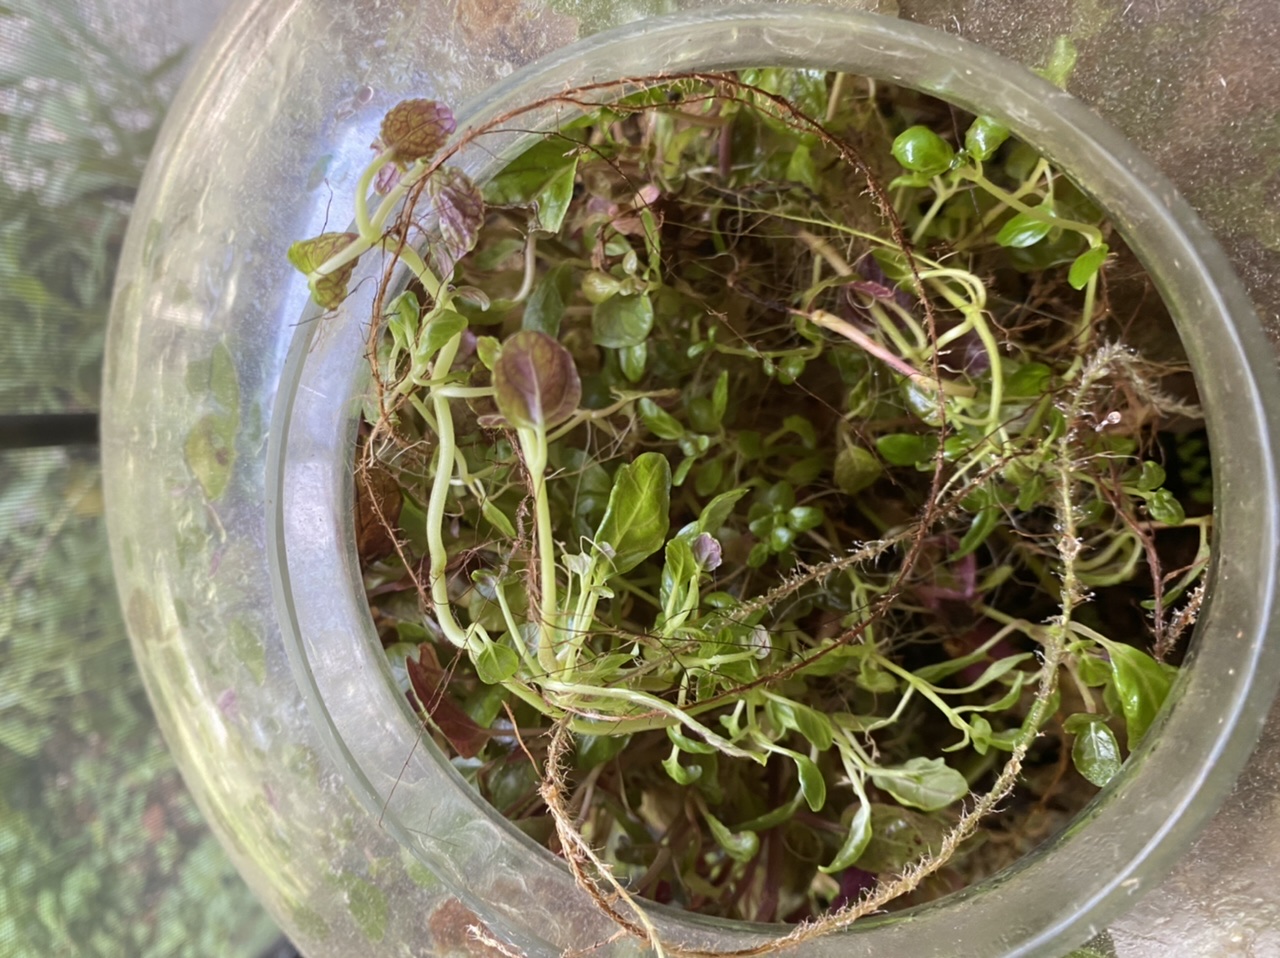
This terrarium is pretty small once all the layers are added, so it’s not going to fit a lot of plants. Because I have years of experience with terrariums, I know not to add a punch of plants that will smother each other and become an indistinguishable jungle. Therefore, I decided to choose one plant to highlight and fill the rest with moss.
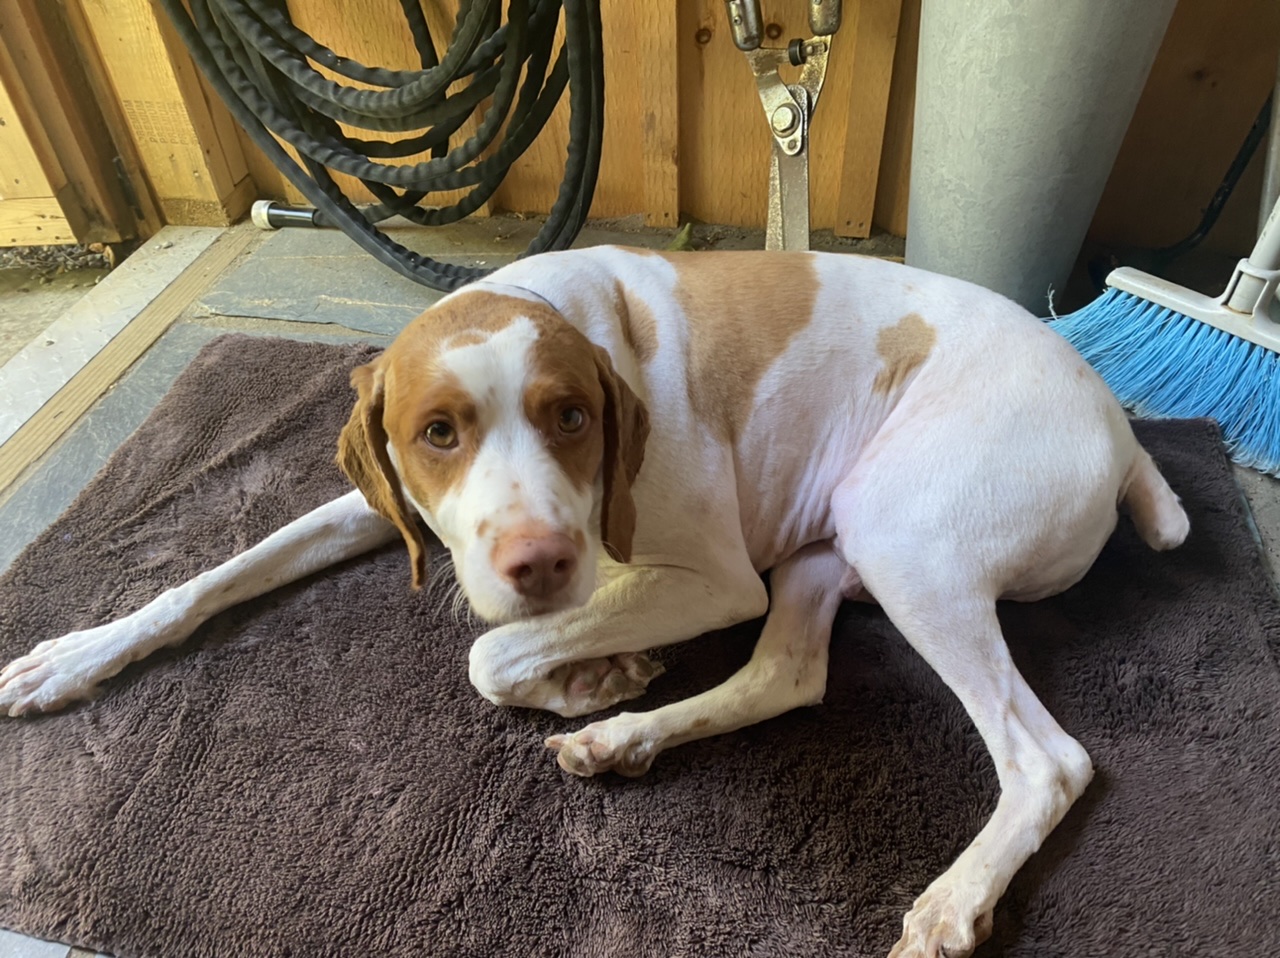
Intermission… my naked pup sunbathing 
I have a selection of plants to choose from, so I picked a hypoestes plant, or a pink polka dot plant.
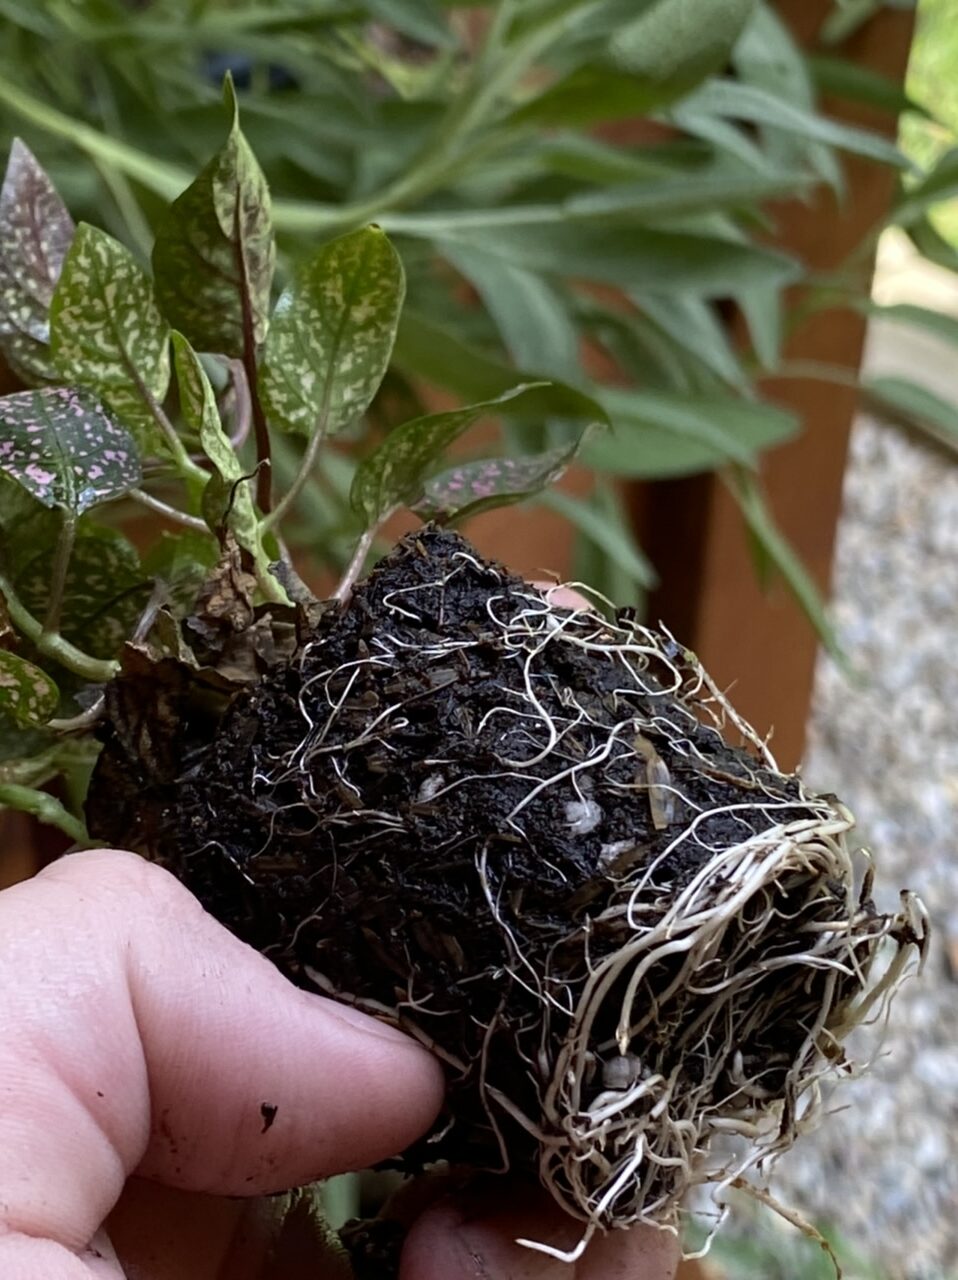
The colors compliment the purple and pink pebbles! I gave the roots a really good spray of water before planting it. From there, I carefully planted my moss around it. Firming it down and around the hypoestes.
Now that everything is planted, using a spray bottle, generously spray inside the terrarium. Once the base and ball are dry, place the terrarium on the base and the ball on top. And voila! You have yourself a terrarium!
Join me soon for when I build a screen door for my shed! After bringing the terrarium inside, I returned to the shed to find some large black stinging bug flying in the middle of my shed 🦟. I DO NOT DO LARGE STINGING BUGS, so I hightailed it . Don‘t judge! But, now I need a screen door to keep all the creepy, mean, stinging bugs from harassing me while I work!