Like so many others, I have been learning bread making over the past year. And each time I think I’ve come close to mastering it, I discover something new. My friend, on the other hand, has been mastering the art of pie dough. She’s tested out butter, shortening, and lard to determine ease of use, styling, and taste. And it’s funny, because I really don’t have much patience in learning the art of pie dough. Honestly, I kind of prefer cookie crusts 🤷🏻♀️.
Generally, I make crusty artisan bread in my Dutch oven, which is always fantastic. However, I stumbled across a delicious new bread recipe purely by trying something a little different. In talking with my friend, it occurred to me to try lard in my bread! I mean, I often add olive oil as a fat as is. Or in a more enriched dough, I add butter. So, how would it be with lard?
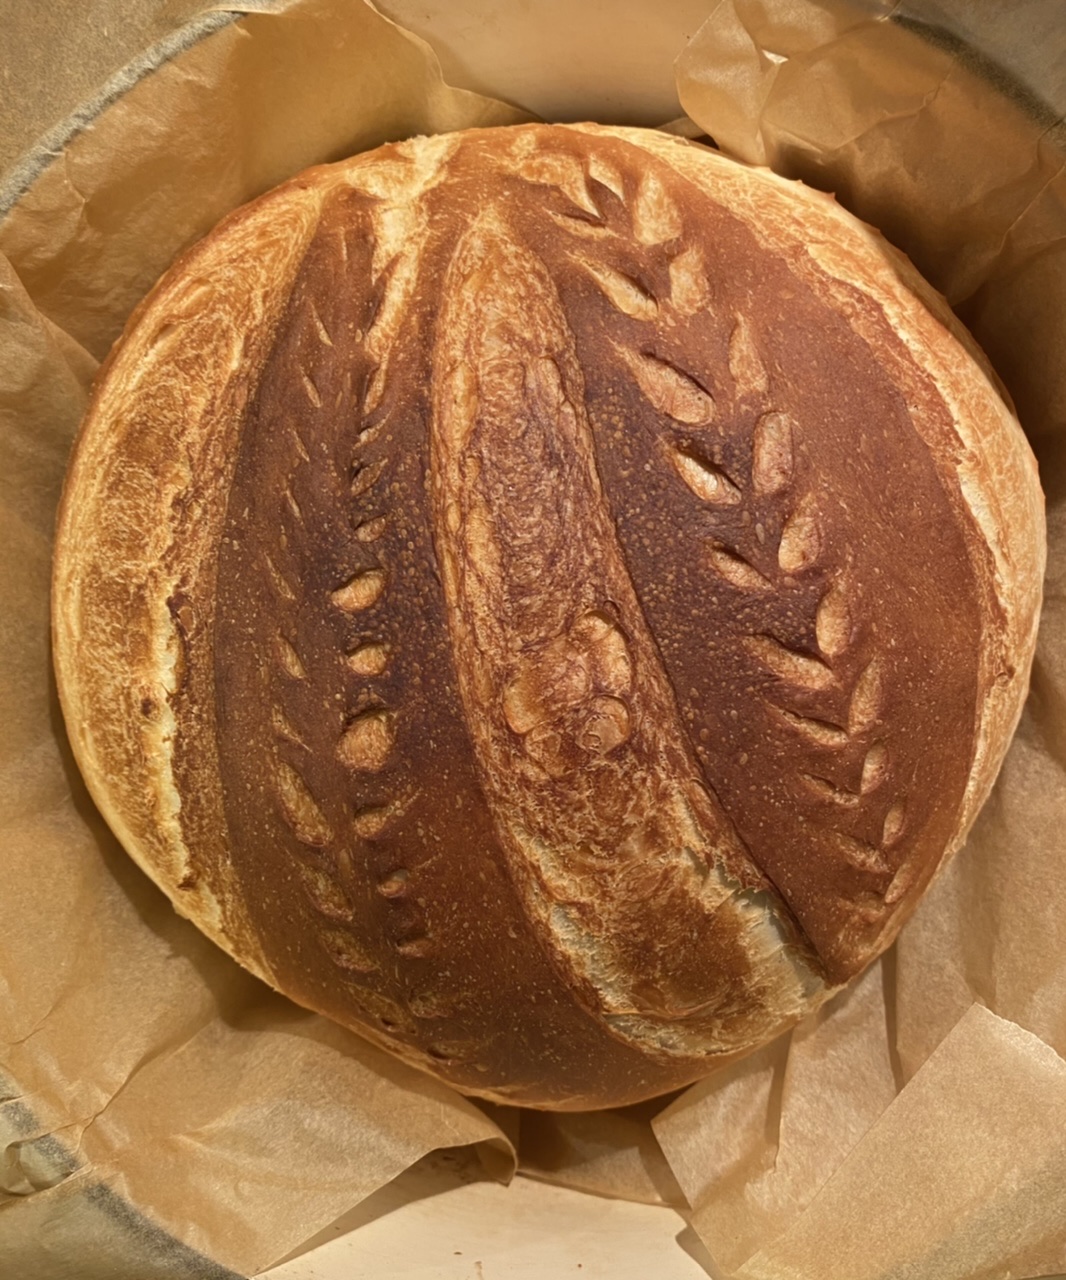
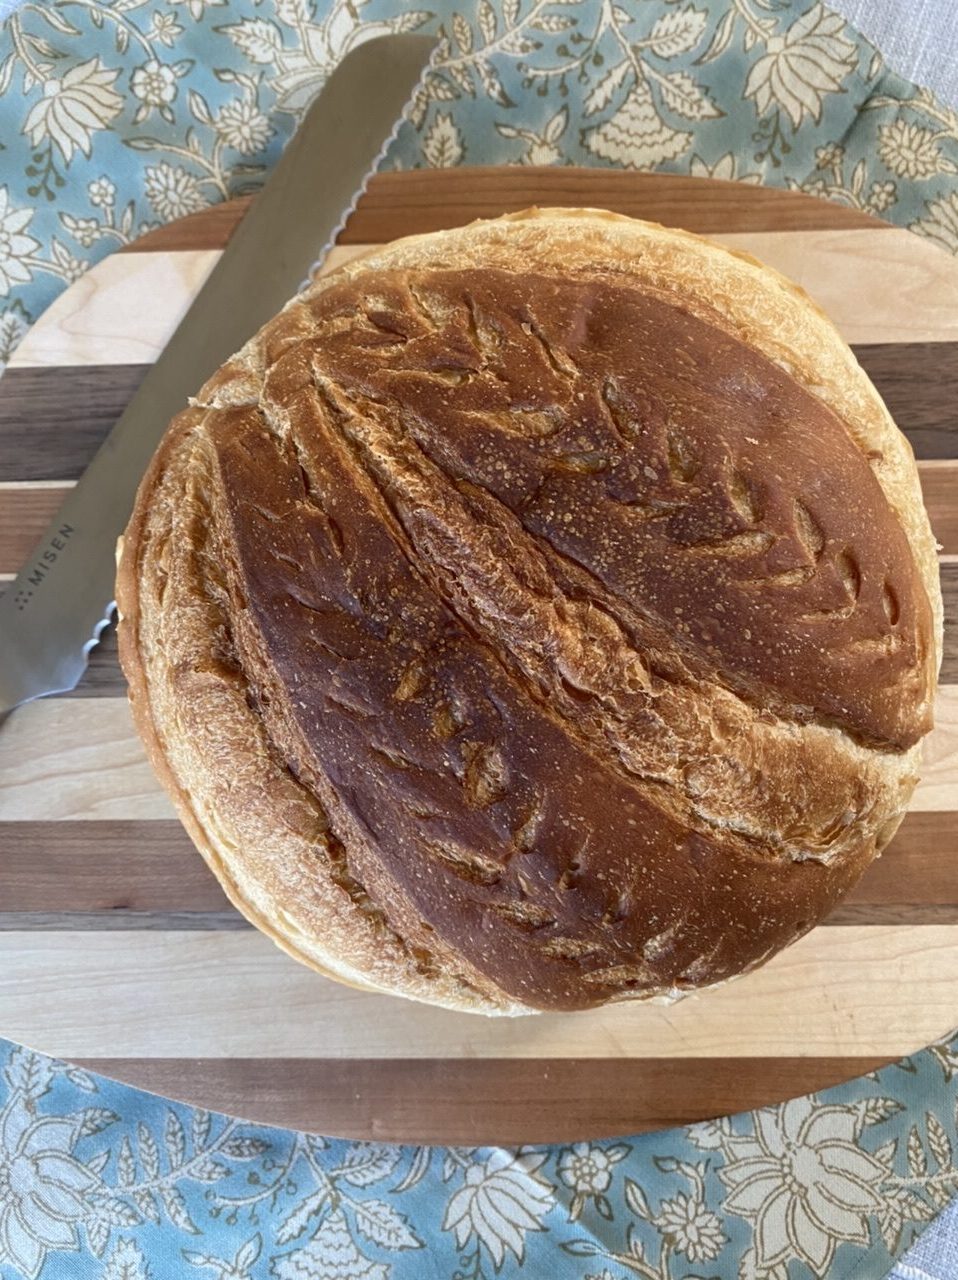
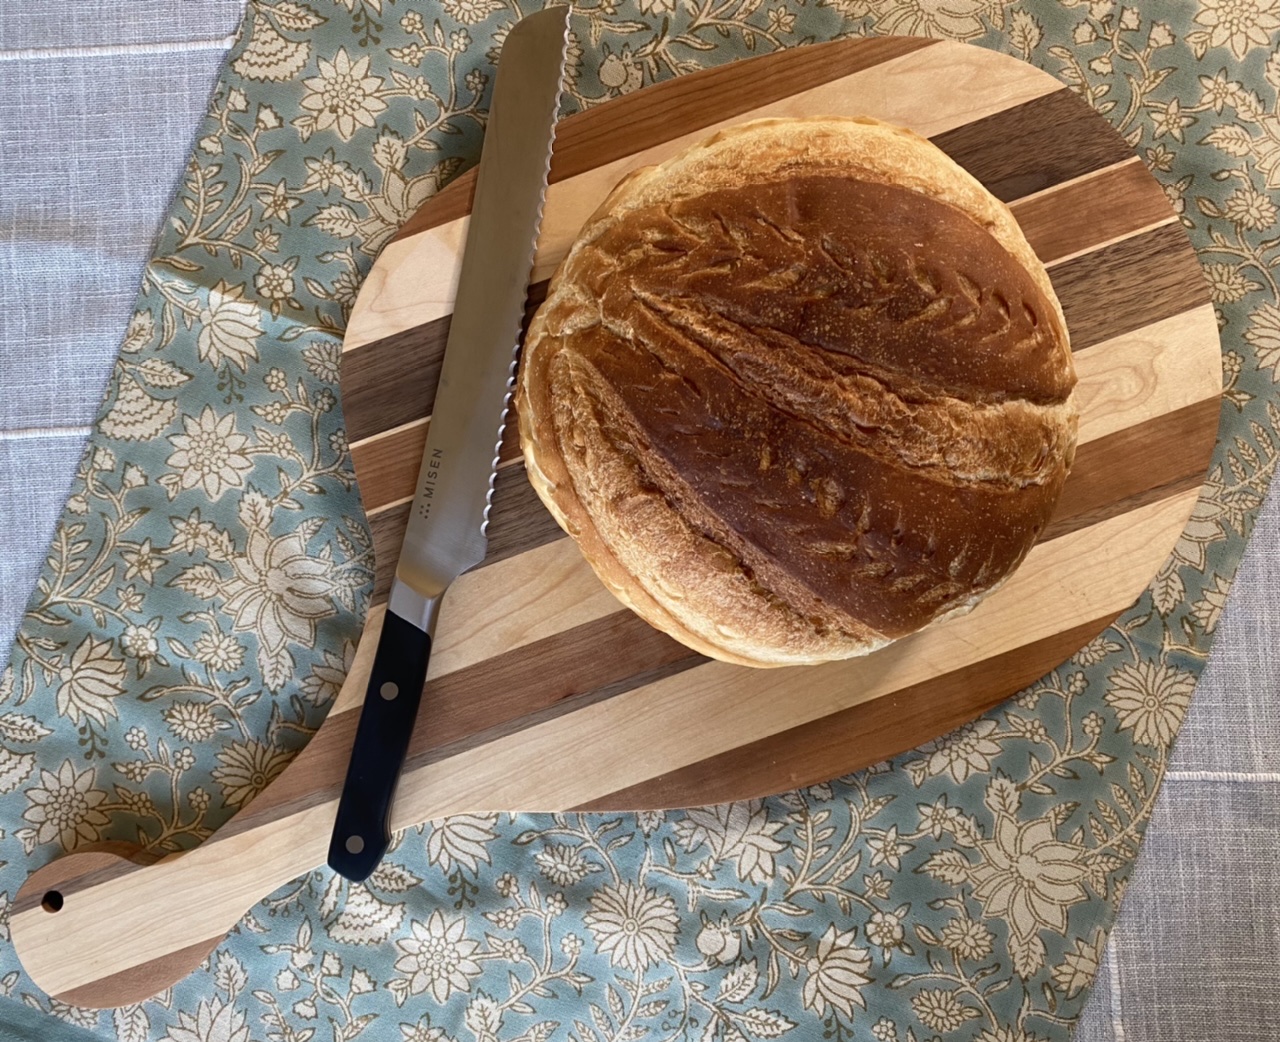
By replacing the olive oil with lard, the bread went from a crispy artisan bread to a soft bread loaf packed with flavor. If you’ve ever stood near a bakery while they cook bread and the whole area surrounding the bakery is filled with the delicious smell of the cooking bread, this bread embodies that. For whatever reason, one of the smells that sticks strongest to me of my memory of England is the smell of bakery bread at the supermarket. There was a very distinct smell that I’ve only ever been able to relive by going back to England… until I made this bread and my memories of English bakeries came flooding back!
This bread can be used for all the same things you would use a crusty bread for. But, because it’s a softer loaf, it makes for a nicer sandwich bread because there isn’t any hard outer crust. The bread is so flavorful, though, that it’s really delicious added as a side with pasta or any of your other favorite dishes!
So, generally the same process as any of my other breads. Normally, I use honey as my sweetener for bread, but for my lard bread, I use white granulated sugar. If you prefer, use honey! I whisk together the sugar, warm water, and active dry yeast and let it sit until frothy. For salt, I prefer to use pink Himalayan salt. It’s been found to have so many beneficial minerals; I tend to use it for most of my cooking needs.
Using a stand mixer, I pour the yeast water around the sides of the bowl while the dough attachment is working on low. I do this because the water pushes the flour down toward the middle, allowing the dough hook to grab it and incorporate it. Before adding the lard, I find that the bits at the bottom struggle to adhere to the forming ball, so I’ll stop the machine and working the ball by hand for about 15 seconds to grab those flakes. They may seem dry, but they’ll moisten and come together smoothly once the lard is added.
On a higher speed, I add 2 tablespoons of lard to the bowl. Once it fully incorporates into the dough, I turn the speed to the highest setting and babysit the mixer for about 10 to 15 minutes. When the dough has fully formed a ball and is being worked by the machine, the stand mixer likes to walk ~ hence the need to babysit it.
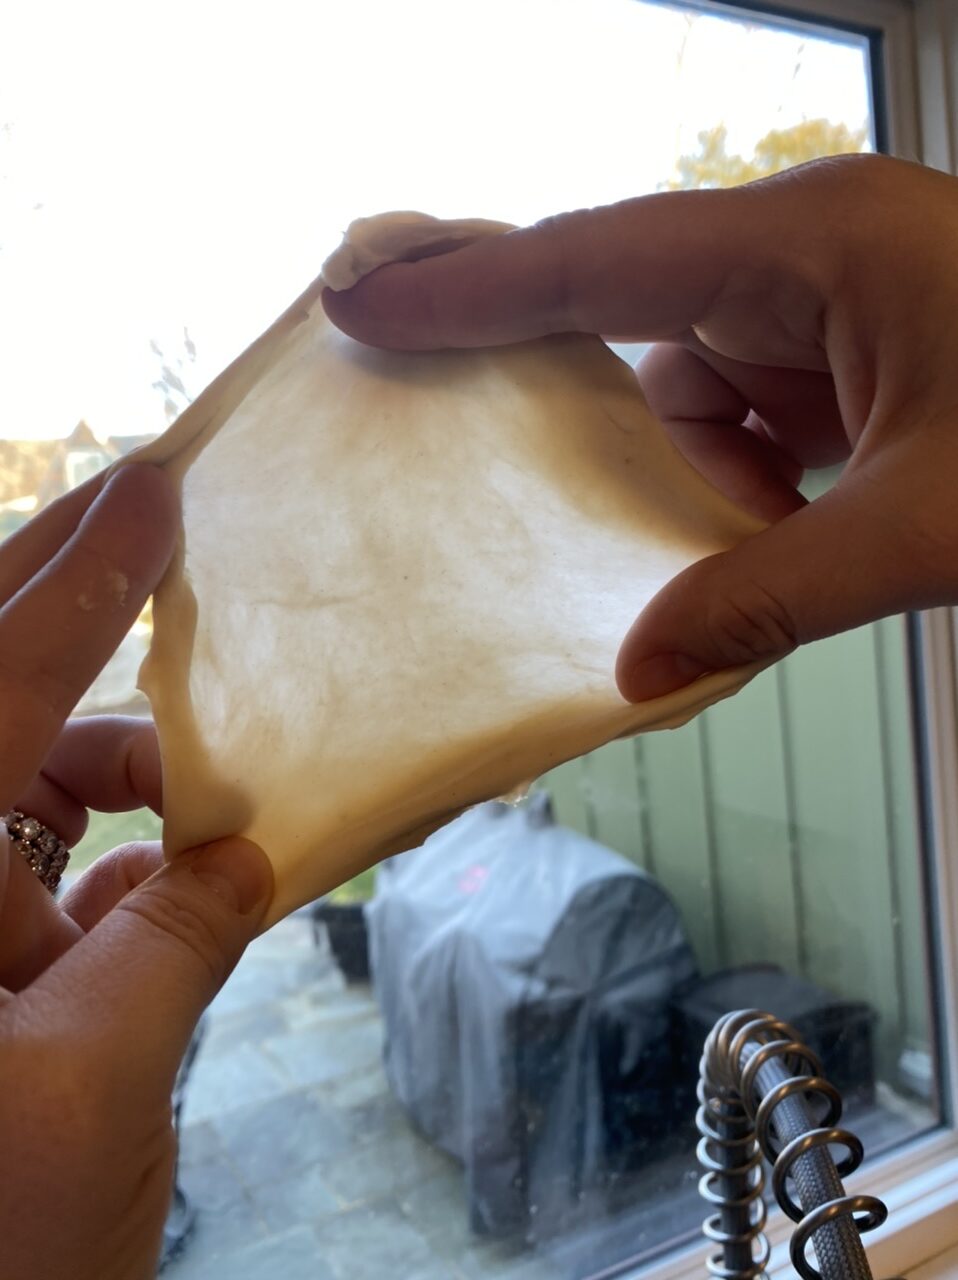
After the 10 to 15 minutes, I take a small chunk of the dough and perform a windowpane test to see if the gluten has formed. Have you ever wondered why your bread has too many holes? One reason could be the lack of gluten formation. Gluten is essential to a beautifully structured bread. Although, holes can also be formed by not removing enough of the air bubbles after the first proof, or even over-proofing it during the second proof. Regardless, the first step is ensuring the gluten has fully formed, which will be evident in that you can stretch the dough out enough to create a semi-transparent window… thin enough to make out the shape of your fingers behind it.
As I’ve shared before, I like to turn my oven into a proofing drawer. Some ovens have a “proof” feature. Unfortunately, mine does not. However, it’s easy to create a proofing drawer by turning your oven on for about 2 minutes then immediately turning it off. Tightly cover the bowl with your dough in it and place it in the oven. Close the door and the oven provides a stable environment for the dough to rise, regardless of what time of year it is or whether you have the AC blasting or all the windows open.
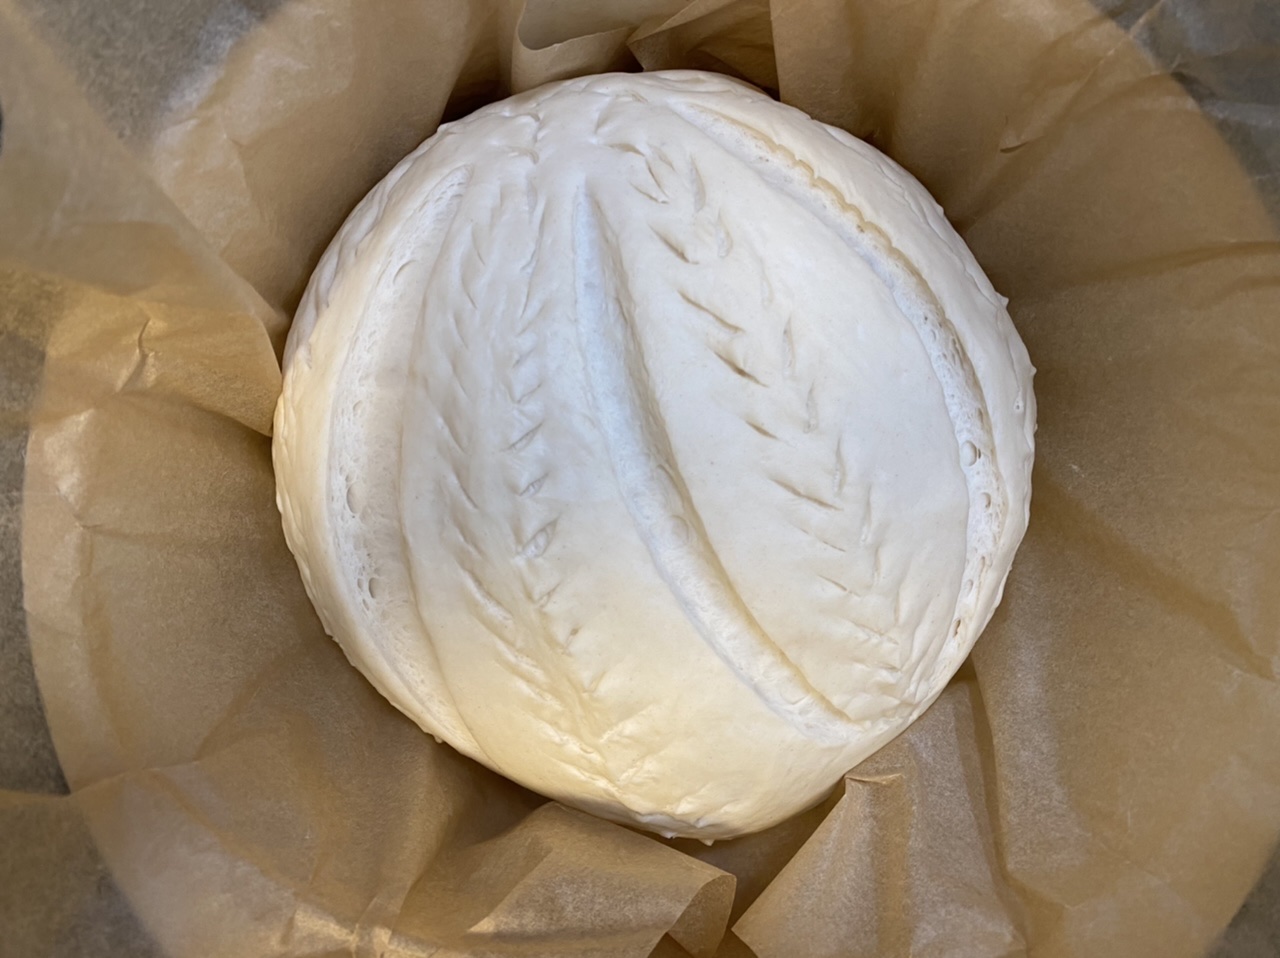
This time around, I decided to try the second proof in the Dutch oven I would be using to cook the bread. That way I wouldn’t have to flip it out of a bowl, which always deflates it slightly. Instead, I was able to remove the Dutch oven after it finished rising, score the bread in place, replace the lid, and pop it right into the oven! Easy peasy!
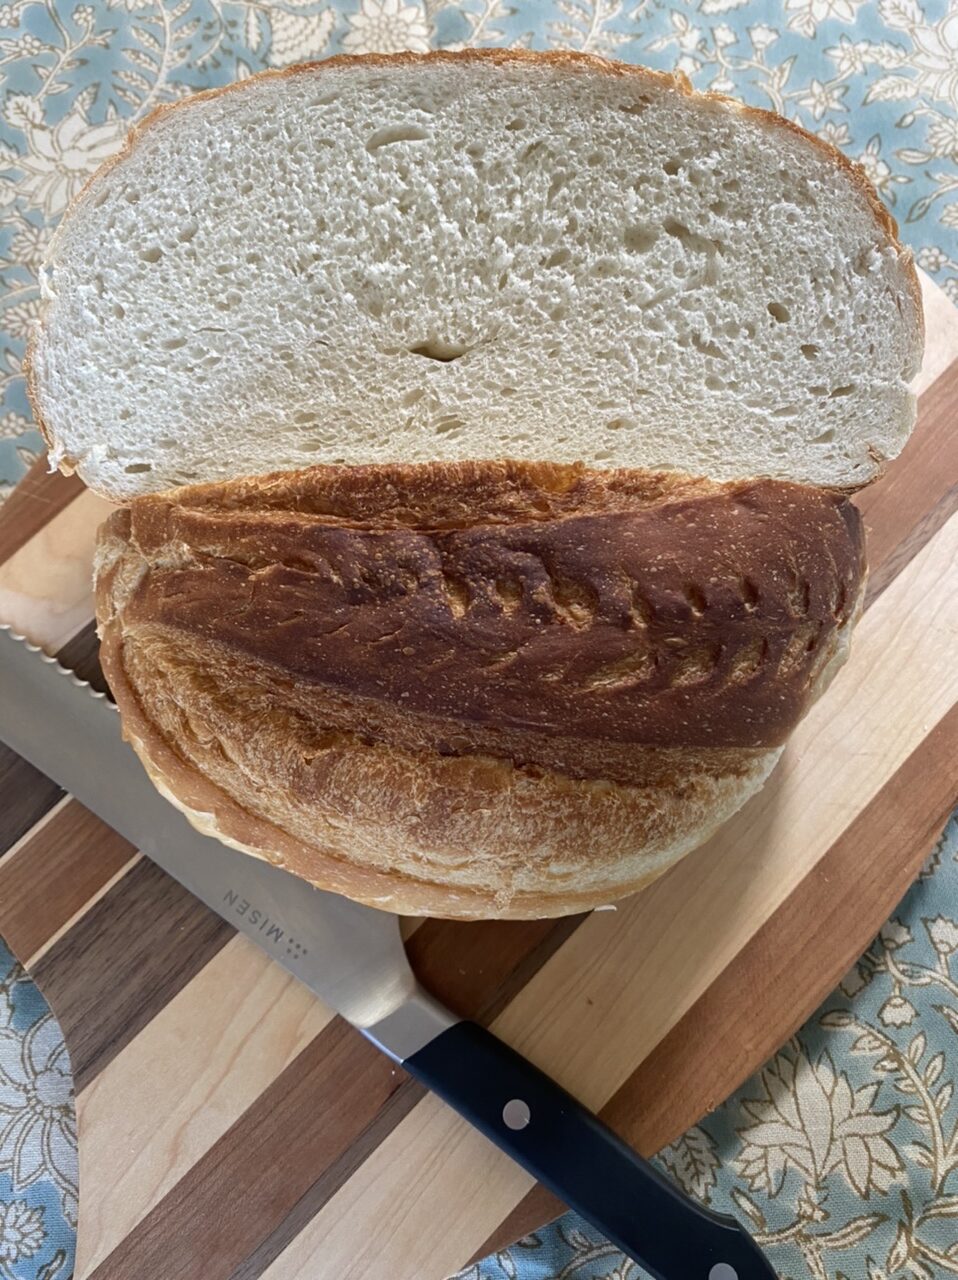
Now, I have looked at a lot of recipes over the past year, particularly on Dutch oven bread. And I am going to be totally candid, they’re wrong. Each and every one of them has you baking your bread longer than is needed. Bread only needs to be between 190°F and 205°F to be cooked through. Cooking much longer than this often will give the bread a really hard, often dark, bottom. I’ve experimented a bit, and the time provided in this recipe gives a beautiful browned loaf that is cooked through without a burnt bottom. And the texture inside is perfect because… it’s not overcooked! Ugh! Stop overcooking your bread!!!
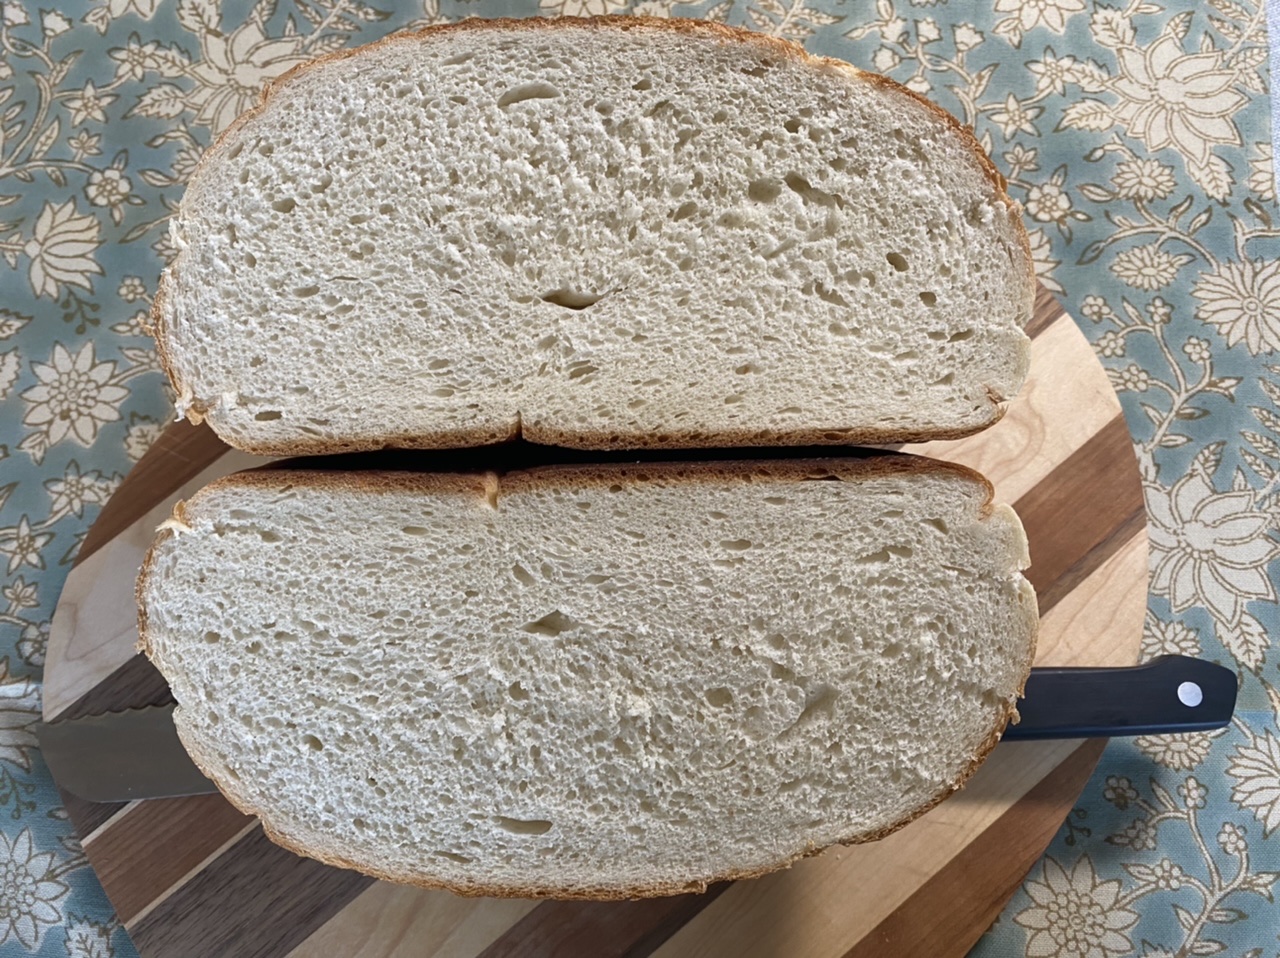
Okay, one last pet peeve. I know artisan bread is always shown covered in flour, but I HATE that. Have you ever taken a bite of bread covered in flour? I think it’s gross. And I really do not understand the purpose except for making it look artistic. But you don’t normally eat art. You do you, but I’m just sharing that I think it’s pointless… or beyond pointless. It ruins a good loaf of bread.
So, if you have never tried bread made with lard, you absolutely must try this recipe. I guarantee you won’t go back. The one note, though, is to find good quality leaf lard. Quality leaf lard is what gives the perfect flavor to the bread.
Hey, if you make this, tag me on Instagram with a photo! And have fun experimenting with how you score your bread! You don’t need flour to be artistic!
Enjoy!

How to Make Leaf Lard Bread
- Prep Time: 20 minutes
- Cook Time: 33 minutes
- Total Time: 53 minutes + 2 hours rise time
- Yield: 1 loaf 1x
- Category: Baking, Bread
Ingredients
500 g bread flour (you can supplement with all-purpose flour)
1¼ warm water ~ about 110°F
2¼ tsps active dry yeast (or 1 packet)
2 TBs granulated sugar
1 TB Himalayan sea salt ~ or other quality salt
2 TBs quality leaf lard
Instructions
In a small measuring cup or bowl, whisk together the water, yeast, and sugar. Let stand until frothy ~ about 5 minutes.
Meanwhile, measure the flour into the bowl of a stand mixer. Add the salt and mix together with the dough attachment. When the water is frothy, whisk together to absorb as much of the froth as possible. With the stand mixer on low, slowly pour the water along the edges of the bowl, pushing the flour down. If necessary, stop the mixer and dump the rest of the froth into the bowl.
Slowly turn the mixer up one speed at a time until the dough start to come together. You may have to stop the machine again and smash the ball of dough with the flakes on the bottom of the bowl. At this point, turn the speed of the mixer to medium high and drop 2 tablespoons of lard into the mixer. As the dough becomes smooth and fully incorporates the lard, turn the speed to high and let the machine work the dough for 10 to 15 minutes. Perform a windowpane test to see if the dough is ready. If it isn’t, let the machine continue to work the dough on high, performing another windowpane test after another 3 to 5 minutes.
Lightly grease a large, oven safe bowl with olive oil, wiping off any excess oil. Turn the oven on to 350°F and let it warm up for 2 minutes, then turn it off immediately. When the dough successfully passes the windowpane test, remove it from the bowl. Form it into a ball and place it into the greased bowl. Cover the bowl tightly and place in the oven. Allow the dough to rise for 1 hour.
Once the dough has double in size, remove it from the bowl and knead it for about 30 seconds to remove any air bubbles. Form it into another ball. Place it on a piece of parchment paper and place inside of a Dutch oven. Cover and let stand for about 60 minutes until doubled in size again.
At around the 45 minute mark, preheat the oven to 450°F. At 60 minutes, gently remove the parchment paper from the Dutch oven to score the bread ~ or carefully score the bread inside the Dutch oven. Cover and place in the oven for 25 minutes. Remove the lid and continue to bake for about an additional 8 minutes ~ or until golden and an internal temperature reads 190°F to 205°F.
Remove from the Dutch oven. Serve and slice immediately. Or let it cool on a wire rack then store it in a ziplock bag in the refrigerator until ready to use.
The bread will last about 2 weeks if kept refrigerated.
Enjoy!
Keywords: rustic bread, artisan bread, Dutch oven bread, homemade bread, crusty bread, lard bread, leaf lard bread
